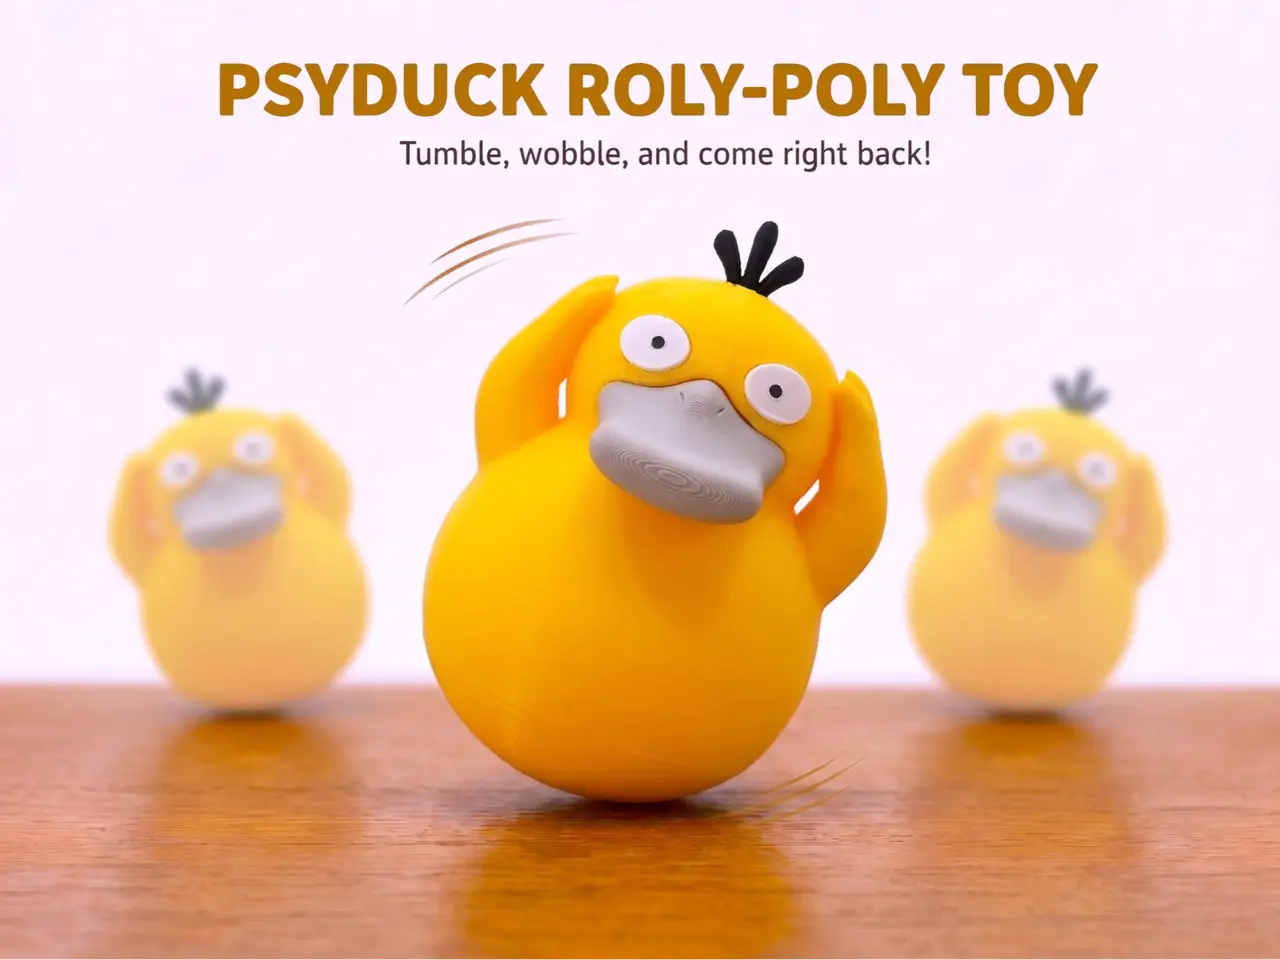
Wobbly Psyduck Fidget Toy – NO AMS
por Rayxa en MakerWorld
No matter how hard you push, this puzzled Psyduck always finds its way back up! 🦆💛
MakerWorld entrega los archivos a usuarios con cuenta gratuita
Licencia
Solo uso personalStandard Digital File License
Licencia estándar de archivos digitales: solo uso personal. No se permite compartir, revender ni subir el archivo a otros sitios, ni vender las impresiones.
Al descargar aceptas respetar la licencia y dar crédito a Rayxa.
- Categoría
- Juguetes y juegos
- Descargas
- 522
- Publicado
Sobre este modelo
No matter how hard you push, this puzzled Psyduck always finds its way back up! 🦆💛 Designed as a self-righting wobble toy, this confused duck tumbles, rocks, and spins for a surprisingly long time before rolling right back up again – still clutching its head. This model combines real physics with playful interaction, creating a fun, hands-on experience for all ages while encouraging curiosity and exploration. The perfect desk companion for stressful days – knock it over as often as you like, it will always come back for more! ⚙️ Technical Features & Design
- Physics-based Balance: The geometry and center of mass were meticulously optimized using advanced physics simulations.
- NO AMS Needed: A smart multipart design lets you print all parts separately, before assembling them in 6 simple steps.
- Filament Pupils: The pupils aren’t printed at all! Just push a piece of black filament into the hole in each eye and snip it flush with side cutters for perfectly round, crisp pupils.
- Zero Hardware Required: No metal bearings, screws, or added weights – this little duck relies entirely on its 3D-printed structure and solid infill to self-right.
🛠️ Step-by-Step Assembly Guide The assembly process is straightforward and consists of 6 simple steps. For the best results, CA glue (superglue) is needed. Step 1: Clean the Prints Carefully remove all support material from the printed parts. Ensure all mating surfaces are clean and smooth for a flush fit.
Step 2: Prepare the Base Apply a small amount of CA glue inside the hexagonal cutout of the bottom piece.
Step 3: Install the Base Connector Insert the hexagonal connector into the base. Ensure it is fully seated, then apply a little more CA glue in a circular pattern around the base connector.
Step 4: Assemble the Body Align the top half of the body with the base and slot them together. Make sure the seams match up properly at the back and hold firmly until the glue sets.
Step 5: Make the Pupils Push a piece of black filament into the small hole in each white eye, then snip it off flush with flush cutters. That’s it – perfectly round pupils with no glue and no color change.
Step 6: Add the Face Push the white eyes into their sockets, press the beige beak into place, and insert the black hair into the top of the head. These are friction fits as well – no glue needed. Your Psyduck is now ready to wobble!
Boost MeTo help me make more models like this!MembershipIf you want to sell physical prints of my models, you can get a commercial membership here. By clicking on "Join", you will see the different tiers available!
Descripción original del autor, publicada en MakerWorld.