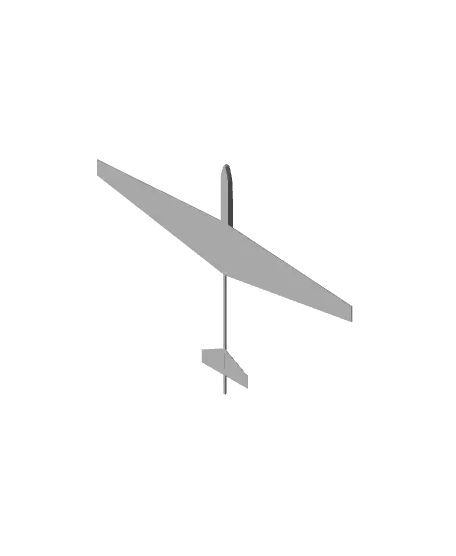
Slope Glider for Hand and Rubber Band Start
por Christian B en Thangs
Lightweight glider for Indoor and Outdoor Fun
Thangs entrega los archivos a usuarios con cuenta gratuita
Licencia
Solo uso personalSin licencia indicada
El autor no indicó una licencia: todos los derechos le pertenecen. Úsalo solo para imprimir en casa y consulta al autor para cualquier otro uso.
Al descargar aceptas respetar la licencia y dar crédito a Christian B.
Archivos (4)
- Ingybird_Plane.3mf 3MF · 1,7 MB
- Ingybird_Vertical-stabalizer.3mf 3MF · 47 KB
- Ingybird-stl_Plane.stl STL · 5,4 MB
- Ingybird-stl_Vertical-stabalizer.stl STL · 173 KB
- Categoría
- Juguetes y juegos
- Formatos
- 3MF, STL
- Descargas
- 235
- Publicado
Sobre este modelo
Lightweight glider for Indoor and Outdoor Fun
Easy and fast print
Print Settings:
Layer height: 0.12mm works best, 0.06mm are also ok Infill: 100% Outer Lines: Min 2
Placement: Glider is rotated 45° in z-axis so that the infill of the first layer goes along the wings. This gives some rigidity when bending the wings and stabilizers.
Also a practical tool to calibrate your first layer and test layer adhesion.
Preparations: - Stick the vertical stabilizer into the slot in the fuselage or bend the horizontal stabilizers to a v-tail configuration. - Bend wings slightly upwards - Bend tail slightly upwards directly behind the wings.
Launch:
Hand launch - Grip between wings and tail or with your index finger on the rubber band notch and throw gently
Gummi band launch - Hold the band as you like - Place sling on edge on the bottom - Shoot
Catapult start - Place plane with edge directly on the sling - Shoot
Descripción original del autor, publicada en Thangs.