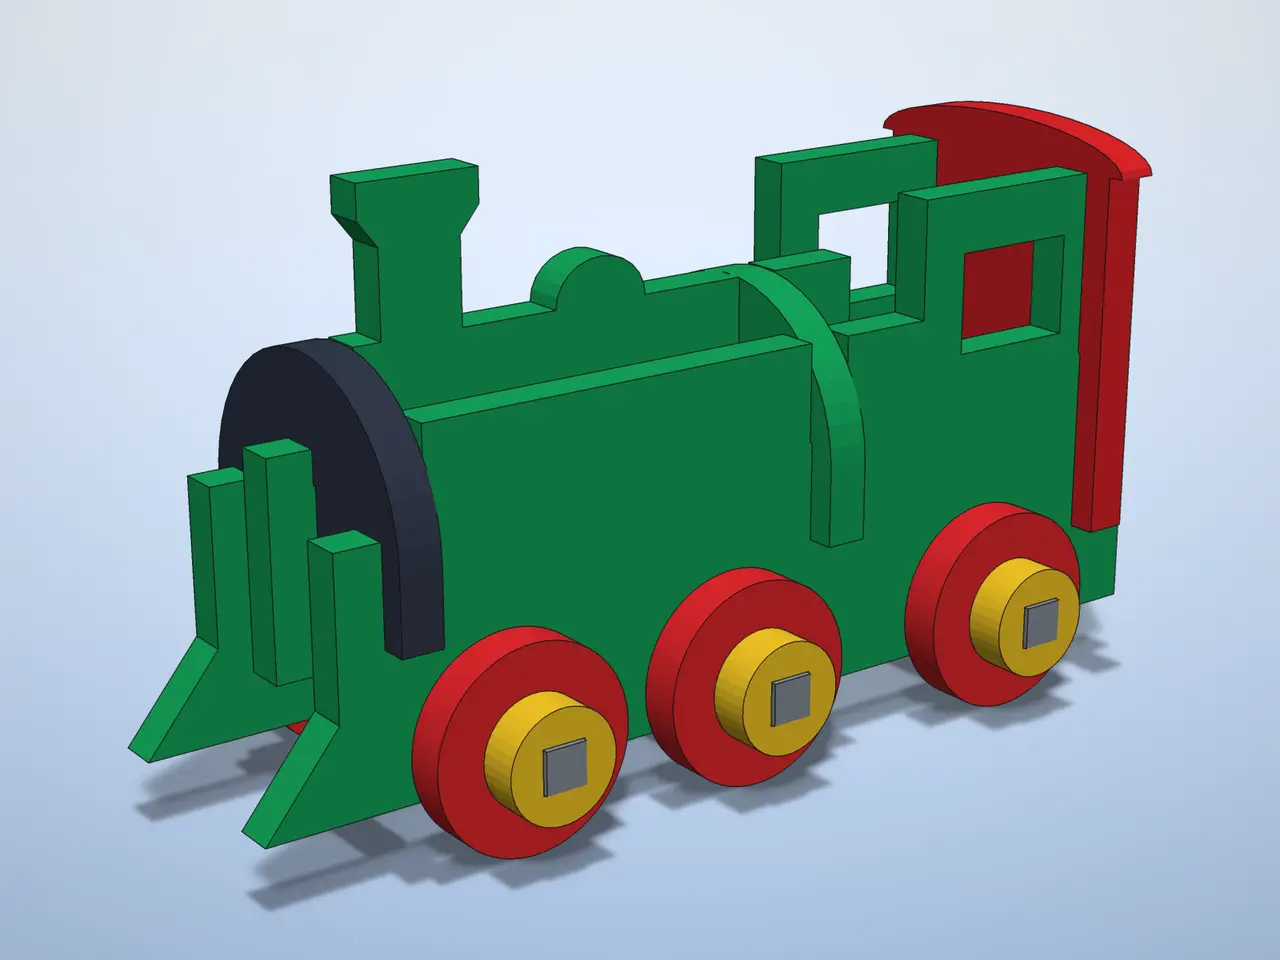
Kit Card Steam Locomotive - Snap-Fit Toy Train, Rolling Wheels, No Supports
por Micah Buckenham en Printables
One flat print: snap out 21 parts and build a toy steam train with rolling wheels. No glue, no supports.
Licencia
Uso comercial permitidoCC BY-ND 4.0 — Atribución, sin derivadas
Puedes imprimirlo y compartirlo sin cambios dando crédito; no se permite distribuir versiones modificadas.
Al descargar aceptas respetar la licencia y dar crédito a Micah Buckenham.
Archivos (1)
- Categoría
- Juguetes y juegos
- Formatos
- STL
- Descargas
- 0
- Publicado
Sobre este modelo
Print one flat card, snap out the parts and build a chunky little steam locomotive that really rolls. Everything slots together egg-crate style, so there is no glue, no screws and no supports. It is a fun 10 minute build for kids and adults, a great stocking stuffer, and it looks great on a desk or under the Christmas tree.
Why it's fun: the boiler, smokestack, dome and cab are built from interlocking plates, and the three axles snap into U-slots under the frame so all six wheels spin freely. Push it across the table and it rolls like a real toy train.
Parts on the card (21 total): Side frames with cab windows x2 Centre boiler plate with smokestack and steam dome x1 Smokebox front x1 Boiler support x1 (same shape as the smokebox front) Cab back wall with roof x1 Axles x3 Wheels x6 Wheel caps x6
Card size: about 125 x 91 mm, 2.5 mm thick. Assembled locomotive: about 61 mm long, 27 mm wide and 35 mm tall.
Assembly Step 1: Snap or snip all parts off the card and trim any gate nubs flat with a craft knife or flush cutters. Step 2: Stand the centre boiler plate (the one with the smokestack) upright. Push the two boiler-shaped cross pieces down onto it from above: one into the slot just behind the smokestack (the smokebox front) and one into the slot near the back of the boiler. Step 3: Slide the two side frames up onto the cross pieces from below so the notches interlock. The cowcatchers go at the front and the cab windows at the back. Step 4: Drop the cab back wall (the piece with the curved roof) into the matching slots at the back of the two side frames. Step 5: Press each axle up into a pair of U-slots under the frame until it clicks past the narrow neck. Step 6: Slide a wheel onto each axle end, then press a wheel cap onto the square axle end to hold it on. Leave a hair of play so the wheels spin freely. Step 7: Give it a push and watch it roll!
Print settings Material: PLA (PETG also works) Layer height: 0.2 mm Supports: none Infill: 15 to 20 percent Brim: optional, only if your bed adhesion is weak Print time: roughly 1 to 1.5 hours on most printers, about 20 g of filament Print the card flat as it comes in the file. Slot widths are 2.65 mm for 2.5 mm parts. If joints are too tight, scale X and Y to 101 percent; if they are loose, add a tiny drop of glue.
Tip: print it in two colours with a filament change, or print two cards in different colours and mix the parts for a two-tone engine.
If you print one, please post a Make and share a photo. I would love to see your locomotives! Check out my other Kit Cards too: fighter jet, helicopter, biplane, fire truck, excavator, tractor, monster truck, space rocket and more.
Descripción original del autor, publicada en Printables.