HP Robots | Otto Starter
por HP Robots Otto en Printables
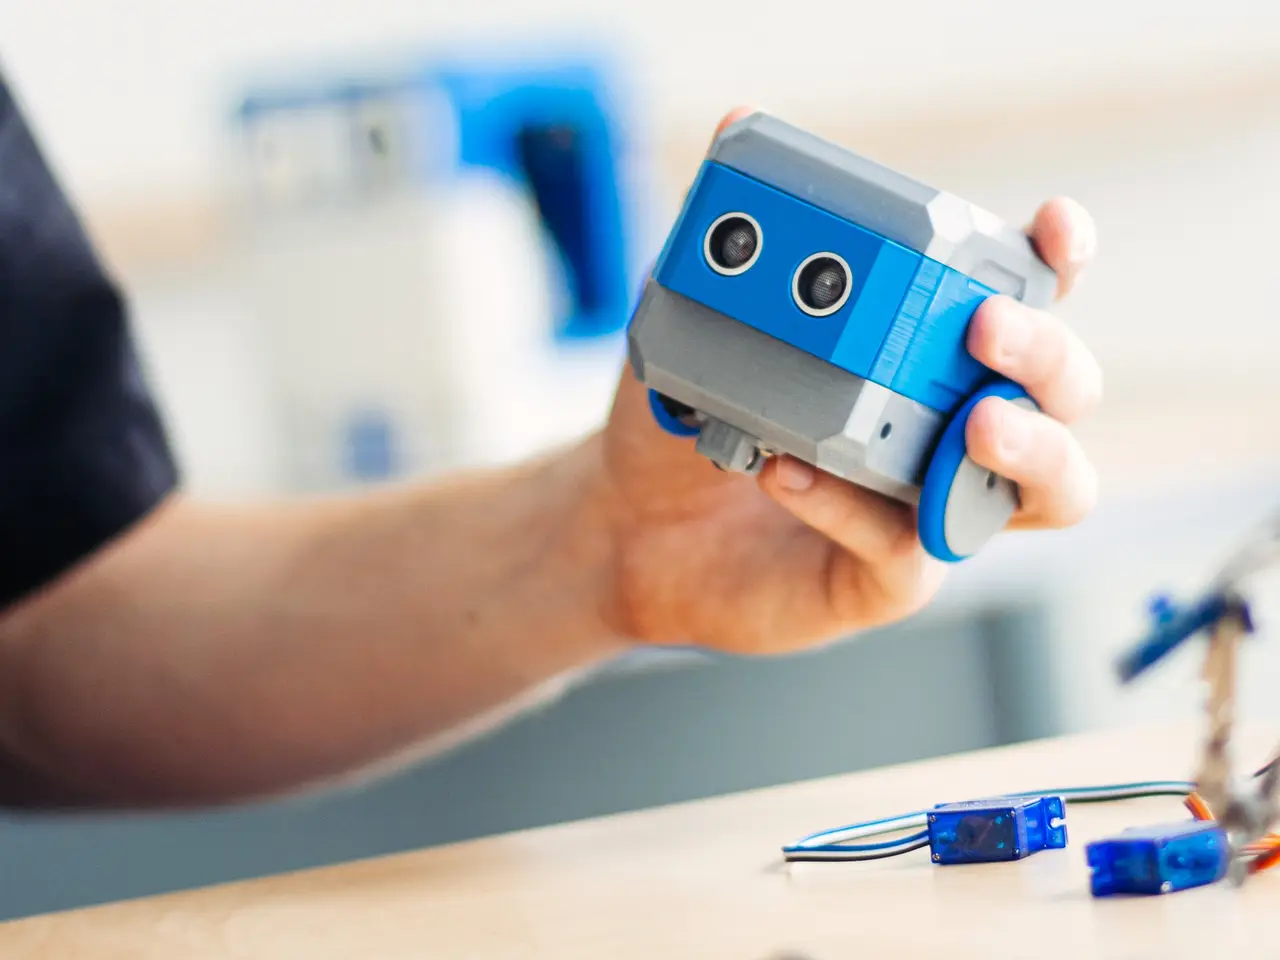
New improved Otto in partnership with HP. A high quality and sophisticated take on the popular educational robot.
Licencia
Solo uso personalCC BY-NC-SA 4.0 — Atribución, no comercial, compartir igual
Uso personal dando crédito; sin fines comerciales y las modificaciones con la misma licencia.
Al descargar aceptas respetar la licencia y dar crédito a HP Robots Otto.
Archivos (45)
- HP_Toplights_R2.stl STL · 178 KB
- HP_FaceUS_SER2.stl STL · 159 KB
- HP_Middle_R3.stl STL · 173 KB
- HP_Batterycovermesh_R2.stl STL · 208 KB
- HP_Bracket_R1.stl STL · 92 KB
- HP_Bottom_R2.stl STL · 292 KB
- HP_Wheel_R1.stl STL · 266 KB
- HP_Caster_R3.stl STL · 134 KB
- tire_smallstarterTPU_v2.stl STL · 2,8 MB
- HP_Toplights_R2.step STEP · 449 KB
- HP_FaceUS_SER2.step STEP · 48 KB
- HP_Batterycovermesh_R1.step STEP · 771 KB
- HP_Middle_R3.step STEP · 449 KB
- HP_Bracket_R1.step STEP · 208 KB
- HP_Bottom_R2.step STEP · 392 KB
- HP_Wheel_R2.step STEP · 2,4 MB
- HP_Caster_R3.step STEP · 60 KB
- HPRobots_Ottostarter_R1.step STEP · 2,3 MB
- HPRobots_MainCircuitboard.stp STP · 15,3 MB
- HPRobots_LEDring.stp STP · 3,8 MB
- HPRobots_Ultrasonic.stp STP · 6,2 MB
- HPRobots_Linesensor.stp STP · 7,5 MB
- screwA.stp STP · 340 KB
- screwB.stp STP · 241 KB
- screwC.stp STP · 488 KB
- HPRobots_Servomotor.stp STP · 5,1 MB
- motorarm1.step STEP · 18 KB
- motorarm2.step STEP · 50 KB
- motorcross.step STEP · 32 KB
- battery.step STEP · 361 KB
- tire_smallstarterTPU_bald.step STEP · 11 KB
- accell.obj OBJ · 774 KB
- encoder.obj OBJ · 703 KB
- tilt.obj OBJ · 700 KB
- mic.obj OBJ · 825 KB
- temp.obj OBJ · 462 KB
- ldr.obj OBJ · 499 KB
- pot.obj OBJ · 596 KB
- button.obj OBJ · 524 KB
- mp3.obj OBJ · 2,3 MB
- mp3.step STEP · 11,2 MB
- oled.obj OBJ · 1,0 MB
- matrix.obj OBJ · 9,8 MB
- servo.obj OBJ · 342 KB
- hp_ottostarter_PLA_MINIIS_4h36m.bgcode BGCODE · 4,2 MB
- Categoría
- Juguetes y juegos
- Formatos
- STL, STEP, STP, OBJ, BGCODE
- Descargas
- 2,158
- Publicado
Sobre este modelo
Build and program a cute, modular robot that makes learning technology fun and accessible. With Otto, anyone can explore creative design, 3D printing, mechanics, electronics, engineering, and coding—no prior experience needed. Expand its abilities anytime with a growing ecosystem of modules and accessories.
Most programmable robots hide how they work. Otto does the opposite. It invites you to open it, understand it, and reinvent it. By assembling and customizing your robot, you learn how real technology works from the inside out—encouraging inventive thinking, problem‑solving, and hands‑on discovery.
CREATE your own robot: print parts, choose colors, add accessories, and make it uniquely yours. We created our on 3D customizer, but if you want to 3D model your own we highly recommend Makers Empire; free, beginner-friendly, and perfect for getting started. Or copy and remix from this Tinkercad model CONNECT electronics and mechanical components, then interact with sensors and actuators. CODE using our friendly block‑based app (browser, iOS, Android) or switch to MicroPython when you're ready. LEARN STEAM, design thinking, and creativity through real, tangible making with our lessons. Print instructions All basic parts are optimally oriented for 3D printing. Material: PLA or similar (no supports, rafts, or brims needed) Layer height: 0.2mm or less Perimeters: minimum 3 Infill: 15% or higher more details in this guide Hardware part list - HP Robots Otto main circuit board with buzzer, switch & charger.
- RGB LED ring with 13 LEDs
- Ultrasonic distance sensor with 6 RGB lights
- 2× infrared line‑following sensors
- 2× micro servo motors of continuous rotation (metal gears)
- 2× rubber tires
- Rechargeable Li‑ion battery (3.7 V, 1800 mAh)
- USB‑C cable for charging & programming
- JST cables: 3× 3‑pin, 1× 4‑pin
- Screws: 6× M2×7 (A), 10× M2×4 (B), 2× M2×4 bolts (C)
- Metal ball Ø12 mm
- Phillips #1 screwdriver (3 mm head)
Buy all necessary hardware parts in a convenient kit here👈 No soldering required and everything is ready to assemble out of the box. How to Build?
From the HP Robots Otto App access: - Assembly manual
- Multiple coding modes with programming examples
- Guide, Lessons, e-books and activities
Expand & Customize Mix and match modules to give Otto new personalities and abilities:
Create your own remix and we’ll add you to our curated collection here all HP Robots Otto: Remix Challenge entries here CAD files for all components and templates we have included to speed up your creations. We often sponsor makers with free kits when they have great ideas, just message us ;)
GPIO Overview (for advanced users) Default pin mapping used in examples and block coding, including all extra components that come in the expansion kits. You can move them around other GPIOs and connect third party components with our cable adapters. Connector/socket GPIO Typical Use
#1 18 & 19 Ultrasonic / OLED
#2 16 & 17 MP3 / Encoder
#3 22 & 21 I2C SCL & SDA (LED matrix / accelerometer)
#4 26 Tilt sensor / Encoder button
#5 4 LED ring / temperature sensor
#6 32 (ADC) Line sensor L / microphone
#7 33 (ADC) Line sensor R / potentiometer / light sensor
#8 27 Servo angle R (Invent) / button
#9 15 Servo angle L (Invent)
Descripción original del autor, publicada en Printables.