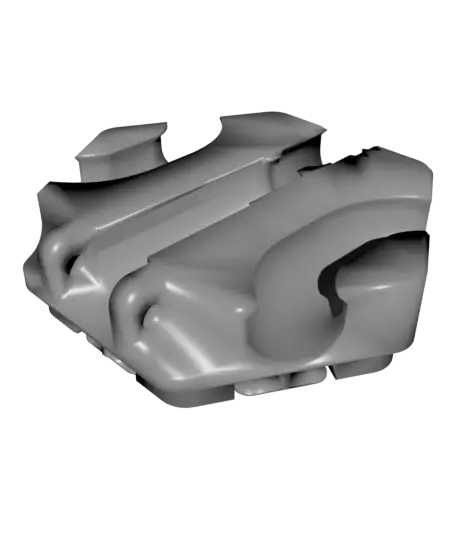
Hextraction Kickback Tile
A reverse gauss cannon that's resetable by pressing down the flipper. Watch the videos to see it in action. This was inspired by the Gravitrax Magnetic Kickback (https://youtu.be/sjGhm_vcK00?si=12IjoEhvdCampS4r). Recommended to use with Basics 90's Tiles (https://thangs.com/designer/NoStepOnDeez/3d-
Thangs entrega los archivos a usuarios con cuenta gratuita
Licencia
Solo uso personalSin licencia indicada
El autor no indicó una licencia: todos los derechos le pertenecen. Úsalo solo para imprimir en casa y consulta al autor para cualquier otro uso.
Al descargar aceptas respetar la licencia y dar crédito a NoStep.
Archivos (3)
- Kickback Base.STL STL · 297 KB
- Kickback Card.STL STL · 447 KB
- Kickback Flipper.STL STL · 35 KB
- Categoría
- Juguetes y juegos
- Formatos
- STL
- Descargas
- 240
- Publicado
Sobre este modelo
A reverse gauss cannon that's resetable by pressing down the flipper. Watch the videos to see it in action. This was inspired by the Gravitrax Magnetic Kickback (https://youtu.be/sjGhm_vcK00?si=12IjoEhvdCampS4r). Recommended to use with Basics 90's Tiles (https://thangs.com/designer/NoStepOnDeez/3d-model/Hextraction%2090%27s%20Tiles%20%287%20Pack%29-1242481) to reduce balls clipping on intersection's corners.
Rules Card Text Setup and Trigger: Press the flipper down.
Hardware - Required | One 10x10mm magnet (https://www.amazon.com/dp/B078GSZLHJ). Or five 10x2 Magnets (https://www.amazon.com/DIYMAG-Refrigerator-Neodymium-Whiteboard-Billboard/dp/B09X1WWD3P?linkId=696e333232f10ab293645af834e9e4e9&language=en_US). Any stack of thinner magnets equaling 10mm long will work, but will be a weaker launch compared to a single. - Required | One M3x18 screw or longer. - Recommended | A rubber band. Used for locking the flipper down during storage.
Printing / Assembly Instructions 1. Printing supports required on Flipper. No printing supports on Base. 2. Insert a 10x10mm magnet into the Base hinge side. 3. Insert a 10mm or 3/8in marble on each side of the magnet. 4. Install the flipper with an M3x18 screw from either side. Press the flipper until the ball retracts for ease of alignment. The flipper should rotate freely. 5. Before putting it in the pool, wrap a rubber band around the tile to lock the flipper down.
Descripción original del autor, publicada en Thangs.