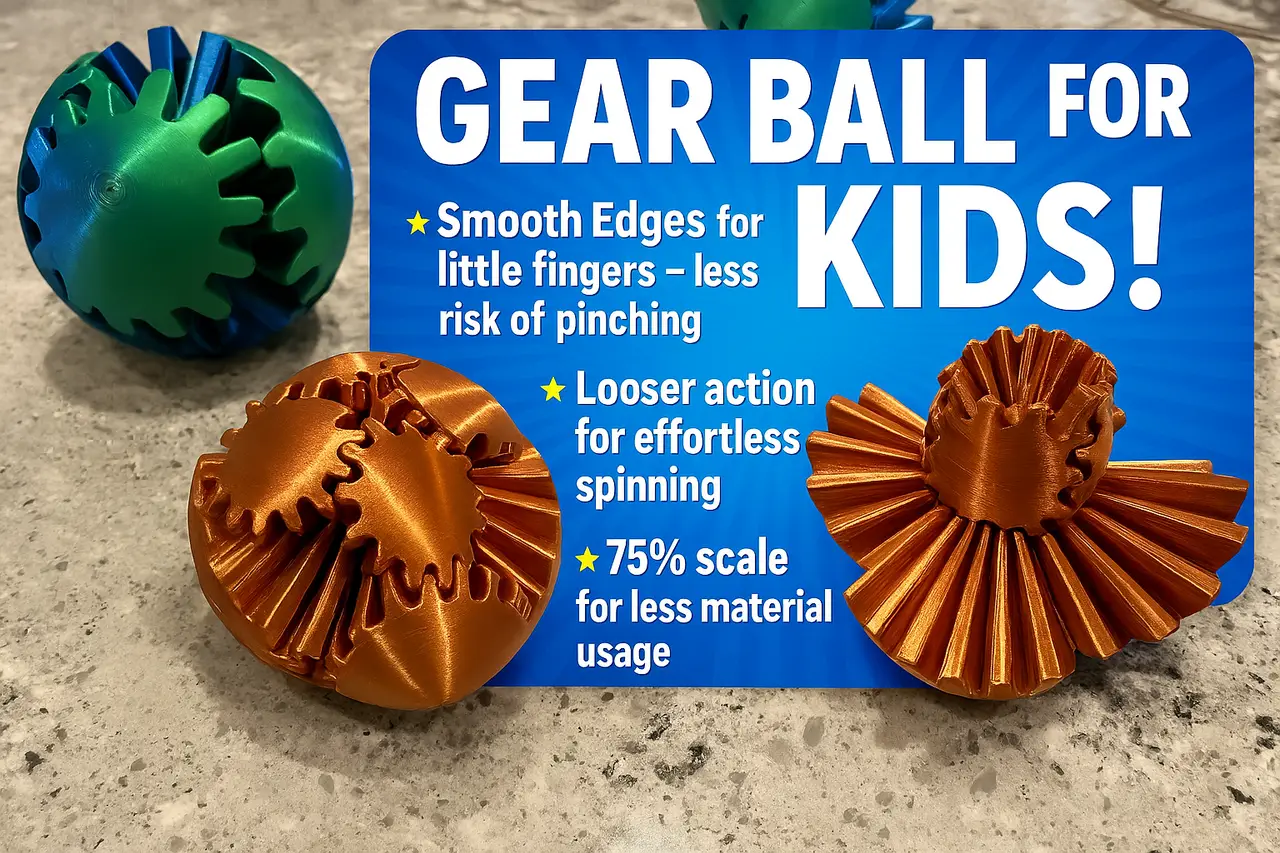
Gear Ball, Free Spinning, Smooth Edges, Great for Kids
por FleeeinIan3D en Printables
Remixed gear ball with smooth edges for less risk of pinching little fingers! Freely spinning and less material usage.
Licencia
Solo uso personalCC BY-NC-SA 4.0 — Atribución, no comercial, compartir igual
Uso personal dando crédito; sin fines comerciales y las modificaciones con la misma licencia.
Al descargar aceptas respetar la licencia y dar crédito a FleeeinIan3D.
Archivos (5)
- Categoría
- Juguetes y juegos
- Formatos
- 3MF, STL
- Descargas
- 6,851
- Publicado
Sobre este modelo
Get in on the hype! Welcome to the gear ball! A fun mind blowing fidget toy you've probably seen on social media, but had no clue how it works! Well, rest assured, with these profiles you can make your own free spinning version! The best part is, they cost 10,20,30$ online and yours can be just a few dollars! Why the remix? I found the original ball to be quite hard to turn, requiring "working in" and even then it wasn't quite as good as I liked. I also found the size to be unnecessarily large and the edges to be pretty sharp, even for me, much less my kids. What's different? - Integrated the Gear Ball Connector by Caleb into this Gear Ball - Many thanks!
- Imported design from thingaverse by skylarmt (OG Designer RuvenBals) - Many thanks!
- Scaled entire model to 75% to make it easier for kids to use, and use less material (scale back to 125% for bigger)
- Scaled gear pieces 103% in the Z to make it easier to turn without compromising connector pocket strength.
- Added 1 to 1.5mm rad to gear edges to make smooth edges with softer handling and less risk of pinching with small fingers (and adults too if I'm honest!)
Printing Instructions Choose a print profile attached above. I have my Centauri Carbon and A1Mini as a machine (with different profiles), but you should be able to import into any slicer. Bed adhesion is critical with this one - It definitely requires a freshly washed/degreased build plate with (preferably) Dawn dish soap. After washing you can also try glue/nano adhesive or a brim (although preferably not, brims are hard to get off the parts). Because I've believe in this stuff so much, I've become a Vision Miner Nano Adhesive affiliate. I have purchased their 50$ bottles time and time again because of it's clean application (I use a shop towel) and fast drying. It goes on clear and isn't messy like glue stick. The application lasts between build plate washings. And washes off easily. I highly highly recommend this stuff for critical jobs, and I use it on every gear ball that I print, for peace of mind. You can try a sample here: https://visionminer.com/zwnbed Or get a full bottle (50ml or 120ml) here: https://visionminer.com/hzhxy6 https://amzn.to/4oKGE23 Be sure to keep the following properties! Slicer Settings: - Nozzle: 0.6 (or 0.4)
- Strength - Walls: 3
- Layer Height: 0.12-0.18
- Sparse Infill: 10% Gyroid (or more if you want)
- Quality - Wall Generator: Arachne //preferably not classic - better with small details
- Walls Printing Order: Inner / Outer
- Detect Overhanging Walls: Checked
- Speed - Other layers speed - Outer wall: 40mm/s //slower outer wall speed for nice looking wall but depends on your printer
- Travel Speed: 250mm/s //halved to reduce risk of catching tall objects and knocking over
- Acceleration //halved to reduce risk of catching tall objects and knocking over - Normal Printing: 5000mm/s
- Outer Wall: 2500mm/s
- Jerk (optional) - reduce this from 9 to 5 for reasons above.
- Supports: Disabled
- Others: Brim --> No-brim
Recommended Filament: - Silk PLA - I used Elegoo PLA Silk and Eryone PLA Silk
- In both I Calibrated (in Orca Slicer) and Dried them (using my creality drier) and used the following overrides (your mileage may vary: - Nozzle Temp: 225C
- Flow Ratio: 0.98
- Pressure Advance: 0.02
- Max Volumetric Speed: 7.5mm/s
- Setting Overrides --> Retraction --> 0.5mm
Assembly: *NOTE* Pliers HIGHLY recommended. Otherwise assembly can be challenging. I assembly the gear ball using knipex pliers to assemble the pins (video following) - Press the pins/connectors into the gear "heart".
- Assemble the little gears - Try to align the top of each gear to the pin directly above it
- Keep track of their "alignment" when pressing them in, when done they should make smooth ring all the way around. Any offset gear will be obvious. This is important for the next step!
- Assemble the big gears - Use the same assembly method as the little gears, aligning the top of each gear to the pin directly above it
-
Descripción original del autor, publicada en Printables.