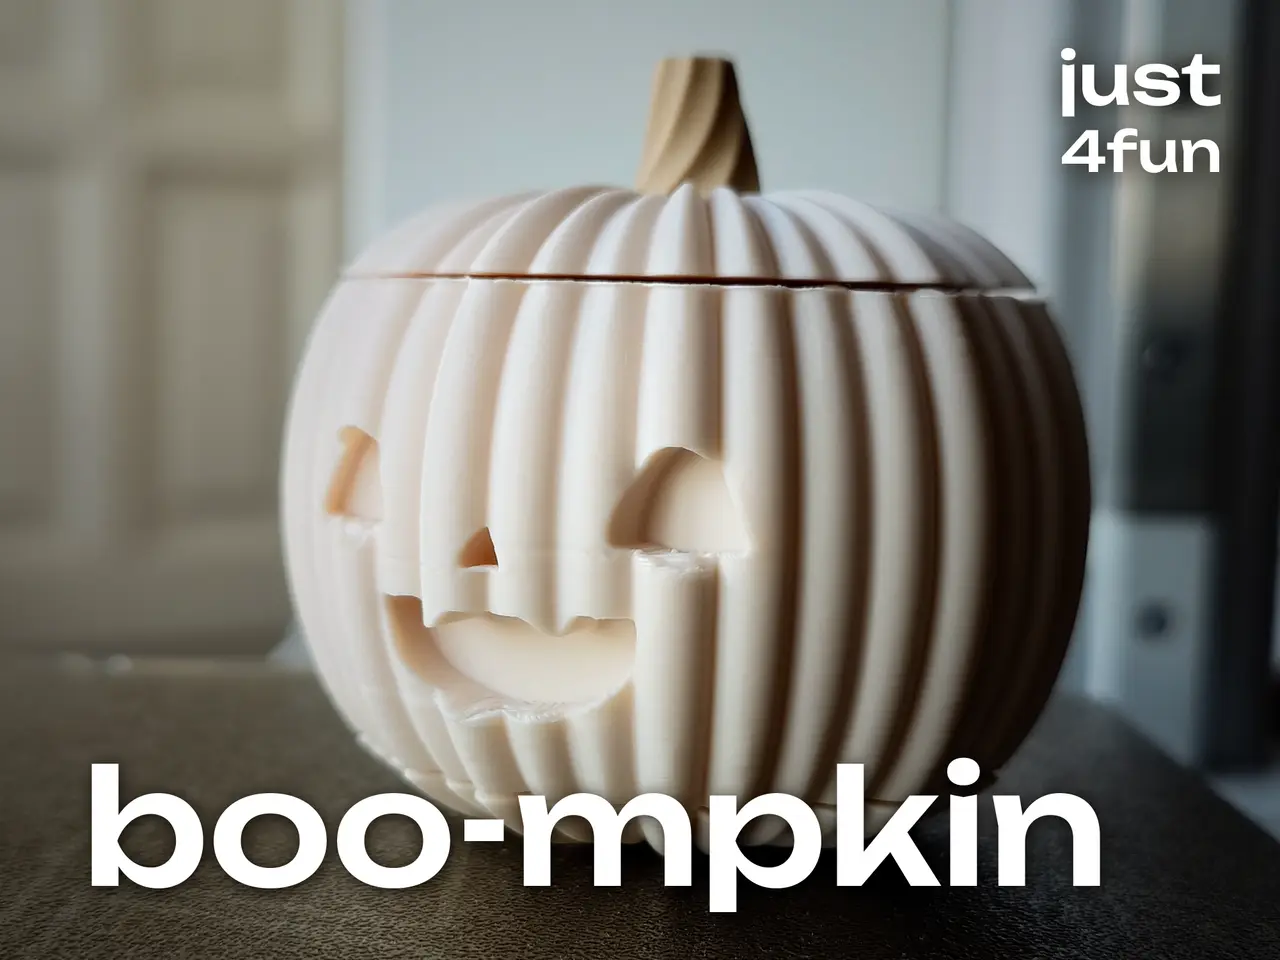
Boo-mpkin: Twist-Up Pumpkin with a Rising Ghost
por Isa Isaev en Printables
A pumpkin with a secret: twist the base and the lid rises, revealing a hidden ghost.
Licencia
Solo uso personalCC BY-NC-ND 4.0 — Atribución, no comercial, sin derivadas
Solo para uso personal, sin modificarlo y dando crédito. No se permite vender ni redistribuir cambios.
Al descargar aceptas respetar la licencia y dar crédito a Isa Isaev.
- Categoría
- Juguetes y juegos
- Formatos
- 3MF, STL
- Descargas
- 46
- Publicado
Sobre este modelo
Boo-mpkin: Twist-Up Pumpkin with a Rising Ghost A pumpkin with a little surprise inside. Twist the base, and the lid rises with a partial turn, revealing a ghost hidden within. 👻 All parts are 3D-printed. No screws, magnets or additional hardware are needed. The parts fit snugly together, with only the joint between the bottom and the rotating cylinder potentially requiring glue. An alternative lifting platform without the ghost peg is included, allowing you to use the pumpkin as a small box for candy or other little treasures. How it works The lid is attached to a lifting platform that moves along three grooves on the inside wall of the pumpkin body. A rotating cylinder connected to the bottom transfers the rotation to the platform, causing the lid to rise and turn slightly as the ghost emerges. Parts The model consists of seven parts: - Pumpkin body
- Lid
- Bottom
- Lifting platform (an alternative version without the ghost peg is also included)
- Rotating cylinder
- Ghost
- Stem
Assembly Assembly can be a little tricky, as the orientation of several parts is crucial. In a way, this makes Boo-mpkin a small mechanical puzzle as well as a 3D-printing project. Hopefully, this won’t scare off any brave makers! 😄 1. Install the lifting platform. Place it inside the pumpkin body, aligning its three pegs with the three grooves on the inner wall. 2. Attach the lid. Lift the platform by hand to the open position and find the correct orientation for attaching the lid. When closed, the lid’s outer surface should align with the pumpkin body. Press the lid and platform together firmly until they snap into place. 3. Attach the ghost. Place the ghost on the platform, aligning the peg on the platform with the slot in the ghost’s base. 4. Assemble the bottom and rotating cylinder. Their relative orientation matters, as does their alignment with the pumpkin body. Of the possible configurations, only one allows the bottom, body and lid to align correctly. Before joining the parts, try placing the cylinder inside the pumpkin and find the correct orientation for the bottom. Once aligned, join the two parts. Glue may be used if necessary. 5. Install the mechanism. Insert the joined bottom and cylinder into the pumpkin body, but not all the way. Test the mechanism first. If everything works correctly, press the assembly firmly into place until it clicks. A note on the mechanism 3D-printed surfaces are not perfectly smooth, so the mechanism may feel a little tight at first. Apply a small amount of lubricant suitable for PLA and plastic parts to each inner guide groove and work the mechanism back and forth a few times. The parts are designed to fit snugly, and most connections snap into place. The joint between the bottom and rotating cylinder is the only one that may require glue. Print settings A Bambu Studio project with tuned print settings is included. Use it as a starting point. If you cannot open the project, the key settings and recommendations are listed below. General settings - Layer height: 0.08 mm
- Wall loops: 3
- Print speed: up to 200 mm/s
- Acceleration: up to 1000 mm/s²
- Elephant foot compensation: 0.2 mm
Pumpkin body - Print upside down.
- Manually paint the seam positions, avoiding the edges of the inner grooves. Seam artifacts in these areas may interfere with the platform’s movement.
- Supports are optional for the recessed facial features; acceptable results are possible without them.
- A small brim may help if you are unsure about bed adhesion.
Rotating cylinder - Use tree supports to create three small support structures in the cut-outs at the bottom. These also help anchor the part to the build plate, so a brim is unnecessary.
Lifting platform - Add mouse-ear brims manually around the bases of the three pegs.
Ghost - Use supports.
- Keep seams away from the face; setting the seam position to “rear” is one option.
Stem - Use supports for the internal joint.
Descripción original del autor, publicada en Printables.