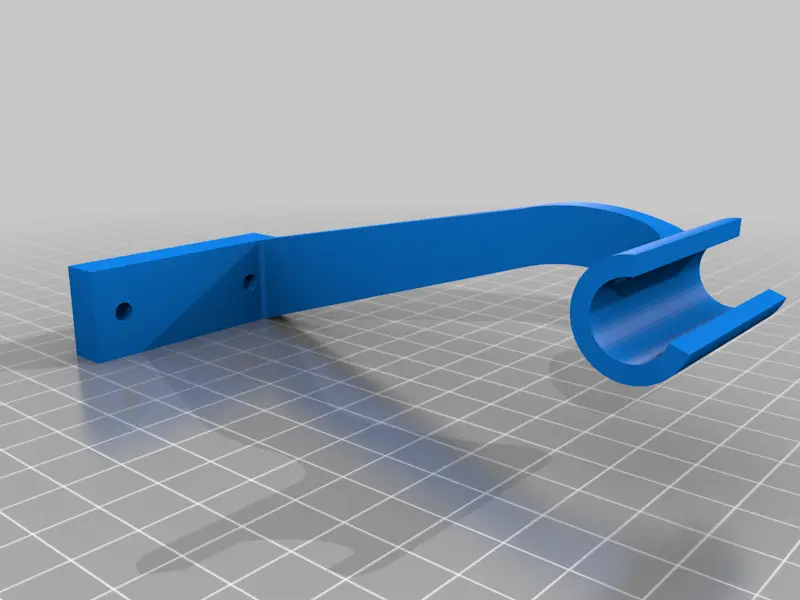
Z Axis bar wire guide With optional LED LIGHT RAIL.. Take the wires off your Bowden tube. For CR10, Ender2&3,Tornado,Michelangelo and U10
por David Petsel en Thingiverse
Added a little better inderect lighting bar for the Ender3, Cr10 and Tornado. You use 2 rows af light under the mount and the front wall directs the light towards the print. Here it is on my Ender3. 5/8/18 Added U10 LED Bar and some pics of the indirect light bar. The indirect puts out a lot of...
Licencia
Uso comercial permitidoPuedes imprimirlo, modificarlo y venderlo dando crédito al autor.
Al descargar aceptas respetar la licencia y dar crédito a David Petsel.
Archivos (17)
- Z__Hanger_3mm_t-nut_3.25.stl STL · 132 KB
- Z_Hanger_4mm_t-nut_3.25.stl STL · 135 KB
- Z__Hanger_5mm_t-nut_3.25.stl STL · 141 KB
- ENDER3_4MM_8.17.stl STL · 59 KB
- CR10_TORNADO_4MM_8.17.stl STL · 88 KB
- 3mm_t-nut_LED_Strip_3.25.stl STL · 34 KB
- 4mm_t-nut_LED_Strip_3.25.stl STL · 34 KB
- 5mm_t-nut_LED_Strip_3.25.stl STL · 27 KB
- Michelangelo_4mmHoles_LED_bar.stl STL · 43 KB
- Ender2_4mm_holes_Led_Light_bar.stl STL · 37 KB
- Michelangelo_5mmHoles_LED_bar.stl STL · 46 KB
- Ender2_5mm_holes_Led_Light_bar.stl STL · 31 KB
- Indirect_Lighting_rail_CR10_Tevo_5.6.stl STL · 70 KB
- IndirectLightRailEnder23_5.6.stl STL · 98 KB
- 5.8_Indirect_CR10_v8888.stl STL · 103 KB
- u10_LED_Bar_5mm_nuts.stl STL · 26 KB
- Z_Hanger_4mm_t-nut_9.11_Dual_Extruder_Clearance.stl STL · 130 KB
- Categoría
- Para tu impresora
- Formatos
- STL
- Descargas
- 45,227
- Publicado
Sobre este modelo
Added a little better inderect lighting bar for the Ender3, Cr10 and Tornado. You use 2 rows af light under the mount and the front wall directs the light towards the print. Here it is on my Ender3. 5/8/18 Added U10 LED Bar and some pics of the indirect light bar. The indirect puts out a lot of soft light. 5/7/18 Added an indirect light/ light bar. It will probably need to be printed in white for best reflection. You mount your LED's to the back inside portion of the bracket that mounts to your rail and let the light bounce off of the angled diffuser. Will prototype when my whit filament gets here. Try it if you like. 4/12/2018 Added LED light bars that can be added to the existing X axis wire bracket to install LED's just below the Z rail. Those additions will fit the Tevo Michelngelo and the Creality Ender 2 4/9/2018 3.25.2018 TEVO has extra 5mm T-Nuts, CR 10 has extra 4mm T-Nuts, I liked the 3mm T-Nuts. No matter what T-Nuts you want to use there is a Z Hanger and LED Strip for you. Just mix and match the parts you want to use based on your T-nuts. 3.17.2018 Cappy De suggested I add a light rail with this mount since it attaches to the back of the X rail. Here it is. It attaches with 2 3mm screws and T-nuts like the wire guide. It fits right next to the guide and extends a 20mm flat shelf perpendicular to the rail for mounting LED lights. It can be used independent of the wire guide if you just want to install lights. 3.16.2018 Squared up the holes to clean up the way it prints. 3.8.2018 Added holes for zip ties. Not sure why Creality mounted the wires with tape on the Bowden tube. I've been printing with a makeshift bracket on my CR10 since I got it and since I'm printing PETG now decided to make a permanent bracket. This allows you to take it off the Bowden tube and let it ride freely between the wire guide mount and the hot end. I have put a lot of hours of printing with this and it never sags or comes close to intersecting Bowden tube travel. The Bowden tube rides freely from my Petsfang mount to the wire guide. 3mm with T-nuts mount. It mounts to the back side of the Z axis rail. You can kind of get an idea of the clearance of the Bowden tube and the wire guide in this video. I know it doesn't run the total length of the Z rail but you can get an idea. https://youtu.be/C74mP3TJIf4 This is a picture for print orientation. Make sure to set your overhang angle in your slicer to 80 degrees or the holes for the zip ties won't print properly.
Descripción original del autor, publicada en Thingiverse.