
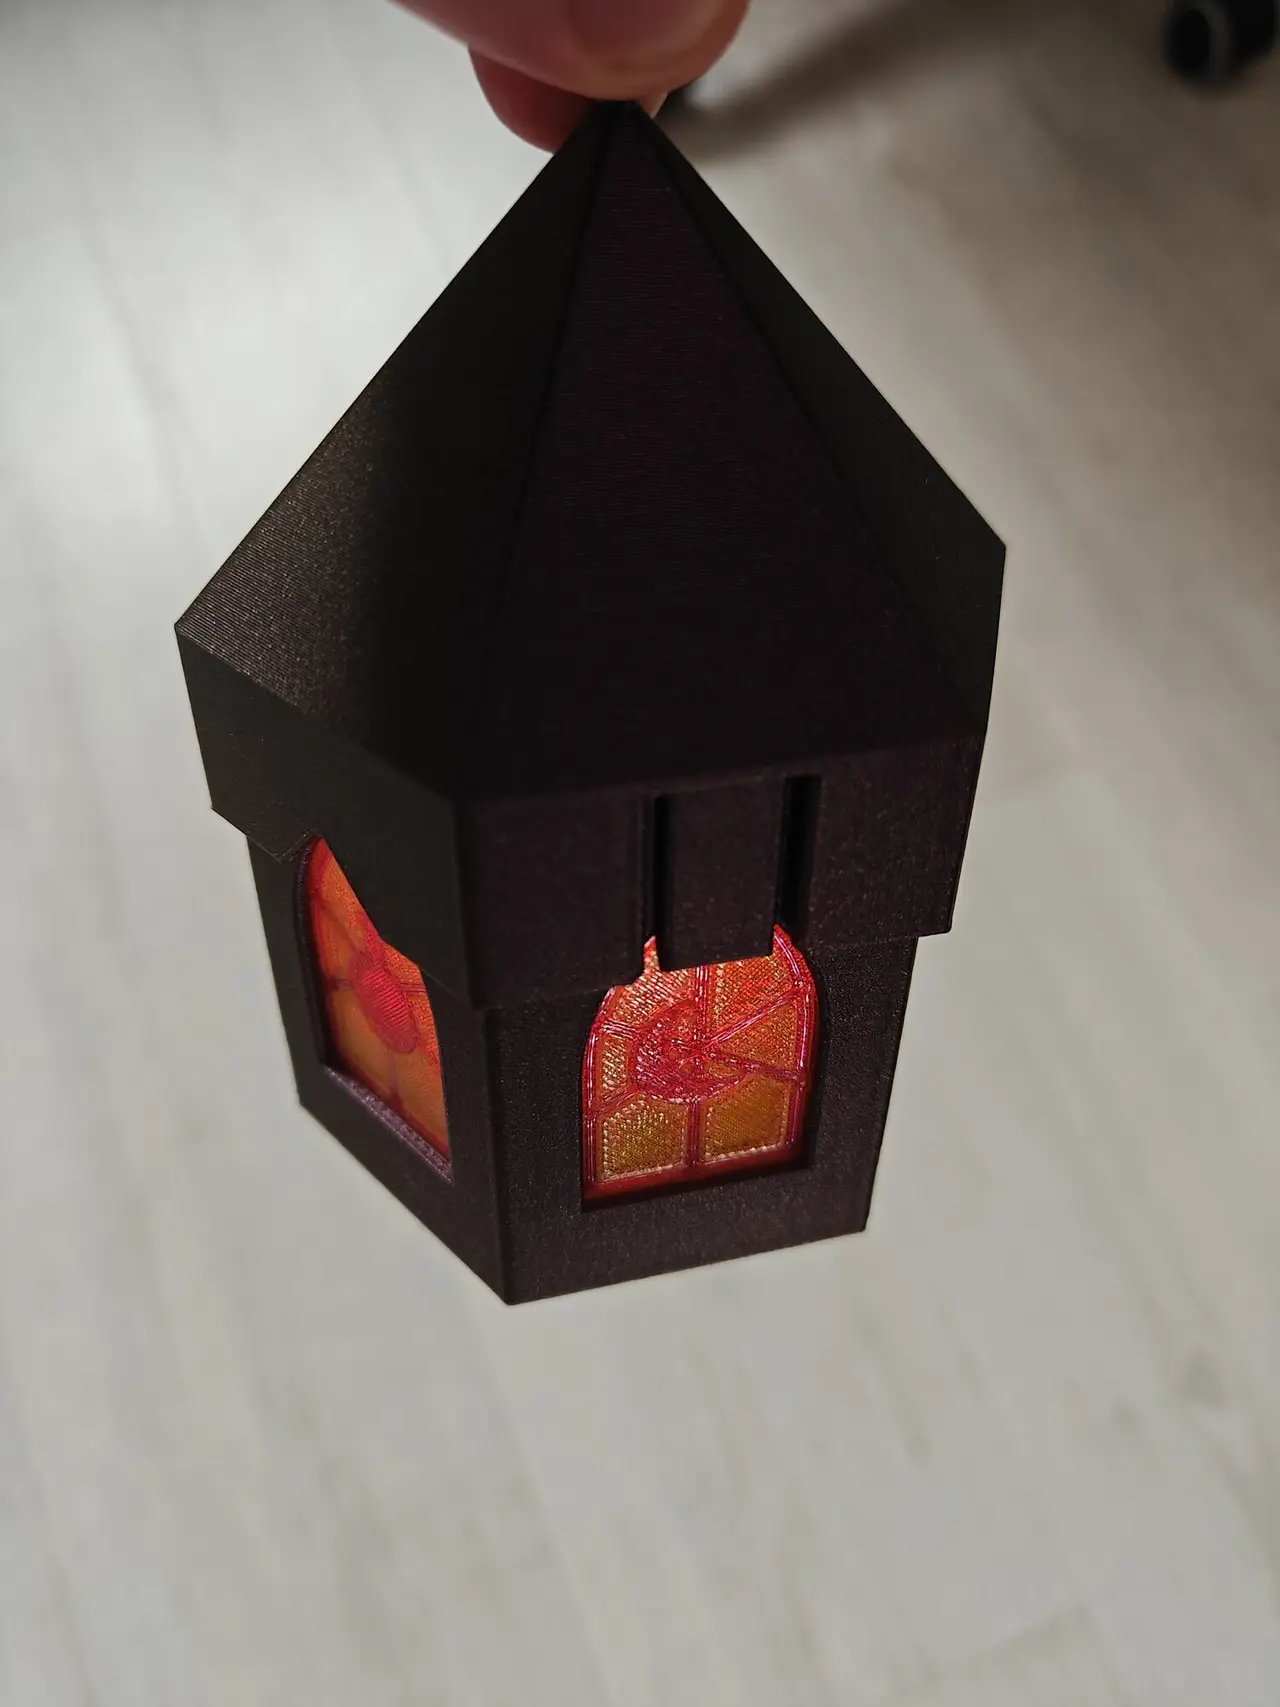
Wizard Lantern — stained-glass LED tealight lantern with six slide-in panes
A wizard's lantern for the windowsill on Halloween night: a dark hexagonal iron frame with six gothic windows, and behind every window a pane of stained glass with its own sign: a crescent moon, a star, a potion flask, a wizard's hat, a crystal shard and a toadstool. Drop in an LED tealight, clip...
Cults3D entrega los archivos a usuarios con cuenta gratuita
Licencia
Uso comercial permitidoPuedes imprimirlo, modificarlo y venderlo dando crédito al autor.
Al descargar aceptas respetar la licencia y dar crédito a Morass.
Archivos (15)
- body.stl STL
- pane_crystal.stl STL
- pane_crystal_2c.stl STL
- pane_hat.stl STL
- pane_hat_2c.stl STL
- pane_moon.stl STL
- pane_moon_2c.stl STL
- pane_mushroom.stl STL
- pane_mushroom_2c.stl STL
- pane_potion.stl STL
- pane_potion_2c.stl STL
- pane_star.stl STL
- pane_star_2c.stl STL
- roof.stl STL
- wizard_lantern.scad SCAD
- Categoría
- Hogar
- Formatos
- STL, SCAD
- Descargas
- 1
- Publicado
Sobre este modelo
A wizard's lantern for the windowsill on Halloween night: a dark hexagonal iron frame with six gothic windows, and behind every window a pane of stained glass with its own sign: a crescent moon, a star, a potion flask, a wizard's hat, a crystal shard and a toadstool. Drop in an LED tealight, clip on the pointed roof and the six signs glow amber in the dark. Hang it from the cord eye or stand it on a shelf.
8 printed parts · 76 × 66 mm footprint · 116 mm tall to the eye · ~64 g filament · no supports · no glue, screws or magnets. The photos are the actual print.
Why the glass is separate panes
A window is a vertical face. Printing two-colour windows into the body would change filament on every layer of their 36 mm height, about 180 purges. Here the panes are separate flat prints that slide into channels behind the windows, so:
the only colour changes are the three inlay layers of the panes, and all six panes share them on one plate, about one purge for the whole set;
each pane can be a different translucent colour (amber, green, violet, blue: mix them);
any pane fits any window, and a new one swaps in without tools.
No AMS? Every pane also ships as a single-colour file: the tracery is then a 0.6 mm recess that still reads when the light is behind it.
What you print
file qty colour notes
body.stl 1 dark (black / dark grey) floor on the bed
roof.stl 1 dark, PETG skirt on the bed, eye up; the release tabs flex
pane_<motif>_2c.stl 6 translucent + black moon, star, potion, hat, crystal, mushroom
pane_<motif>.stl — translucent single-colour alternative: print EITHER the _2c or the plain file for each pane
Non-printed: one LED tealight, the standard Ø38 mm puck. A cord up to 4 mm if you hang it. LED only, never a flame.
Two-colour panes in Bambu Studio
Import pane_moon_2c.stl → right-click → Split to Parts → you get exactly two: pane_moon_glass and pane_moon_lead. Assign translucent filament to the glass and black to the lead. Coordinates are locked, so the lead lands in its pocket. Put all six panes on one plate: the colour change sits on the same layers (0.6–1.2 mm) for every pane. Ironing OFF on the panes.
Assembly
1. Print the body, the roof and the six panes.
2. Slide each pane down its channel from the open top, inlay face outward. It drops until it lands on the sill, 2.5 mm below the window, and the rib lips behind it trap it. 0.2 mm of play per side; if one is tight after a heavy first layer, ease the two long edges with a fingernail.
3. Switch the tealight on and drop it into the ring on the floor.
4. Seat the roof. Line up its six faces with the body: the two slotted tabs sit over opposite windows. Pull both tab tips outward about 1.6 mm while lowering the roof, then let go. The hooks on the tabs catch under the two window arches, so the roof carries the body when you lift it by the eye. It does not rely on friction.
To open it: hold the body, pull both tabs outward at their lower ends and lift the roof. Never pull by the eye while the hooks are engaged.
Print settings
0.2 mm layers everywhere
Body: PLA or PETG, 1.6 mm walls (4 perimeters), 15 % infill
Roof: PETG, 4 walls, 15 % infill: the release tabs bend every time you open it. Do not scale it.
Panes: translucent PLA or PETG + black; ironing OFF
No supports on any part. The window arches are equilateral pointed arches, so nothing overhangs past 45°.
Dimensions
Descripción original del autor, publicada en Cults3D.



