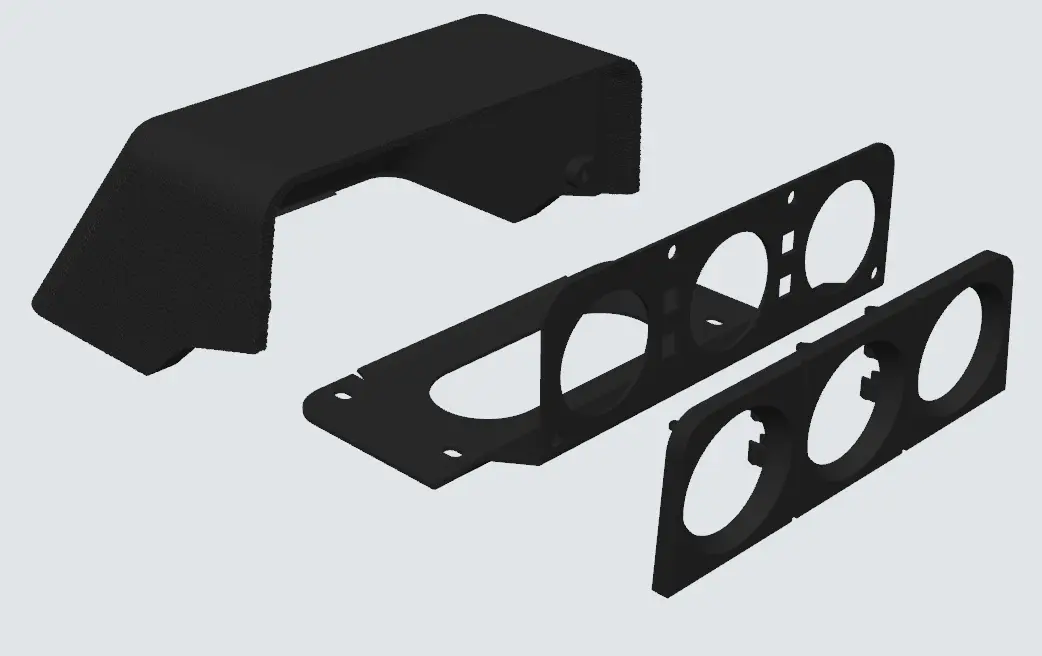
Volvo 240 Rally guage pod (Full size)
por Volvo240Bob en Thingiverse
I've created this to make the rally gauge pod more accessible, as a replica, custom-made look-alike, or similar usually costs between €250–€400, with a great variety in quality. The compact version is sanded and painted with vinyl paint, the full size verison is "raw" from the printer just to show..
Licencia
Solo uso personalCC BY-NC-SA 4.0 — Atribución, no comercial, compartir igual
Uso personal dando crédito; sin fines comerciales y las modificaciones con la misma licencia.
Al descargar aceptas respetar la licencia y dar crédito a Volvo240Bob.
Archivos (5)
- Categoría
- Cosplay y props
- Formatos
- STL, DXF, PDF
- Descargas
- 155
- Publicado
Sobre este modelo
I've created this to make the rally gauge pod more accessible, as a replica, custom-made look-alike, or similar usually costs between €250–€400, with a great variety in quality. The compact version is sanded and painted with vinyl paint, the full size verison is "raw" from the printer just to show why you might want to do some finishing touches to your models. In the future i will look over to possibilty to have the hood fully 3d printed with the fastening, but until that day the compact version i posted will have to do for those who dont want or can get the sheet metal plate made. This version is the full-size version and is made to look more like the original. The last two pictures show the full-size and compact versions side by side. You can find the compact version here: https://www.thingiverse.com/thing:7410149 Mine was printed in PETG with a 0.2 mm layer height, 4 walls, 4 bottom/top layers, and 30% infill. However, I recommend using ABS or a similar material that can handle heat better. Filament weight: 500–600 grams Cost: €15–€20 To print the part with a similar result to mine, the green face should be at 90° to the base plate, and the orange face should be parallel to the base plate (see the last picture). Otherwise, you won't get a good texture on the front of the cover and might run into assembly issues. For an even better result, I recommend printing the part 2 mm above the base plate to get a better front lip. There are tutorials on YouTube showing how to do this. This model needs a 2 mm steel plate to function as intended, as the 3D-printed version is too weak to provide any meaningful structural integrity. I've uploaded the DXF file and a drawing for the steel plate, so you can go to more or less any company that works with sheet metal and have it manufactured. This will make the price tag a lot smaller, as the DXF is usually what costs money. I recommend going to a family member or close friend who works in the industry. DO NOT let them make any changes to the bending points, as that will offset the alignment for mounting and cause the pod to hover above the dashboard! It is better to simply trim the 3D-printed part. Cost: €20–€50 You can also create the steel plate yourself, as there is a drawing for it attached to this model. To complete the gauge pod, you will need the following items: 8x M6x30 screws — €3/25 4x M6 nuts — €3/25 4x M6 washers — €6/10 4x wing nuts — €3/10 Cost: ~€15 After printing, I sanded the prints with 240-grit sandpaper. The cover was then coated with vinyl primer and painted with black vinyl paint from Biltema. On the cover plate, I used filler to remove the print lines (not necessary) and then followed up with primer and paint, also from Biltema. Cost: €15–€24 To summarize, this entire project will cost approximately €65–€109 with everything from materials to finishing, or €50–€85 for only the functional parts when buying everything from scratch. Personally, I had some problems with the side walls bending inwards. This can be solved with a heat gun by heating the inside of the hood and gently bending the walls apart. This can occur due to tension in the material as it cools down. Happy printing! :)
Descripción original del autor, publicada en Thingiverse.