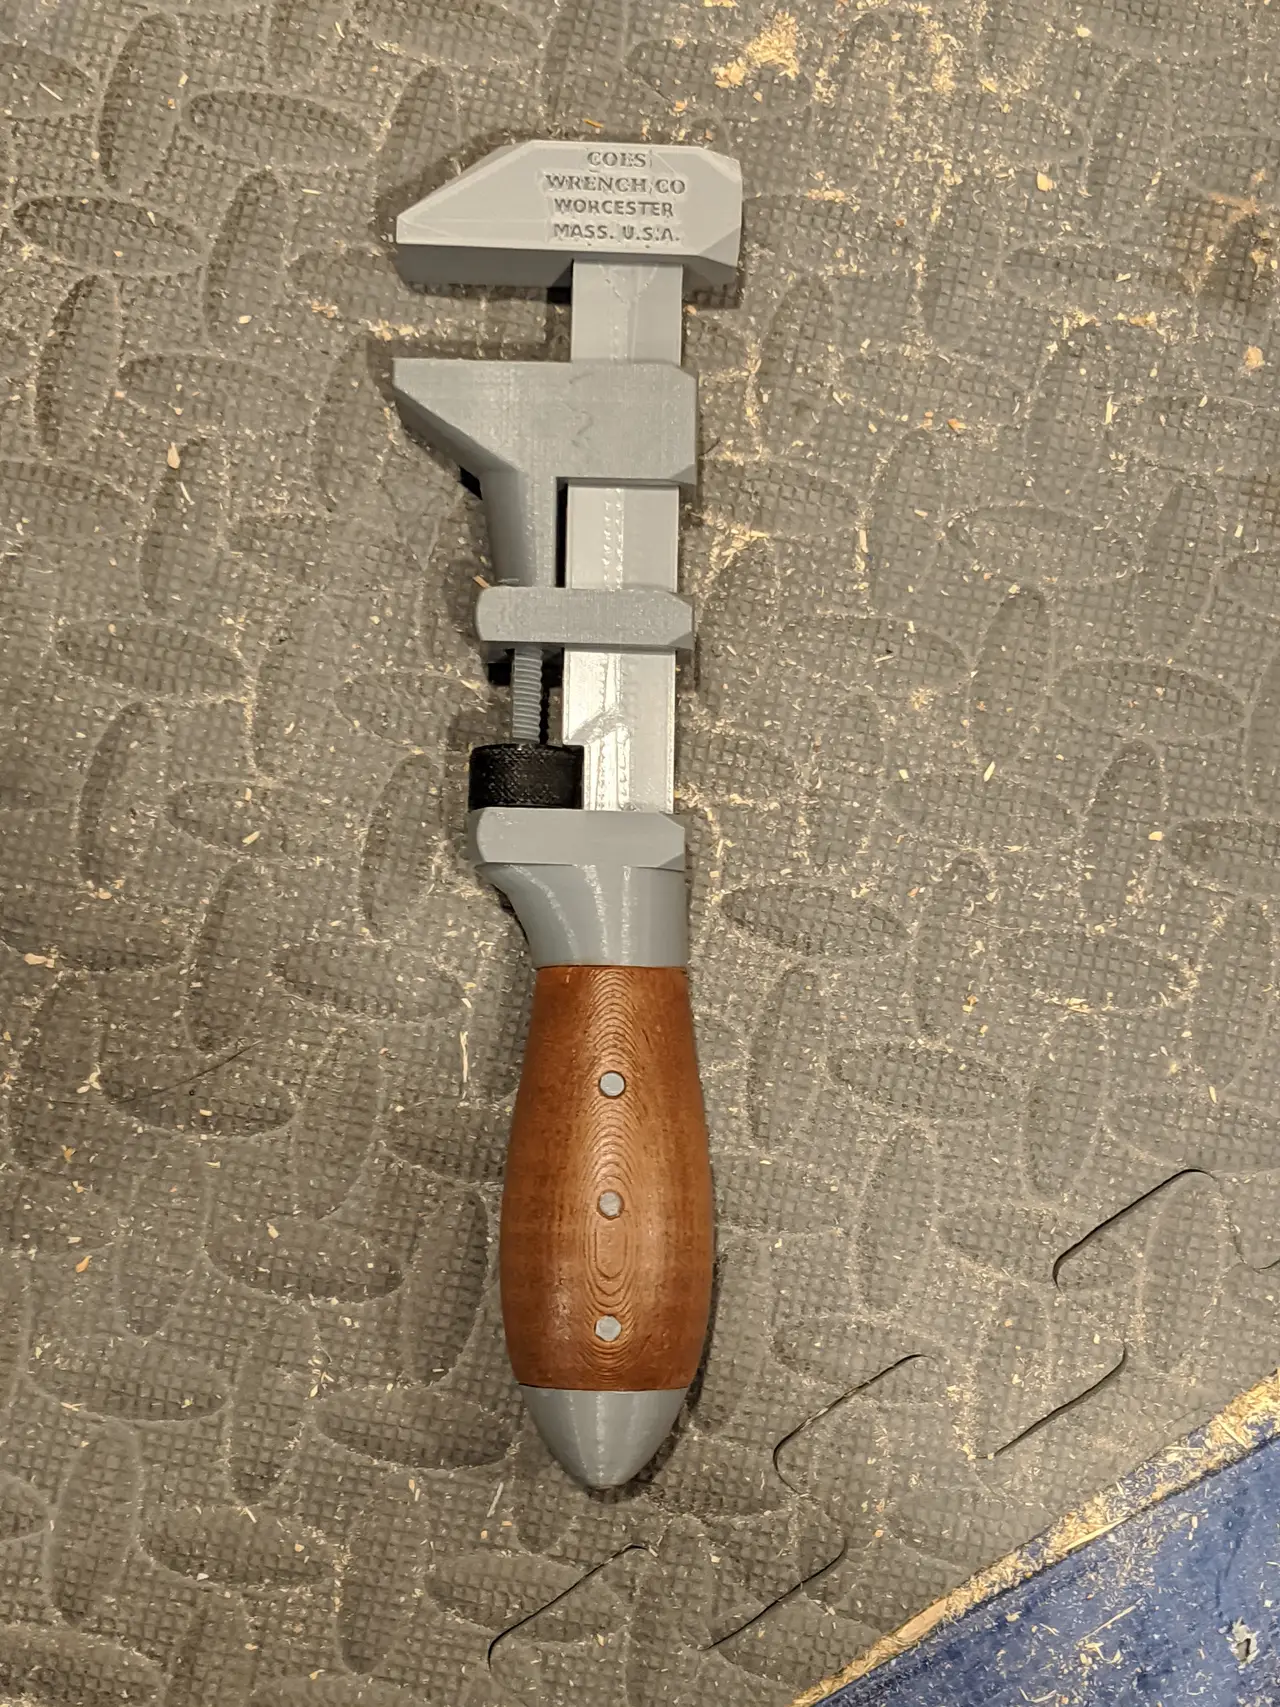
Vintage COES style screw wrench
por Patrick Dukes en MyMiniFactory
My little boy has a picture book about tools. I had every tool in the book except an old screw wrench. I saw it as a chance to push myself on design and printing.
Licencia
Solo uso personalCC BY-NC-SA 4.0 — Atribución, no comercial, compartir igual
Uso personal dando crédito; sin fines comerciales y las modificaciones con la misma licencia.
Al descargar aceptas respetar la licencia y dar crédito a Patrick Dukes.
Archivos (19)
- Blank Head Pin.stl STL
- Blank Head.stl STL
- body.stl STL
- Coes Wrench4.Png PNG
- guard.stl STL
- Head Pin.stl STL
- head.stl STL
- jaw.stl STL
- knob.stl STL
- pommel.stl STL
- Scale A Nopommel.stl STL
- Scale A.stl STL
- Scale B Nopommel.stl STL
- Scale B.stl STL
- Scale Pin 1.Stl STL
- Scale Pin 2.Stl STL
- Scale Pin 3.Stl STL
- threads.stl STL
- Whole Wrench.stl STL
- Categoría
- Herramientas
- Formatos
- STL, PNG
- Descargas
- 223
- Publicado
Sobre este modelo
My little boy has a picture book about tools. I had every tool in the book except an old screw wrench. I saw it as a chance to push myself on design and printing.
This wrench is completely functional and I hope it's pretty accurate. I based it off an image in one of Coes old patents, but I didn't have a reference for the thickness, so I expect this is a little bit thicker than a real wrench. I really like how the handle feels, but I think it's probably rounder than an original wrench.
A complete wrench needs:
- Body
- Head
- 4 Head pins
- Jaw
- Threads
- Knob
- Guard
- Scale A
- Scale B
- Scale Pins 1, 2, & 3
- Pommel
Alternate pieces:
- Blank Head: doesn't have the COES imprint. Probably easier to print. Note that the blank head has pins that go all the way through, so they're longer
- Scales_nopommel: If you don't want the pommel piece to be separate.
The jaw needs support. Make sure to either do buildplate-only or block off supports in the thread. Supports in the threaded part of the jaw would be impossible to clean out.
If you print the head with the text either up or down it'll need support too.
You could probably get by without supports on the scales, but I did it with supports, because the supported surface is hidden.
I printed everything at a high infill. Scales were printed with Cinnamon Timberfill. I printed the pins lying on their side so that they were more stable. My printer doesn't do that very well, but the irregular shape actually made the pins fit tighter.
Post-Printing
- [Optional] Finish woodfill scales I finished my wood scales by sanding them to 220, then filling with a wood filler, sanding again, and then wiping with walnut Danish oil. I've found that I can get a pretty good fake wood effect by using different color stain and filler.
Asssembly
Everything is designed to be press-fit, although I secured some things with CA glue. If you want to use CA glue, I'd recommend assembling all the pieces except the pommel first, just to make sure everything fits. I had to clean up the scales a bit with a chisel to make it fit tighter.
- Slide the head onto the body, then push the 4 head pins into the head to lock it in place.
- Screw the thread into the jaw.
- Slide the jaw assembly up the body.
- Slide the knob onto the threads and into the notch on the body. I glued the knob onto the threads once it was already in the notch.
- Slide the guard up until it's flush with the bottom of the notch and the round end of the thread fits into the depression on the guard. I used CA glue here to really hold the guard in place. I hammered it in pretty good first though.
Descripción original del autor, publicada en MyMiniFactory.