TOADs Digital Interface Enclosure
por KB9HUO en Printables
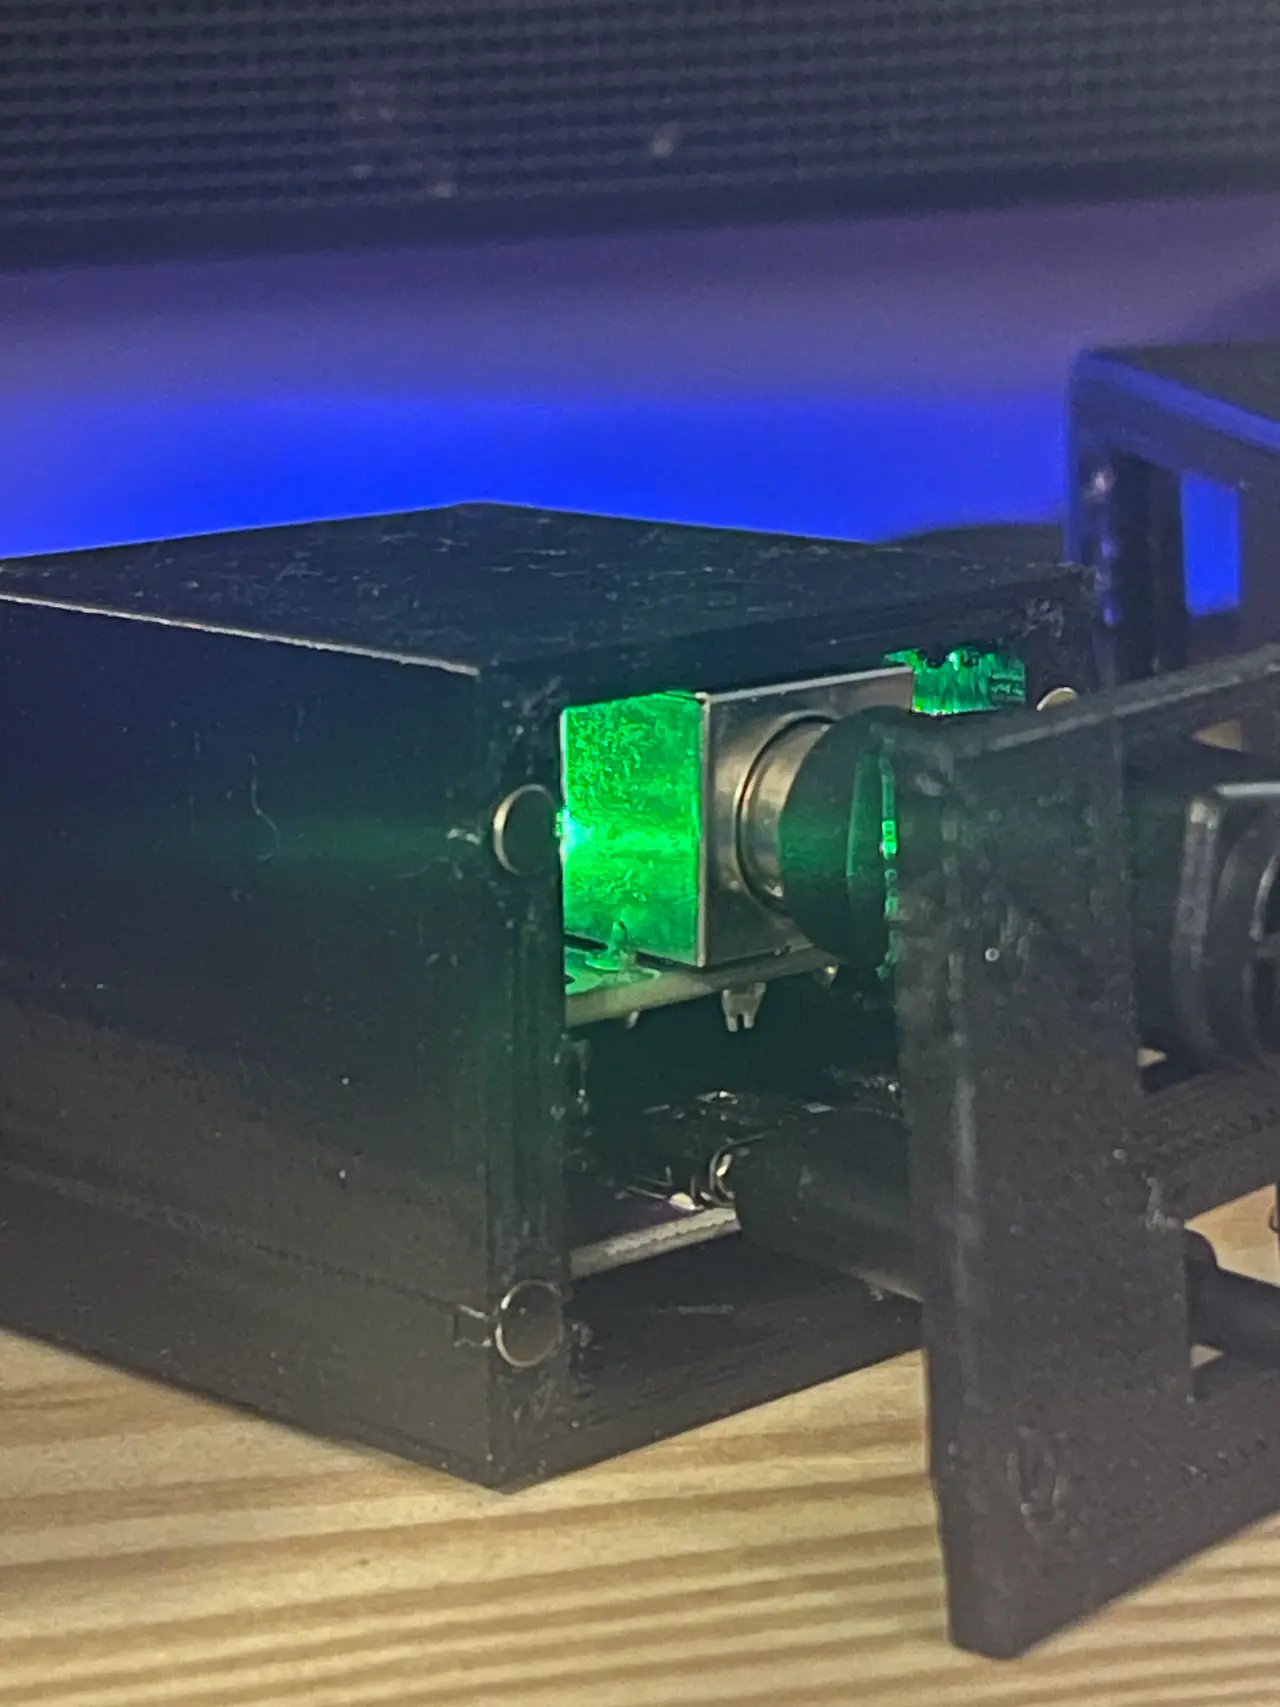
3D-printable enclosure for the TOADs Digital Interface and DI6 daughterboard, featuring a magnetic lid
Licencia
Uso comercial permitidoPuedes imprimirlo, modificarlo y venderlo sin pedir permiso ni dar crédito.
Al descargar aceptas respetar la licencia y dar crédito a KB9HUO.
- Categoría
- Tecnología
- Formatos
- STL
- Descargas
- 0
- Publicado
Sobre este modelo
TOADs Digital Interface / DI6 Magnetic Enclosure This is a custom 3D-printable enclosure designed for the TOADs Digital Interface and DI6 6-pin Mini-DIN daughterboard. Both boards are available from Temporarily Offline. The enclosure features a compact, two-piece design with a removable magnetic front cover. Both circuit boards slide into the enclosure together, resting on internal supports without requiring mounting screws or brass standoffs. Features - Designed specifically for the TOADs Digital Interface with the DI6 daughterboard installed.
- Slide-in PCB design with built-in supports.
- Removable magnetic front cover.
- Openings for the USB-C and 6-pin Mini-DIN connectors.
- Compact design that protects the circuit boards and components.
- Designed for easy 3D printing with minimal supports.
Magnets Required - Size: 4 mm diameter × 2 mm thick
- Type: Round neodymium magnets
- Quantity: 8 total (4 in the enclosure and 4 in the removable lid)
Secure the magnets using a small amount of CA glue or epoxy. Be sure to check the magnetic polarity before gluing them into place so the lid magnets attract the corresponding magnets in the enclosure. Recommended Printing Settings - Material: PETG (PLA may also work)
- Layer height: 0.16–0.20 mm
- Infill: 20% Lines
- Wall count: 4
- Supports: Generally not required with proper orientation.
Designed and printed using a Creality Ender 3 V3 SE with Overture PETG filament. Assembly - Print the enclosure body and magnetic lid.
- Install four magnets in the enclosure and four in the lid, checking polarity before gluing.
- Connect the DI6 daughterboard to the TOADs Digital Interface.
- Slide the assembled circuit boards into the enclosure, resting them on the internal guides.
- Attach the magnetic front cover.
Where to Purchase the Boards The electronics used in this project are available from: TemporarilyOffline.com You will need the TOADs Digital Interface and the DI6 6-pin Mini-DIN daughterboard. Magnets used came from Amazon https://a.co/d/02y5yh4b Note: This project includes the 3D-printable enclosure only. Circuit boards, magnets, and cables are not included. 73!
Descripción original del autor, publicada en Printables.