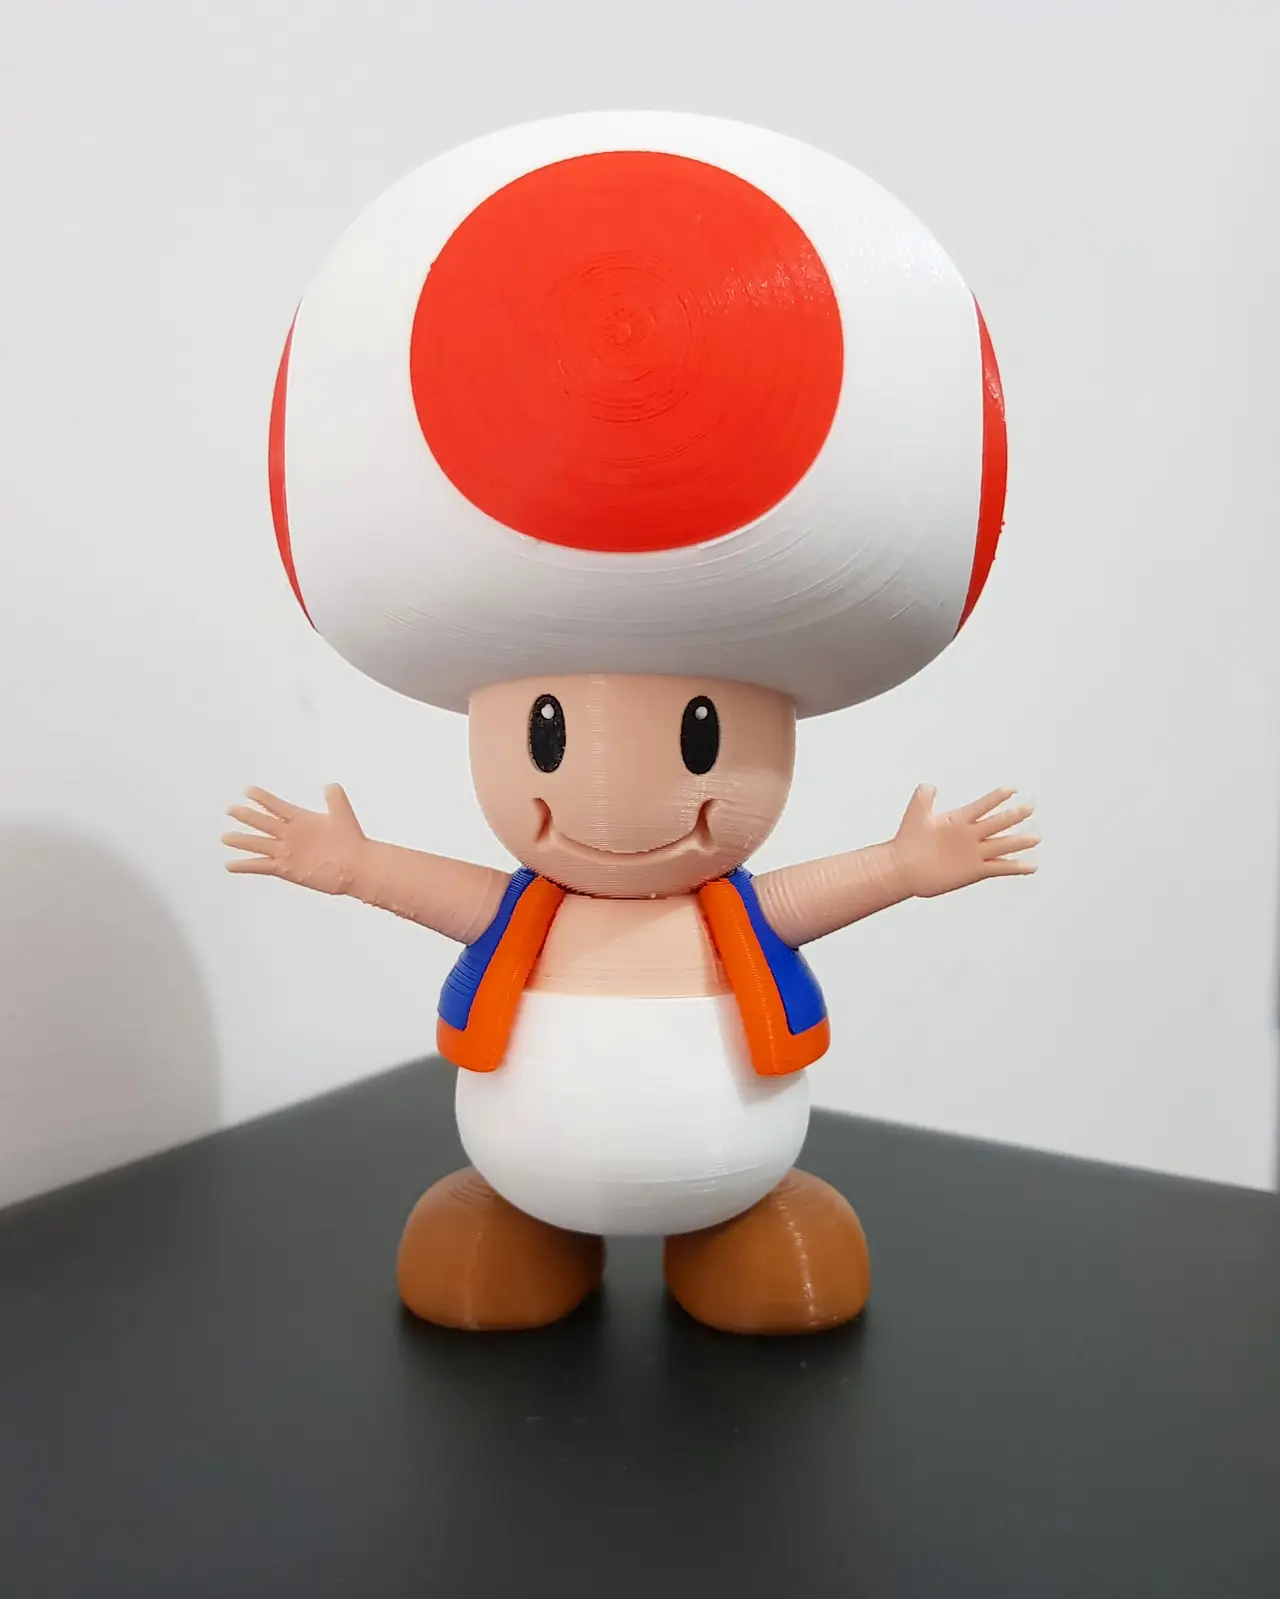
Toad from Mario games - Multi-color
por Bruno Pitanga Maia en MyMiniFactory
"Toad is a character who is Princess Peach's attendant and a long time protector of the Mushroom Kingdom" - from https://www.mariowiki.com/Toad
Licencia
Solo uso personalMyMiniFactory - Credit - Remix - Noncommercial
Licencia de MyMiniFactory: puedes imprimirlo y remezclarlo dando crédito, sin fines comerciales.
Al descargar aceptas respetar la licencia y dar crédito a Bruno Pitanga Maia.
Archivos (20)
- Arm Left.stl STL
- Arm Right.stl STL
- belly.stl STL
- Body Shaft.stl STL
- Eye Ext Left.stl STL
- Eye Ext Right.stl STL
- Eye Int Left.stl STL
- Eye Int Right.stl STL
- Hat Back.stl STL
- Hat Front.stl STL
- Hat Head Shaft.stl STL
- Hat Shaft X 4.Stl STL
- Hat Spot Side X 4.Stl STL
- Hat Spot Top.stl STL
- head.stl STL
- Jacket Edge.stl STL
- jacket.stl STL
- Shoe Left.stl STL
- Shoe Right.stl STL
- torso.stl STL
- Categoría
- Figuras y arte
- Formatos
- STL
- Descargas
- 8,727
- Publicado
Sobre este modelo
"Toad is a character who is Princess Peach's attendant and a long time protector of the Mushroom Kingdom" - from https://www.mariowiki.com/Toad
This is a multi-color print. There are some very small features, like the pupils and fingers that may not support downscaling.
The model is about 12 cm height.
No supports are needed.
The center of gravity of this model is a bit shifted back. If you want to have a better balance, increase the infill percentage of the front part of the hat.
Be aware that, although it seems at first glance, the “belly” part is not front-back symmetric. If you look it from the bottom, you’ll notice that the shoe's slits are slighted shifted to one of the sides. That side is the back portion.
Take care to not fit the “torso” part in an inverted way. The smoothest side points forward.
The side spots of the hat are not perfect circles, also. If you look at them carefully, you’ll see that there is a side which is a tiny bit flatter then the rest. That must point downward. Nevertheless, they’ll probably fit any way you try.
Tips for mounting the jacket:
1 – Make sure “belly” and “torso” are already connected. This will make the handling easier.
2 – Fit “jacket edge” (the orange part) first. This is easy.
3 – Afterwards, fit the “jacket” part pressing it from the top. You’ll need to put a bit of pressure (the piece will force open a little) until it clicks in place.
Let me know if you have any questions.
Enjoy!
Descripción original del autor, publicada en MyMiniFactory.