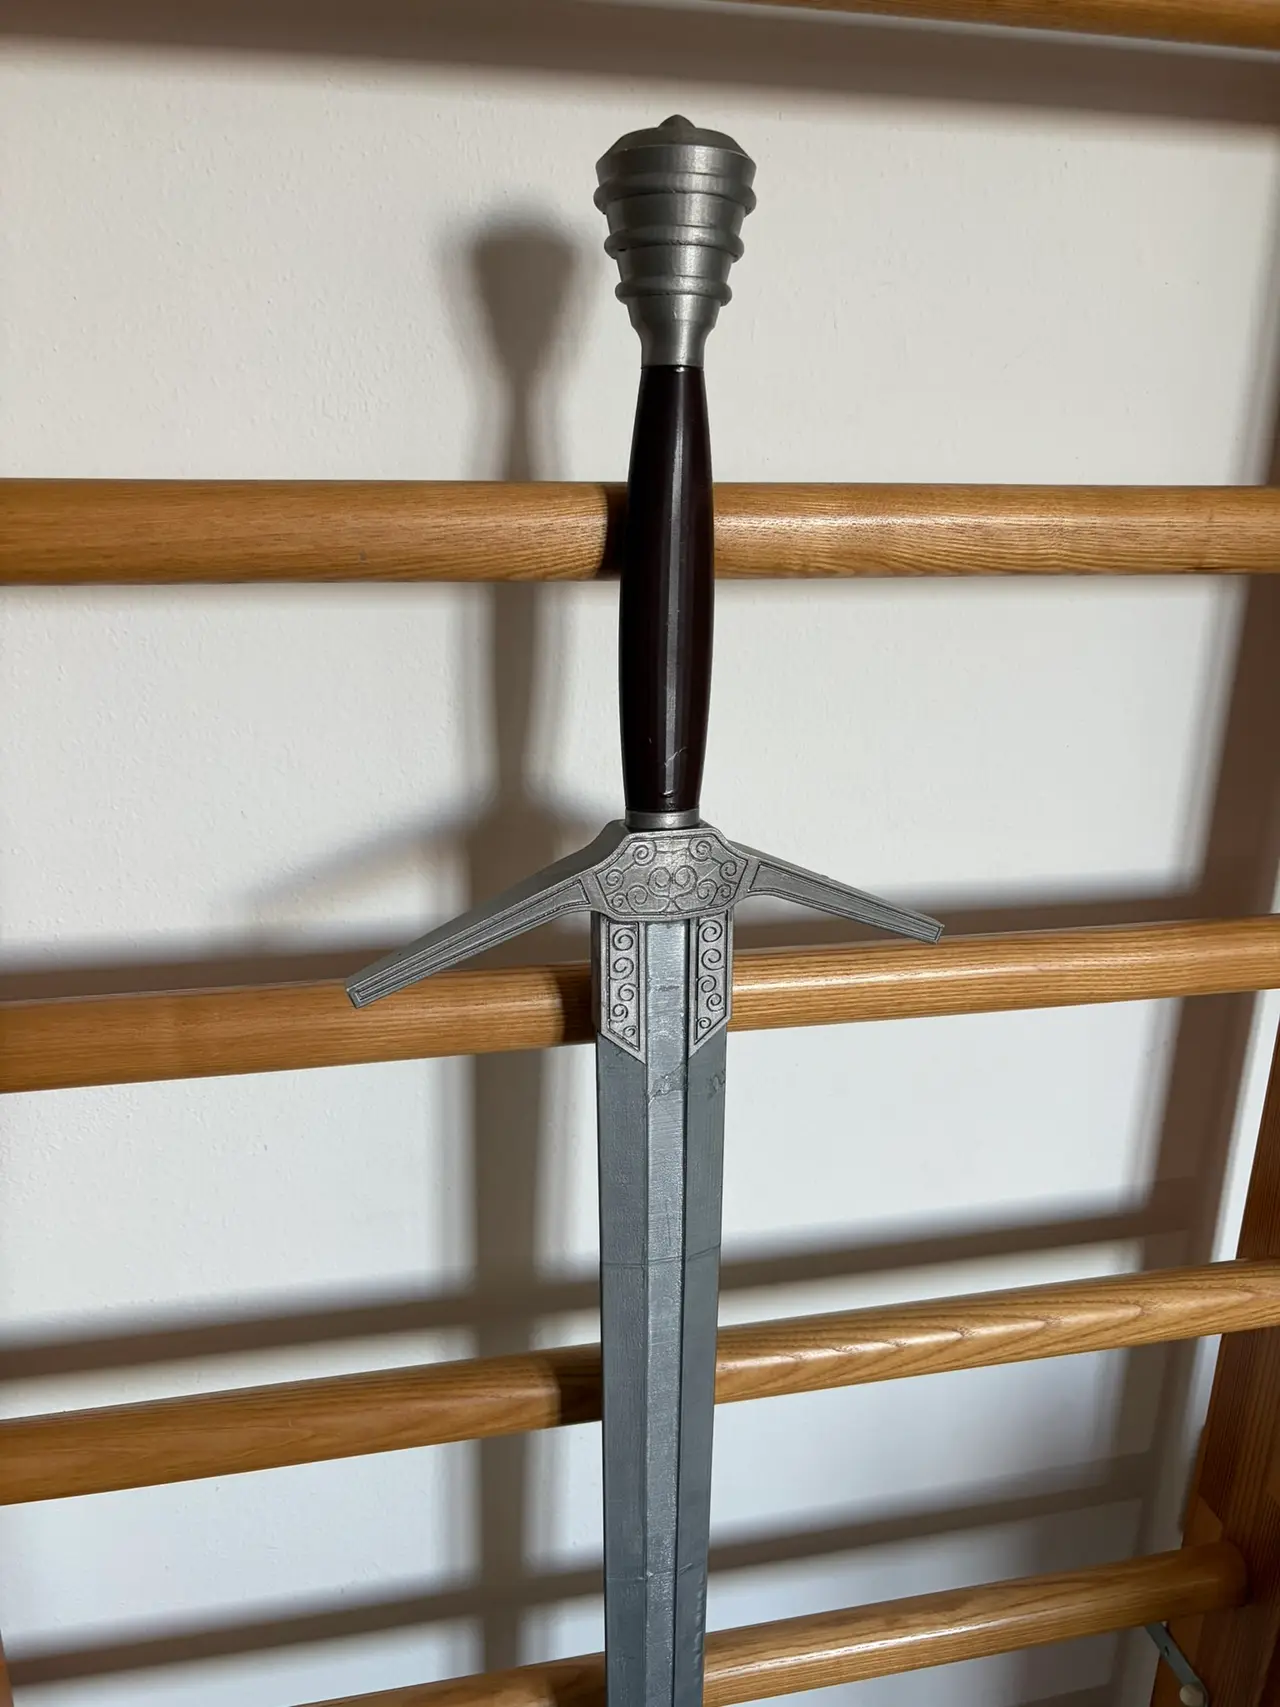
The Witcher - Netflix Steel Sword Replica
por Monker en Printables
A detailed CAD replica of the steel sword from The Witcher Netflix adaptation.
Licencia
Solo uso personalCC BY-NC-SA 4.0 — Atribución, no comercial, compartir igual
Uso personal dando crédito; sin fines comerciales y las modificaciones con la misma licencia.
Al descargar aceptas respetar la licencia y dar crédito a Monker.
Archivos (6)
- Categoría
- Cosplay y props
- Formatos
- STL
- Descargas
- 249
- Publicado
Sobre este modelo
A detailed CAD replica of the steel sword from The Witcher Netflix adaptation. The model was created with a focus on reproducing the shape, proportions and overall appearance of the sword as accurately as possible. The sword is designed as a multi-part assembly for 3D printing and consists of: - Blade – 5 parts
- Guard
- Ring below the guard
- Grip
- Pommel
Internal Reinforcement: The blade is reinforced with two 4 mm stainless-steel rods running through internal channels inside the blade. Required reinforcement - 2× stainless-steel rod
- Diameter: 4 mm
- Length: approximately 1000 mm per rod
The rods are inserted through the blade sections during assembly and provide additional stiffness to the printed blade. The stainless-steel rods are not included with the 3D-print files. Printing: The model is designed for FDM 3D printing. Recommended settings - Layer height: 0.16–0.20 mm
- Perimeters / walls: 3–4
- Infill: 15–30 %
- Material: PLA or PETG
- Supports: depending on the individual part and printer
- Brim: recommended for long blade sections if necessary
The exact settings may need to be adjusted depending on your printer, nozzle size and filament. Assembly: The printed components are designed to be permanently assembled using adhesive. Basic assembly sequence - Print all required components.
- Clean the printed parts and remove any unwanted material.
- Test-fit the components before applying adhesive.
- Insert the two 4 mm stainless-steel rods into the internal channels of the blade.
- Join the five blade sections using adhesive.
- Assemble the remaining components: - guard,
- ring,
- grip,
- pommel.
- Apply adhesive to the appropriate mating surfaces and allow it to cure according to the adhesive manufacturer's instructions.
- Sand and finish the assembled model as desired.
Dry-fit all parts before gluing. Depending on the printer and material, minor sanding or fitting may be required. For PLA and PETG, use an adhesive suitable for the selected material. The choice of adhesive is left to the user. Finishing: For a more realistic replica, the printed parts can be: - sanded,
- filled and primed,
- painted with metallic paints,
- weathered,
- clear-coated.
Descripción original del autor, publicada en Printables.