
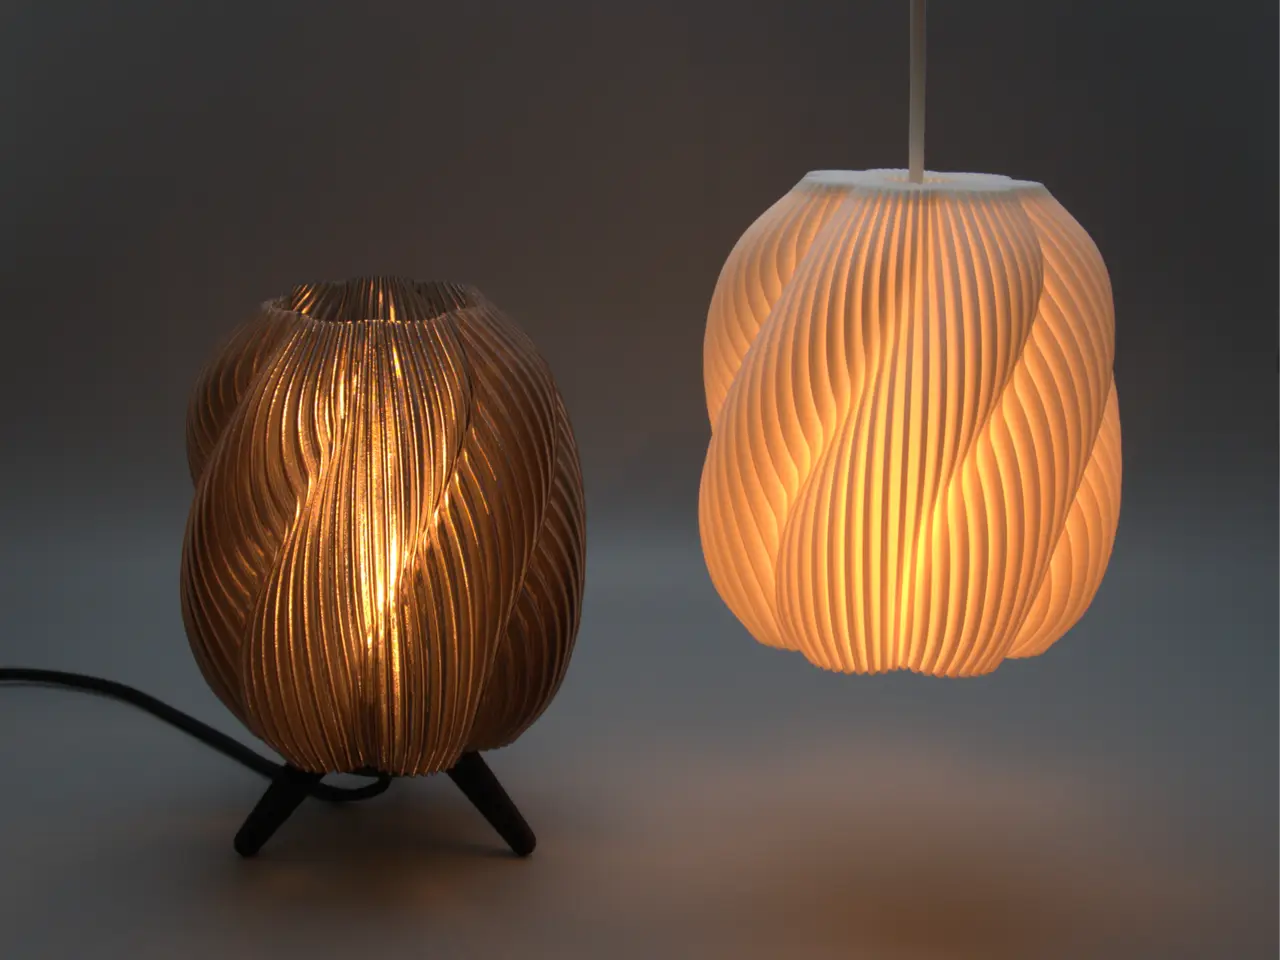
The striped swirl lamp
por SoDR en MakerWorld
The striped swirl lamp. Please note that this model is free for personal use only. If you wish to sell prints of this model i refer you to my commercial license membership
MakerWorld entrega los archivos a usuarios con cuenta gratuita
Licencia
Solo uso personalStandard Digital File License
Licencia estándar de archivos digitales: solo uso personal. No se permite compartir, revender ni subir el archivo a otros sitios, ni vender las impresiones.
Al descargar aceptas respetar la licencia y dar crédito a SoDR.
- Categoría
- Hogar
- Descargas
- 30,596
- Publicado
Sobre este modelo
The striped swirl lamp
Please note that this model is free for personal use only. If you wish to sell prints of this model i refer you to my commercial license membership Membership 7 Jan - 26 I have updated the interlocking part of the shades with a snapfit funktion to keep the shades securely in place.
I have also added a pendant version of both the small and big shades compatible with both E14 and E27 sockets. For the pendant versions no glue is required, you´ll need a threaded socket WITHOUT a integrated “shoulder”. Like this:
Just thread it in from the back and use the provided E14 or E27 nut to secure it and you are done.
I have also updated the print profiles in a effort to minimize the amount of them. I have now bundled them up efter model. So now there are 4 print profiles.
*Table lamp SHADES (Big and small) *Table lamp BASES (Big and small) *Pendant lamp SHADES (Big and small) *Pendant lamp SOCKETHOLDERS (Big e14, E27 & Small E14, E27)
1 Feb-25 Now with a smaller, more shelf-friendly version which is also A1 Mini compatible! 20x20x22 16x16x17.5 Large 20x20x28cm (DxWxH) Small 16x16x22cm (DxWxH)
Large one is designed for either E14, E27 socketholders with retainingcollars or the LED lamp kit 001 The smaller one is only compatible with a E14 socketholder with retaningcollars. The socketholders and fastner-rings are not interchangeable between bases
Assembly instructions Everyting is included in the plate with the bases, just choose what size and which socketholder you want use and glue them in.
¤¤¤ CAUTION! ALWAYS USE LED-LIGHTS!! ¤¤¤
Happy printing!
Descripción original del autor, publicada en MakerWorld.



