
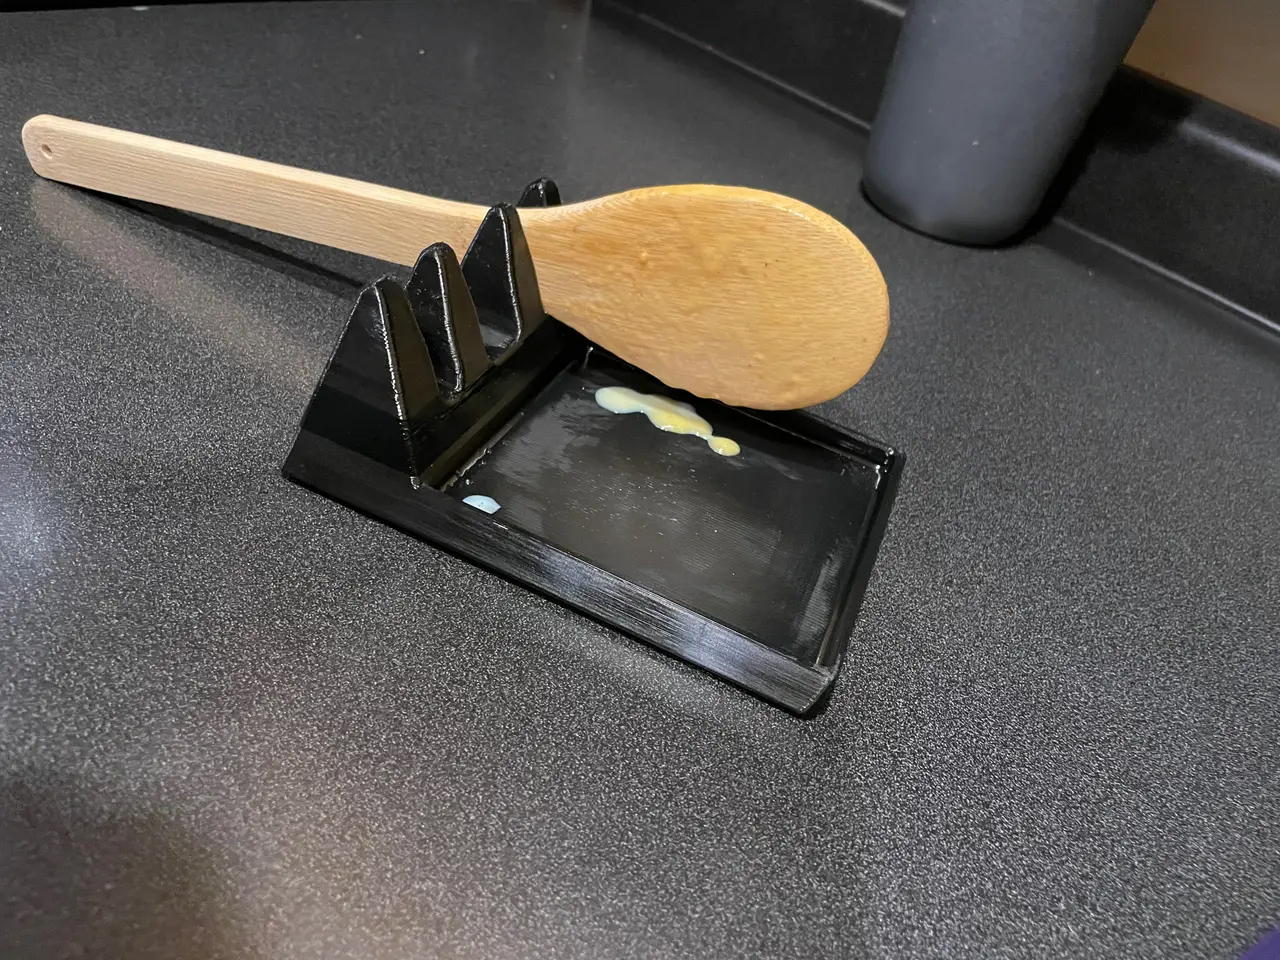
Spoon holder
por mrdeeds en Printables
Just a simple spoon holder.
Licencia
Solo uso personalCC BY-NC-SA 4.0 — Atribución, no comercial, compartir igual
Uso personal dando crédito; sin fines comerciales y las modificaciones con la misma licencia.
Al descargar aceptas respetar la licencia y dar crédito a mrdeeds.
Archivos (1)
- Categoría
- Hogar
- Formatos
- STL
- Descargas
- 6,637
- Publicado
Sobre este modelo
Just a simple spoon holder. It has multiple sized slots to accommodate a variety of spoons and spatulas.
I printed this on and Ender 3 S1 using: - .6 nozzle (I'm sure a .4 would work fine) - .2 layer height - 20% infill using gyroid- By using gyroid, I can fill it with plaster after printing (see plaster details below)
- I added rubber feet to the bottom when finished to help keep it from sliding on the counter
Plaster injection Process
First, the obligatory safety disclaimer: In my opinion, this is not a difficult or unsafe process and it doesn't take much time. I have found that it's an easy way to add some weight to my prints. That being said, do this at your own risk - be careful and do your research about how plaster works.
I start by drilling two small holes (just a little bit bigger than the tip of the injector) into the bottom of the model, spaced apart and at a place on the model where the void is thickest. I use this meat injector syringe: https://www.amazon.com/Meat-Injector-Syringe-Marinade-Seasoning/dp/B08R6ZRXCW I cut the tip with a hacksaw (and sanded it to remove sharp edges) so it's just basically an injector with a 1-2 mm metal tube for a point. I use plaster of paris: https://www.amazon.com/10308-4-Pound-Interior-Plaster-Paris/dp/B000BQLT0S I mix the plaster with water until it's a thick soup (more like a gravy). Hint (lessons learned): Using the syringe, I slowly inject the plaster into one of the holes (the other allows for the air to escape). It helps to hold the model in a position where gravity can help encourage the plaster to flow into empty areas. If needed, I'll shake/vibrate the model between injections to get the plaster to move inside the model. I've sacrificed some rice that I keep in an old cool-whip bowl to set the model in (holes-side-up) to let the plaster dry (typically 7-8 hrs). After dry, I'll either cover the holes with rubber or TPU-printed feet… or inject them with some hot glue just to seal them up.
Descripción original del autor, publicada en Printables.



