
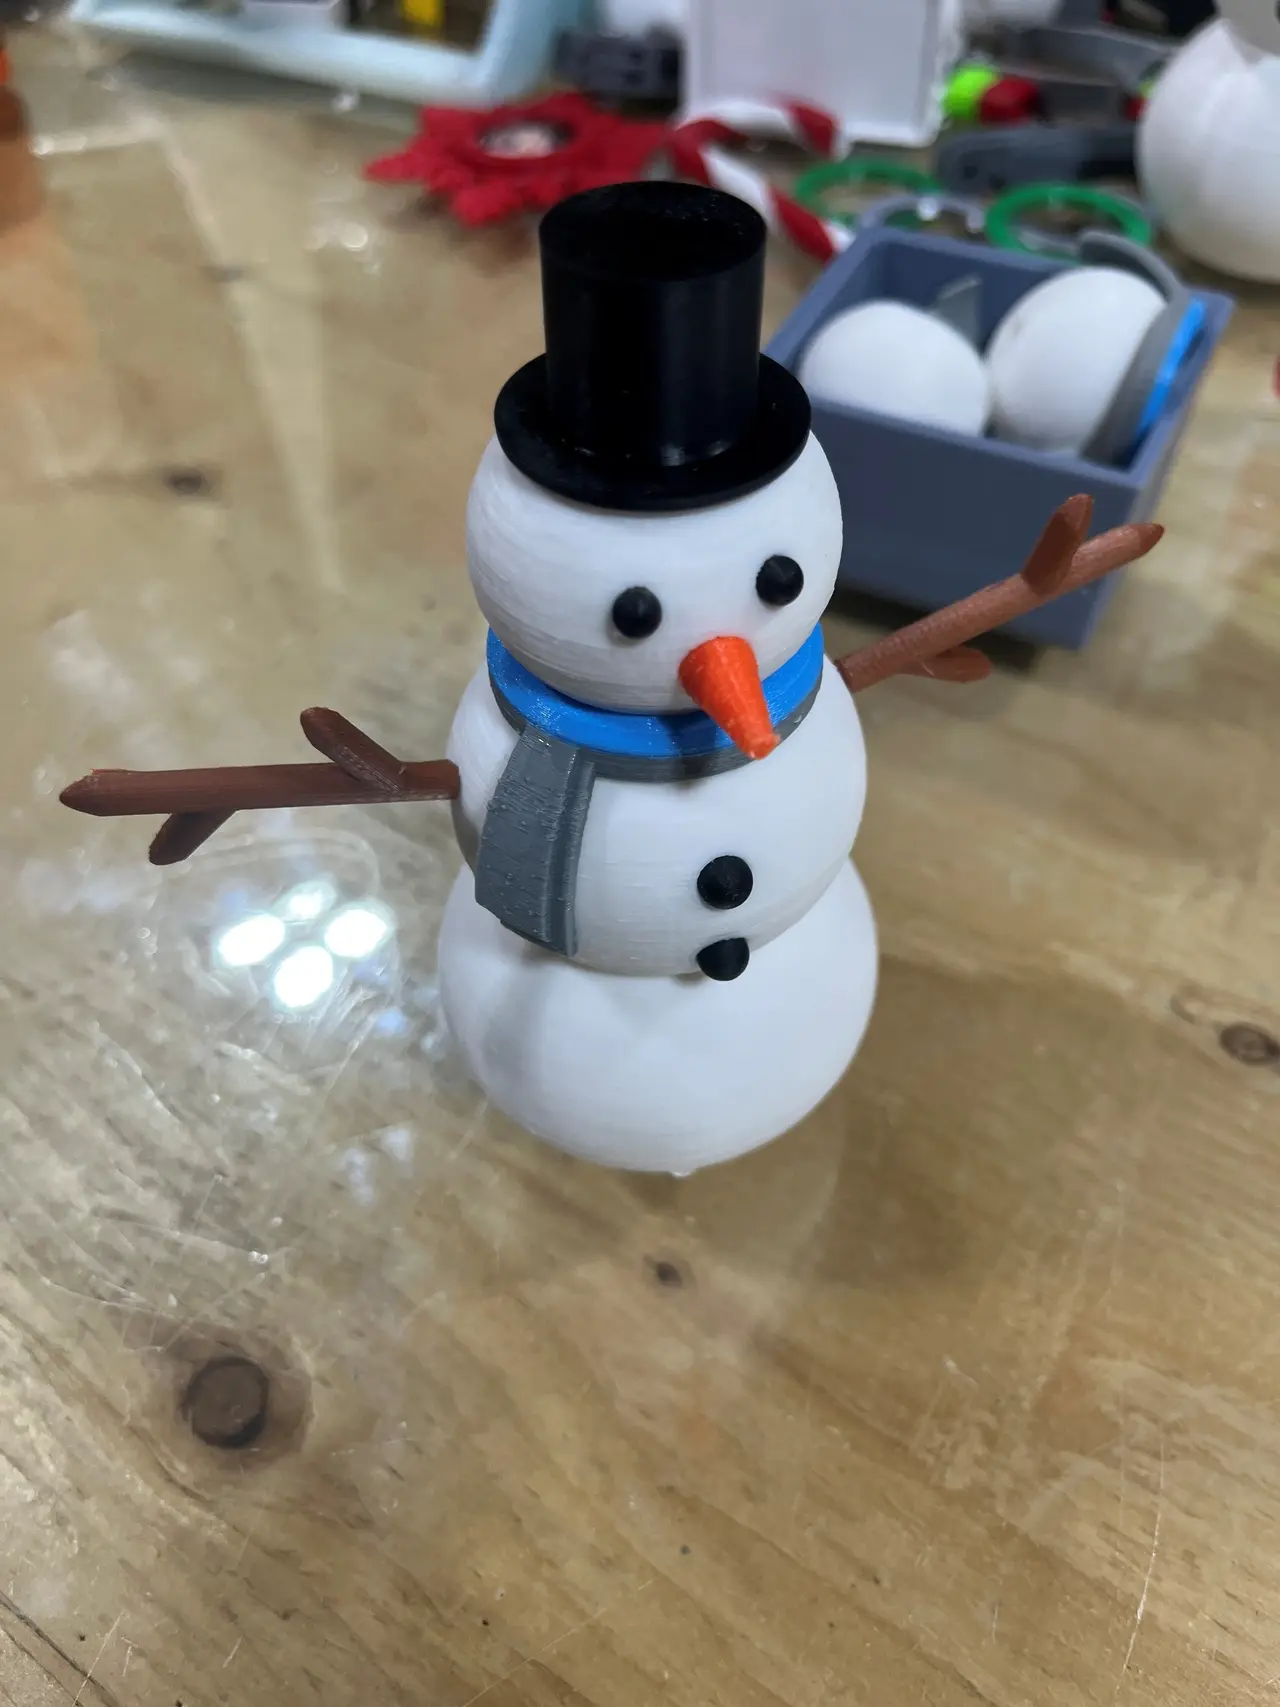
Snowman Friction fit assembly
por Kevin McKay en Thingiverse
I’ve been looking to print a snowman for decorations around the house during Christmas however 90 percent of all models require gluing of the parts. So, I have designed my own snowman that everything is friction fit (plug and play) so to speak. The hat and buttons/eyes are resin 3D printed to get a.
Licencia
Uso comercial permitidoCC BY-SA 4.0 — Atribución, compartir igual
Puedes usarlo y modificarlo dando crédito; las versiones modificadas deben compartirse con la misma licencia.
Al descargar aceptas respetar la licencia y dar crédito a Kevin McKay.
Archivos (7)
- Categoría
- Para tu impresora
- Formatos
- STL
- Descargas
- 3
- Publicado
Sobre este modelo
I’ve been looking to print a snowman for decorations around the house during Christmas however 90 percent of all models require gluing of the parts. So, I have designed my own snowman that everything is friction fit (plug and play) so to speak. The hat and buttons/eyes are resin 3D printed to get a smooth finish; all other parts are filament printed. All filament printed parts have a layer height of .1mm to get a good smooth finish. The holes are the same size as all pins so you will have to insert a drill bit of the proper size into the holes to get a good friction fit of all attaching parts. You might have to tap gently with a small hammer to seat all the parts. Arms/nose require supports while printing. The hat/eyes and buttons are supported by resin printing and are grouped together as they are all the same colour. As noted in the file names (with V2/V3) I had to make adjustments to the parts to get a good fit. When inserting parts twist as you insert the parts. if a little too tight wiggle the drill as you widen out the holes. Fully assembled overall height is 12cm Files also available on Tinkercad https://www.tinkercad.com/things/65LWWTXnSmG-snow-man-friction-fit?sharecode=Tgspj1Lk0HG-yKlHVHY_wrVwokZd5veIADx0Wicjn1M
Descripción original del autor, publicada en Thingiverse.



