
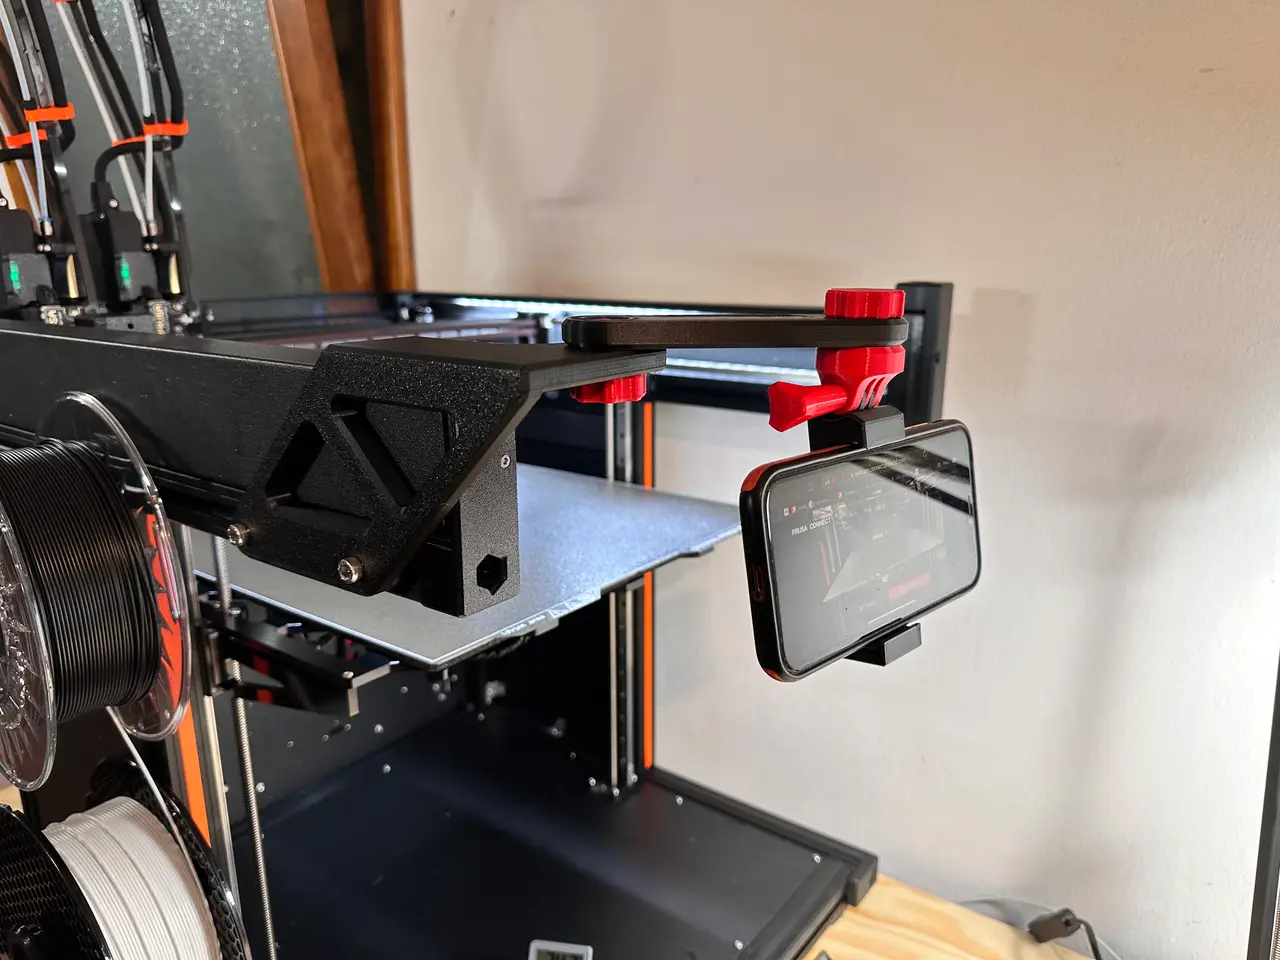
SMARTPHONE/GOPRO HOLDER FOR PRUSA XL
por Manuel en Printables
Very convenient and practical for attaching a smartphone or Go Pro to your XL
Licencia
Solo uso personalCC BY-NC 4.0 — Atribución, no comercial
Puedes imprimirlo y modificarlo para uso personal dando crédito. No se permite vender las impresiones.
Al descargar aceptas respetar la licencia y dar crédito a Manuel.
Archivos (11)
- screw handle.3mf 3MF · 59 KB
- cork.3mf 3MF · 2 KB
- Smartphone support (1).3mf 3MF · 14 KB
- locking screw.3mf 3MF · 48 KB
- Smartphone support.3mf 3MF · 31 KB
- GO PRO connection joint.3mf 3MF · 693 KB
- screw.3mf 3MF · 141 KB
- Arm.3mf 3MF · 148 KB
- Frame fixing bracket DX.3mf 3MF · 32 KB
- Frame fixing bracket SX.3mf 3MF · 31 KB
- SMARTPHONE HOLDER FOR PRUSA XL.step STEP · 4,5 MB
- Categoría
- Para tu impresora
- Formatos
- 3MF, STEP
- Descargas
- 595
- Publicado
Sobre este modelo
SMARTPHONE/GOPRO HOLDER FOR PRUSA XL
Very convenient and practical for attaching a smartphone or Go Pro to your XL. Through Prusa Connect you can connect your old smartphone and use it as a cam to see your print or you can fix a Go Pro to make timelapses YOU WILL NEED THE FOLLOWING ITEMS: - 2 T-NUT M6 - 2 SCREWS M6X20 - 1 SCREW M5x45 - 1 NUT M5 - 1 SCREW M3x16/20 - 1 NUT M3
PRINTING INSTRUCTIONS : - MATERIAL: PET-G - NOZZLE : 0.4/0.6 - LAYER HEIGHT: 0,2/0,3 - WALLS: 3/4 - BOTTOM AND TOP LAYER: 4/5 - INFIL: 40/50% - SUPPORTS : ONLY ON SMARTPHONE SUPPORT
PLACE THE SUPPORTS MANUALLY AS SHOWN IN THE IMAGE LEAVE THE DEFAULT SETTINGS IN PRUSASLICER FOR THE SUPPORTS
THESE OBJECTS MUST BE PLACED LIKE THIS
Once everything is printed, we start assembling the various pieces. You will need an M5x45 screw and an M5 nut
Insert the M5x45 screw into the handle and push it all the way in
finally insert the cap and position the M5 nut in the GO PRO connection joint
Assemble the smartphone holder insert the M3 nut in the knob and the M3x16 screw in the smatphone holder
Now fix the bracket to the frame of the XL based on which bracket you printed right or left using the 2 T-NUTS and the 2 M6x20 screws fix the arm to the bracket using one of the 2 screws you printed, it must be positioned on the threaded hole of the arm finally mount the smartphone holder as you prefer, above or below
Descripción original del autor, publicada en Printables.



