
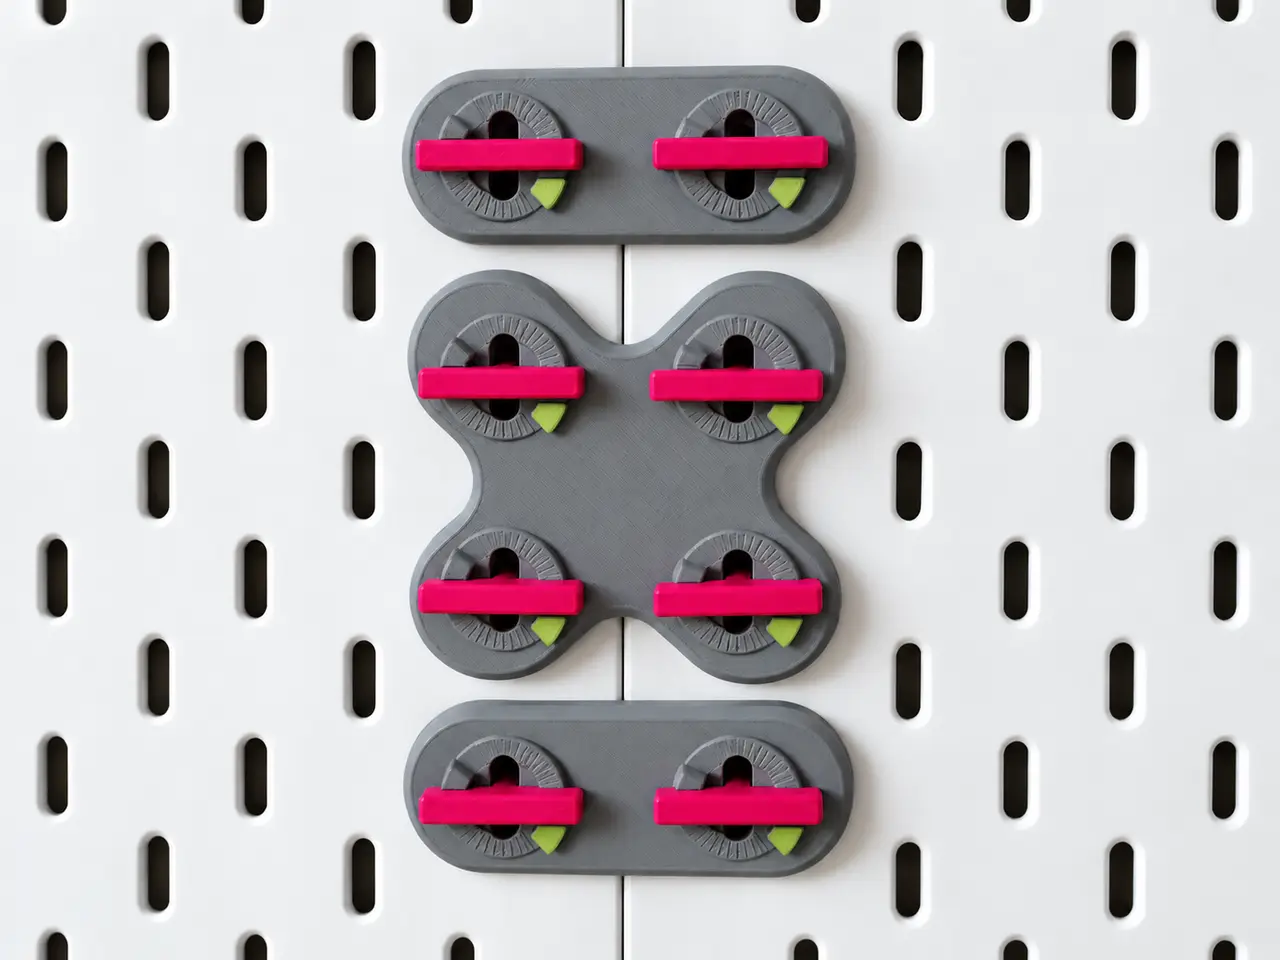
SKÅDIS Quarter-Turn Locking Board Connectors
por ArtSuzhou en Printables
Tool-free quarter-turn locking connectors for joining IKEA SKÅDIS pegboards. Easy to install, remove, and rearrange.
Licencia
Solo uso personalCC BY-NC-SA 4.0 — Atribución, no comercial, compartir igual
Uso personal dando crédito; sin fines comerciales y las modificaciones con la misma licencia.
Al descargar aceptas respetar la licencia y dar crédito a ArtSuzhou.
Archivos (3)
- Categoría
- Hogar
- Formatos
- STL
- Descargas
- 245
- Publicado
Sobre este modelo
Description Join adjacent IKEA SKÅDIS pegboards with tool-free, quarter-turn locking connectors. Position the connector across the seam, insert the locking anchors through the board slots, and turn the levers 90° to secure it. I designed these to keep neighboring boards aligned while making the connection easy to install, remove, and rearrange. Two versions - Two-lock connector: A compact bar for joining two adjacent boards.
- Four-lock connector: A wider plate with four attachment points to help resist twisting and relative movement between boards.
Features - Designed for IKEA SKÅDIS pegboards.
- Hand-operated quarter-turn locks.
- No screws, nuts, or tools required for the connection.
- Removable and reusable.
- Contrasting lever colors make the locks easy to identify.
Print Settings - Material: PLA or PETG
- Infill: 15%
- Layer height: 0.12 mm recommended for smooth locking operation
- Supports: None needed
- If using a multicolor printer, use your slicer’s paint tool to color the stop markers in a highly visible color, such as yellow, red, or the lime green shown in the photos.
Print one connector plate and two or four locking anchors, depending on the version. Assembly - Position the pegboards next to each other with their slots aligned.
- Place the connector across the seam.
- Align each anchor with its slot and insert it through the connector and board.
- Turn each lever 90° in its locking direction until seated.
Horizontal levers indicate the locked position. Return the levers to vertical to release and remove the connector. Print one connector plate and either two or four locking anchors, depending on the version. These connectors join the boards together; mount or support each pegboard appropriately for your installation. Share your make I’d love to see how you use these in your pegboard setup! Share a make and let me know how the fit works on your boards.
Descripción original del autor, publicada en Printables.



