Self-Orienting Ratchet Socket Wrench
por KrazyKoder22 en Thangs
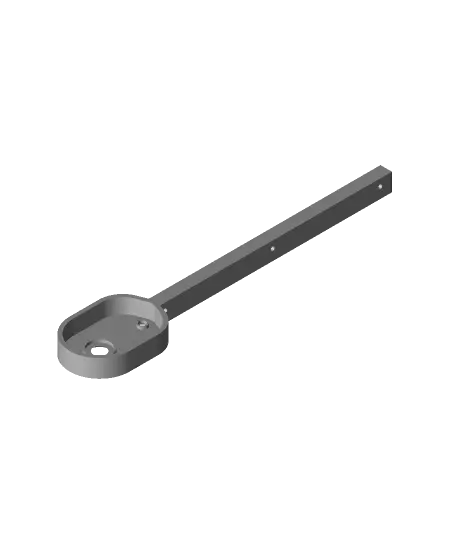
This socket wrench chooses the correct ratcheting direction on its own when you start using it! All you need to do is reset it with the switch afterwards. Gone are the days of ratcheting the wrong way!
Thangs entrega los archivos a usuarios con cuenta gratuita
Licencia
Solo uso personalSin licencia indicada
El autor no indicó una licencia: todos los derechos le pertenecen. Úsalo solo para imprimir en casa y consulta al autor para cualquier otro uso.
Al descargar aceptas respetar la licencia y dar crédito a KrazyKoder22.
Archivos (10)
- Socket.stl STL · 106 KB
- Pawls.stl STL · 59 KB
- Anvil.stl STL · 261 KB
- Big Pin.stl STL · 23 KB
- Small Ring.stl STL · 16 KB
- Small Pin.stl STL · 20 KB
- Big Ring.stl STL · 32 KB
- Switch.stl STL · 74 KB
- Cap.stl STL · 222 KB
- Frame.stl STL · 63 KB
- Categoría
- Herramientas
- Formatos
- STL
- Descargas
- 74
- Publicado
Sobre este modelo
This socket wrench chooses the correct ratcheting direction on its own when you start using it! All you need to do is reset it with the switch afterwards. Gone are the days of ratcheting the wrong way!
Assembly: 1. Insert both halves of the BIG PIN into the larger hole in the FRAME. 2. Press the ANVIL onto the BIG PIN, making sure to align the through holes. 3. Insert a 1 inch length of filament all the way through the holes to pin the ANVIL to the BIG PIN. This step cannot be reversed. 4. Insert both halves of the SMALL PIN into the smaller hole in the FRAME. 5. Press the PAWLS onto the SMALL PIN, making sure that the two arms are spaced apart by two ANVIL teeth when centered. 6. Press the CAP onto the FRAME, making sure that the handle end of the FRAME sits snugly in the CAP channel. The ANVIL and SMALL PIN should fit into their corresponding CAP holes. 7. Press the SWITCH onto the SMALL PIN with the bump facing upwards. Make sure the small hole in the SWITCH lines up with the small hole in the PAWLS through the slot in the CAP. 8. Insert a 3/8" length of filament into the small hole in the SWITCH, making sure to pass it through the hole in the PAWLS. Only press the filament pin far enough to sit flush with the SWITCH. 9. Slip the BIG RING and SMALL RING onto the ANVIL and SMALL PIN, respectively. This will lock the head of the CAP to the FRAME. 10. Insert lengths of filament through the three holes in the handle to pin the CAP to the FRAME. Snip off excess. 11. Attach demonstration SOCKET if desired.
Descripción original del autor, publicada en Thangs.