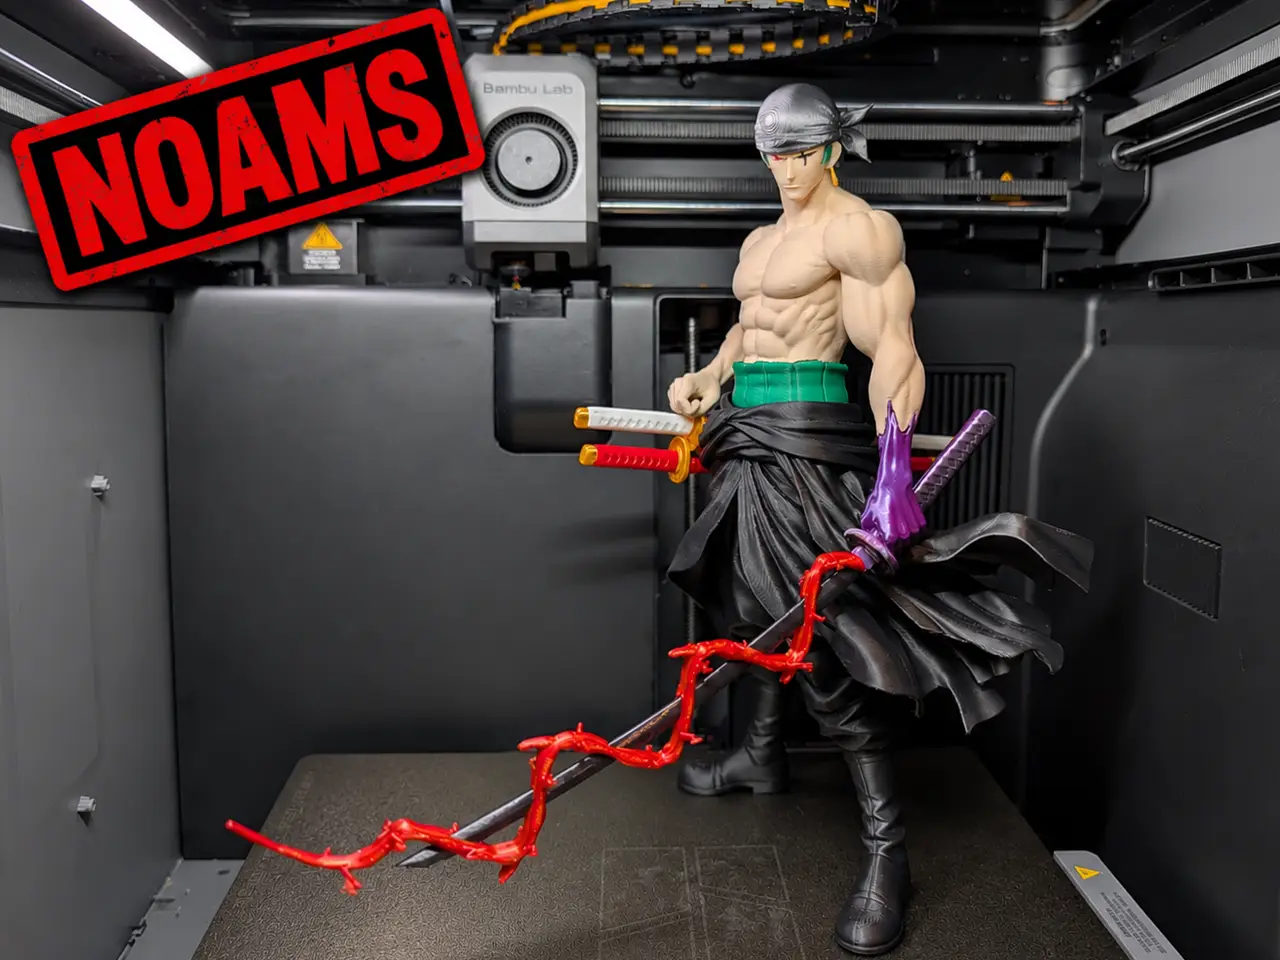
Roronoa Zoro – The Demon King | NOAMS | One Piece
por Chizey en MakerWorld
Roronoa Zoro – The Demon King | AMS & NOAMS Friendly | One Piece ⚔️. The King of Hell himself, Roronoa Zoro from One Piece!
MakerWorld entrega los archivos a usuarios con cuenta gratuita
Licencia
Solo uso personalStandard Digital File License
Licencia estándar de archivos digitales: solo uso personal. No se permite compartir, revender ni subir el archivo a otros sitios, ni vender las impresiones.
Al descargar aceptas respetar la licencia y dar crédito a Chizey.
- Categoría
- Figuras y arte
- Descargas
- 152
- Publicado
Sobre este modelo
Roronoa Zoro – The Demon King | AMS & NOAMS Friendly | One Piece ⚔️ The King of Hell himself, Roronoa Zoro from One Piece! This model is designed to be AMS and NOAMS friendly, with all parts separated so you can print them in your preferred colors and assemble everything afterward.
If you like my work, a Boost would be much appreciated! ❤️ Boost MeThank You<3Printing & Assembly
- AMS & NOAMS: Both versions are included for the body. The model shown in the pictures was printed using the AMS version. I haven't personally tested printing and assembling the separate eye pieces in the NOAMS version.
- Separate parts: The model is split into individual pieces, allowing you to choose your own colors without needing an AMS.
- Optional Haki effect: I've included an alternative Haki effect for the sword! Simply glue the two Haki pieces onto opposite sides of the blade.
- Silk PLA: For the model in the pictures, I used purple and black Silk PLA for the Haki effects on the arm and sword, and Gold Silk PLA for the golden details.
- Print profile: The included print profile is set up for PLA Matte only, so make sure to adjust the filament settings if you're using other materials, especially Silk PLA.
- Plate orientation: There's probably still room for improvement in how some parts are positioned on the build plates. Feel free to experiment with different orientations and support settings to find what works best for you!
- Swords: I recommend fully assembling the swords at his waist before gluing them into place.
- Supports: Take extra care when removing supports, especially around the smaller and more fragile parts.
- Glue required: I recommend test-fitting the parts before applying glue to make sure everything fits correctly.
I'm really happy with how this one turned out, and I hope you enjoy printing! ⚔️
Descripción original del autor, publicada en MakerWorld.