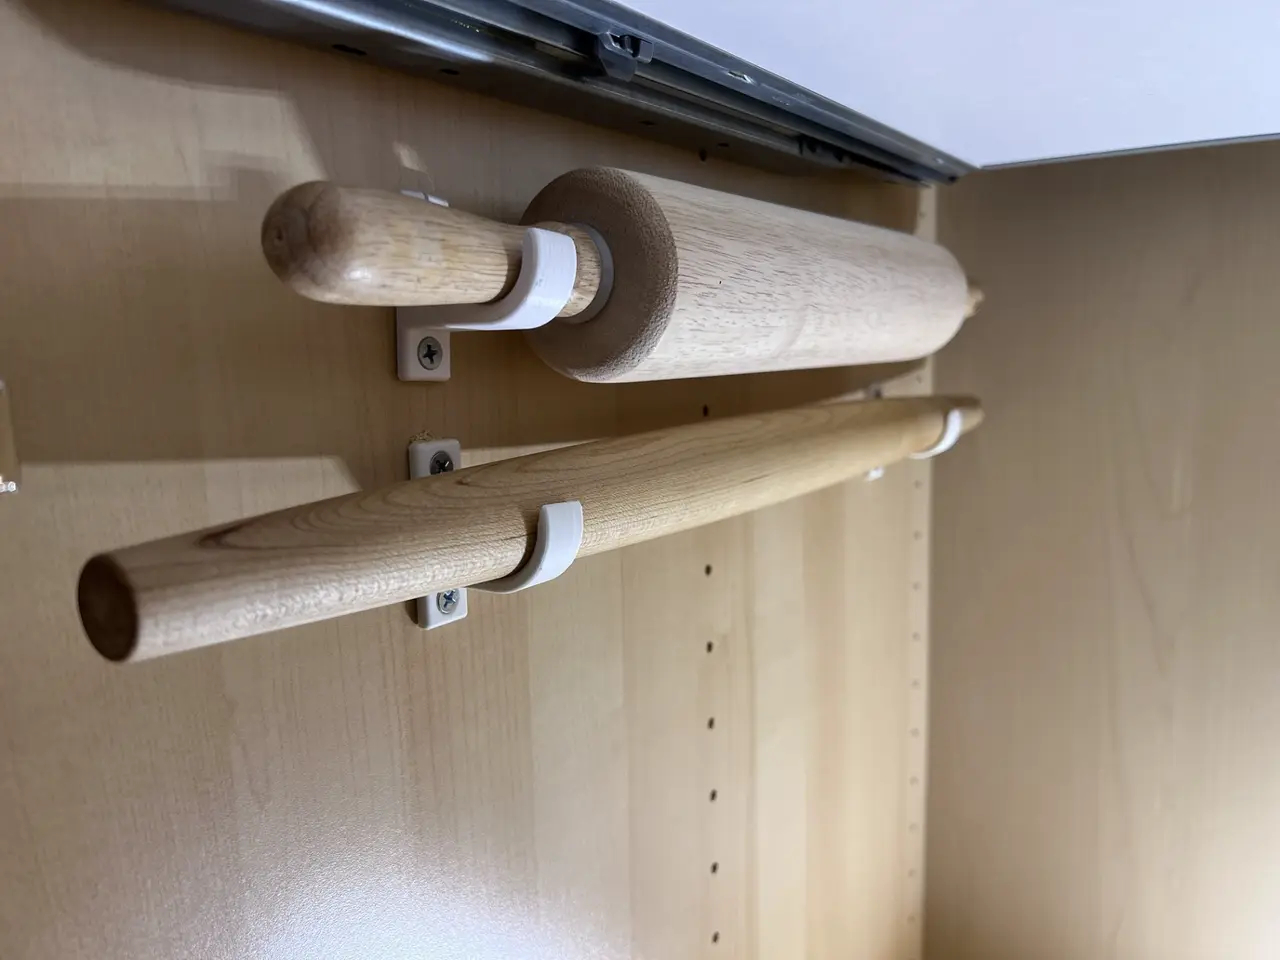
Rolling Pin Wall Holder - French or Regular Pins
por CrownSeven en MakerWorld
Free up the drawer. Two small cups screw to the inside of a cabinet or pantry wall and hold your rolling pin sideways. The pin drops in from the top and lifts straight out.
MakerWorld entrega los archivos a usuarios con cuenta gratuita
Licencia
Solo uso personalStandard Digital File License
Licencia estándar de archivos digitales: solo uso personal. No se permite compartir, revender ni subir el archivo a otros sitios, ni vender las impresiones.
Al descargar aceptas respetar la licencia y dar crédito a CrownSeven.
Archivos (1)
- RollingPin_WallCradle.scad SCAD · 9 KB
- Categoría
- Hogar
- Formatos
- SCAD
- Descargas
- 0
- Publicado
Sobre este modelo
Free up the drawer Two small cups screw to the inside of a cabinet or pantry wall and hold your rolling pin sideways. The pin drops in from the top and lifts straight out. Works with a French pastry rolling pin (tapered, no handles) or a regular rolling pin with handles. Both are shown in the photos.
Click Customize, enter your pin's measurements, and the cups size themselves.
- 🥖 Made for French (tapered) pins: each cup is a gentle cone shaped to your pin's taper, so the pin sits snugly and can't slide out either end. No clips or straps.
- 🍪 Regular rolling pins too: put the cups on the handles. The thick rolling part sits between them and keeps the pin from sliding.
- 📏 Fits your pin: enter a few caliper measurements and the cups size themselves.
- 😊 Hard to install backwards: each cup has a little smiley on one side. The smiley faces the end of the pin.
- 🔩 Countersunk or straight screw holes, your choice.
- 🖨️ No supports: both cups print lying on their side, which is also the strongest direction.
How to measure (calipers work best, all in mm)
- Pick the spot near one end of the pin where you want a cup. Measure the pin's thickness there.
- Move about 10 mm toward the middle and measure again.
- Measure the thickest part of the pin.
Regular rolling pin with handles: measure the handle where the cup will sit, enter that same number in both of the first two settings, and enter the rolling part's thickness as the thickest part. Customize it (click "Customize") SettingWhat it does Pin thickness at the cupPin diameter where the cup's outer edge sits. Pin thickness a little further inDiameter measured a bit toward the middle. Use the same number for a straight handle. Distance between measurementsHow far apart those two measurements were (10 mm is typical). Thickest part of the pinKeeps the pin from rubbing the cabinet. Fit clearanceExtra room in the cup. Raise if tight, lower if loose. Cup width / Wall / Lip heightCup size and strength. Higher lips keep the pin in better. CountersunkFlat-head screws sit flush; turn off for pan-head screws. Screw hole / head size#8 = 4.5 / 9 (defaults), #6 = 3.8 / 7.5, #10 = 5.2 / 10. Smiley faceOn/off, size and depth. Shrinks to fit small cups. What to printA mirrored pair (default), or just a left or right cup.
Hardware
- 4 screws, #8 × ¾" flat-head wood screws by default.
- Pick a screw length that's longer than the plate (4.5 mm) plus about 12 mm, but shorter than the plate plus your cabinet wall. ¾" screws are right for standard 5/8"–¾" cabinet sides.
Installing
- Screw in the first cup with its smiley facing the end of the pin (outwards).
- Set the pin in it, level it, and mark where the second cup goes, smiley facing the other end.
- Screw in the second cup and drop the pin in.
Printing
- Print as generated, lying on the side. No supports.
- PLA or PETG. 3 walls, 15–20% infill, 0.2 mm layers.
Like it? ⚡ Boost it! If this cleared out your drawer, a Boost really helps me keep making free, customizable models. Post a make with your pin measurements so others with the same pin can copy them! Changelog
- v1.0: first release.
Descripción original del autor, publicada en MakerWorld.