Prusa HT Hotend Silicone Sock (mold)
por Scott en Printables
A simple mold so you can cast your own silicone sock for the Prusa HT Hotend
Licencia
Solo uso personalCC BY-NC-SA 4.0 — Atribución, no comercial, compartir igual
Uso personal dando crédito; sin fines comerciales y las modificaciones con la misma licencia.
Al descargar aceptas respetar la licencia y dar crédito a Scott.
Archivos (3)
- Categoría
- Para tu impresora
- Formatos
- STL
- Descargas
- 15
- Publicado
Sobre este modelo
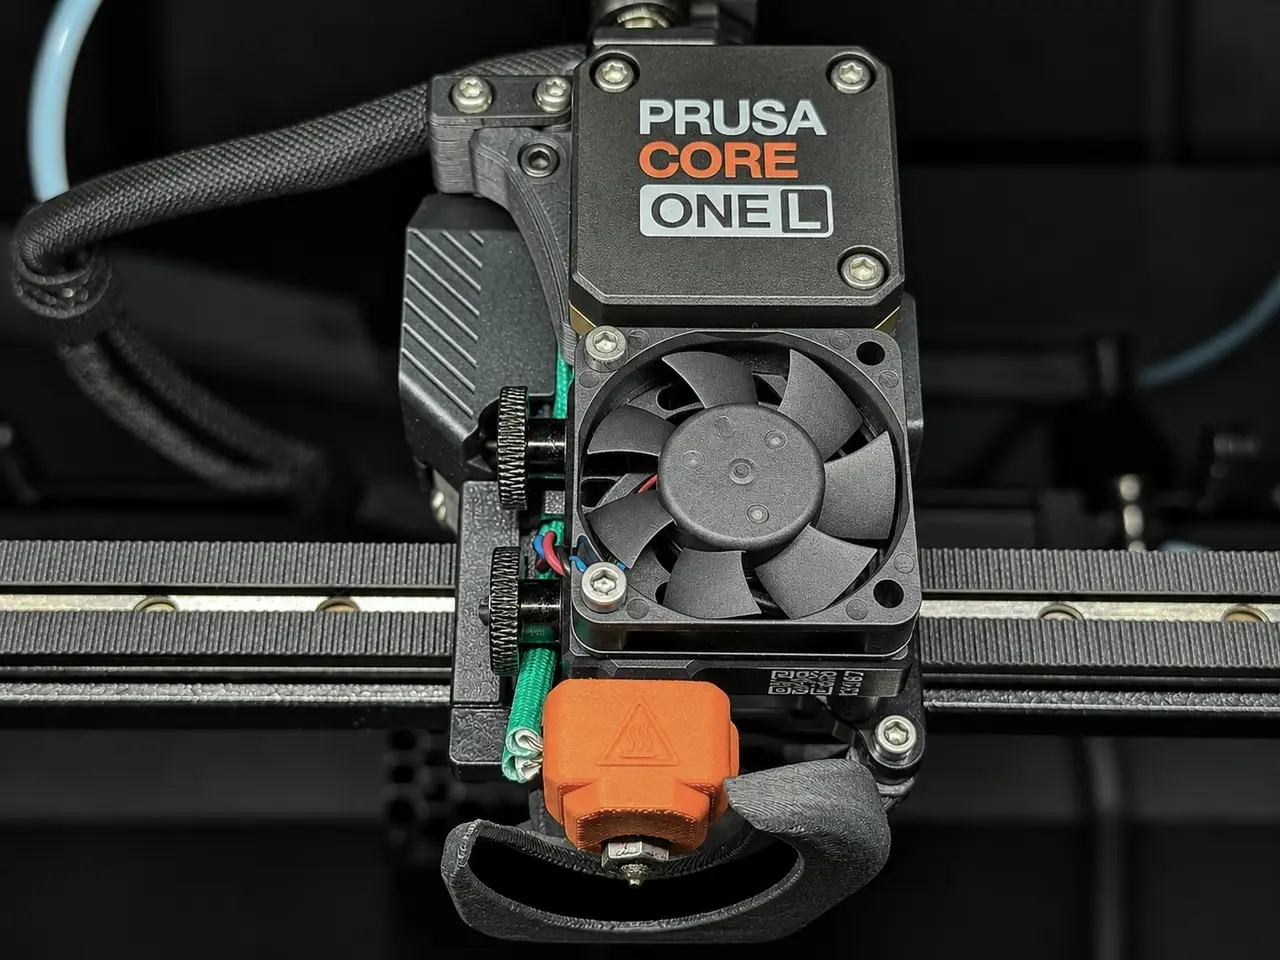
When I first saw the HT Hotend, I knew I would want to keep it on my printer to print everything (I'm lasy): from PLA to PPS-CF. When printing high temp material, drying is mandatory and you MUST store PA/PC/PPA (etc) with extrem careto keep this perfect dry state. With PLA and PETG, I'm not as strict with conservation, and it happens often to print them while theyr are not perfectly dry, that cause stringing, little blobs etc that always ends stuck to my hotend. HT Hotend is expensive, and I don't want to mess with it and get some low temp filament to stick to it and later get baked at 350°C+ when switching to high end material. That's why I designed a mold to be able to cast my own silicone sock. It will definitely continue curing on the HT hotend and will crumble/break after some time, but I will be able to make more if needed. /!\ CAUTION: REMOVE THE SOCK ABOVE 280°C! /!\
HARDWARE You will need several things to be able to make your own silicone socks: - HT Silicone (bi-component) like TrollFactory TFC Type 3
- Pigments (made for HT silicone, like DIPON SILIKON paste)
- Precision scale
- Small cups (to mix silicone)
- Gloves (silicone is messy)
- Syringe
- 1* M3x10 screw
- 4* M3x25 (minimum length)
- 4* M3 nuts
PRINT TIPS Orientation Every parts are already oriented and optimized for the printer!
Supports Only inner part needs supports under the tabs I recommend Organic, 0,1mm top contact Z, 3 interface layers
Z seam I recommend REAR while keeping the parts orientation provided
Layer height 0.1mm will reduce visible layers on silicone sock
Material PETG is naturally non sticky on silicone I used Fiberlogy Matte PETG to make the silicone sock less shiny (more satin)
Calibration Your filament needs to be well tuned to avoid some under/overextrusions and get nice ventilation/injected holes. If those holes are closed after printing, you may have to drill them with 1mm bit.
ASSEMBLY Straight forward, just use M3x10 to connect upper part with inner part. To close the mold, use 4 M3x25 (minimum length) with 4 M3 nuts: SILICONE PREPARATION AND CASTING The tutorial is the same as CNC Kitchen made several years ago, and you can find it here. - Material preparation
- Weight 1:1 ratio of silicone. You will need around 4g total (2g each component). If you want to die it, do it now.
- Mixe the silicone until it's homogeneous
- Suck the silicone into the syringe (go slowly)
- Remove almost all air in syringe
- Close the tip with one finger (with a glove on) and pull the piston to create void in the syringe and remove as much air trap in silicone
- When there is no bubble anymore, remove air and start injecting in the big chamfered hole
- Push the silicone while tilting the mold to rise the vent holes until silicone overflow through the vents
- Wait until it's set (check your silicone instructions)
- Open the mold, remove some silicone trapped on nozzle/thermistor/heater openings and cut the silicone so you can install it like in the picture:
- Install your sock! (I died it in orange by adding yellow to the mix on that picture)
BUY MY SILICONE SOCKS! If you don't want to mess with all the stuff and buy some already made silicone socks, I will try to find a way to sell them, please DM me! SUPPORT ME! If you want to support me, don't hesitate to like and download the files so I can earn some prusameters or consider using my referal code when buying a printer: @ScottWolfs :) If you really want to help, you can join my CLUB!
Descripción original del autor, publicada en Printables.