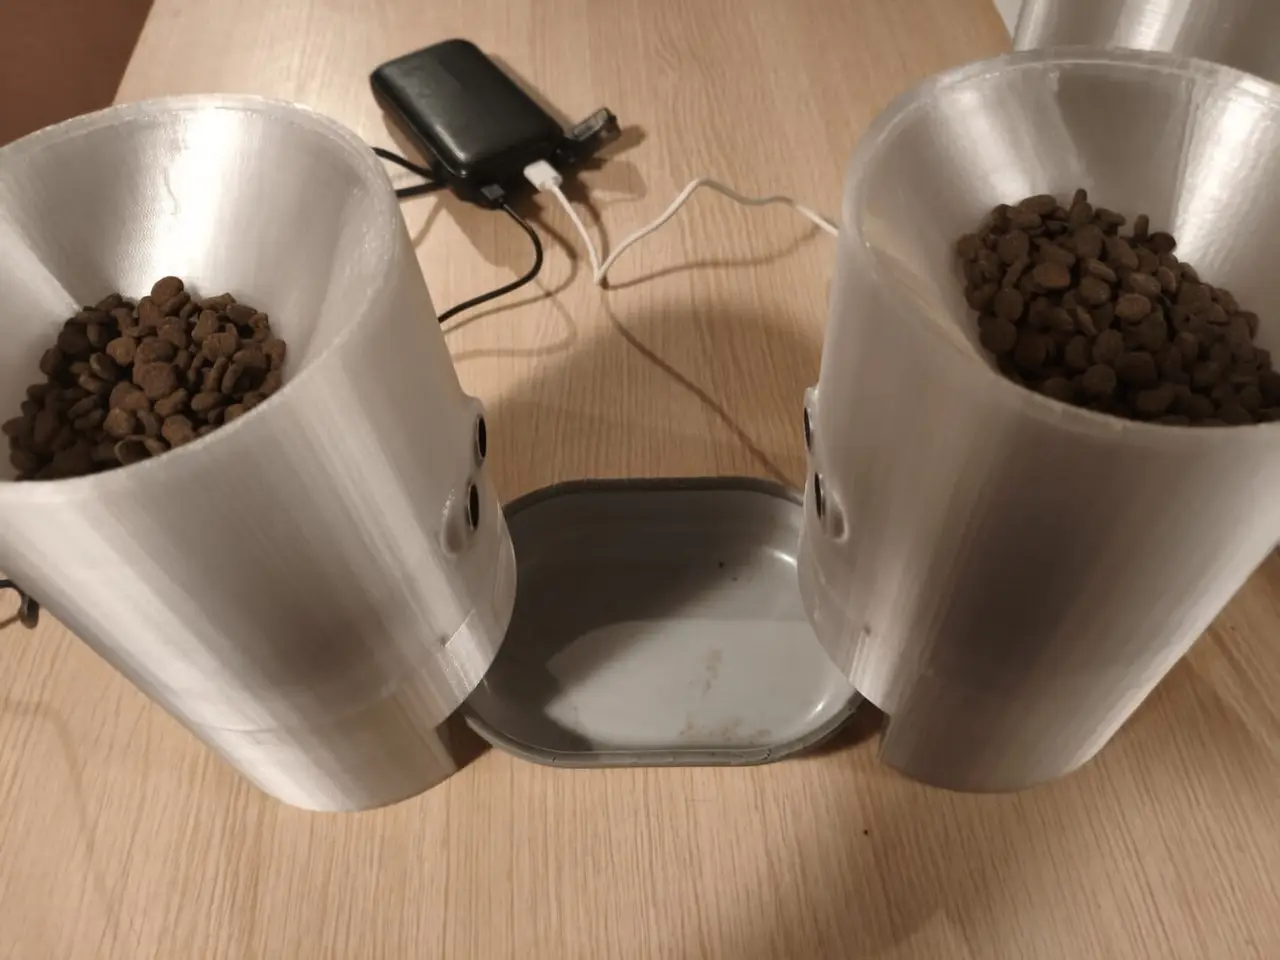
Pet feeder
por Tony Chen en Thingiverse
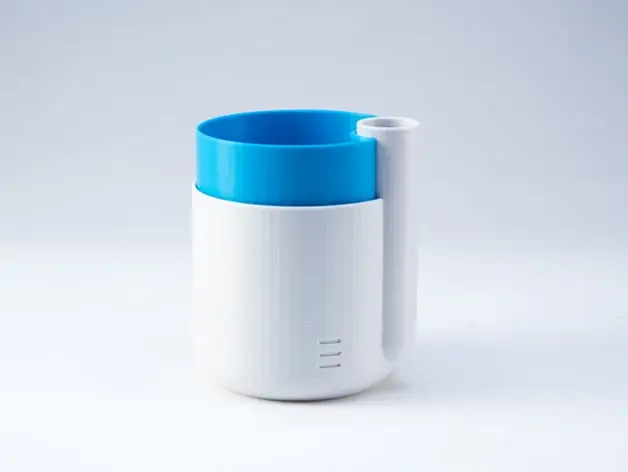
As you can see, this has a small reservoir, so a pet feeder for a normal cat or small dogs or a really fat hamster Features - easy assembly, only require 2 screws for the motor and maybe hot glue, hand twist some wires - Inexpensive - ultrasonic sensor to auto feed/scare your pets - limit the feeds.
Licencia
Solo uso personalCC BY-NC 4.0 — Atribución, no comercial
Puedes imprimirlo y modificarlo para uso personal dando crédito. No se permite vender las impresiones.
Al descargar aceptas respetar la licencia y dar crédito a Tony Chen.
Archivos (8)
- pet_feeder_prototype_-_bottom_normal.stl STL · 194 KB
- pet_feeder_prototype_-_bottom_slant.stl STL · 215 KB
- pet_feeder_prototype_-_bottoom_hole.stl STL · 210 KB
- pet_feeder_prototype_-_lid1.stl STL · 215 KB
- pet_feeder_prototype_-_servo_plate2.stl STL · 107 KB
- pet_feeder_prototype_-_top1.stl STL · 655 KB
- pet_feeder_prototype_-_auger4.stl STL · 49 KB
- pet_feeder_prototype_-_hopper2.stl STL · 217 KB
- Categoría
- Hogar
- Formatos
- STL
- Descargas
- 91
- Publicado
Sobre este modelo
As you can see, this has a small reservoir, so a pet feeder for a normal cat or small dogs or a really fat hamster Features - easy assembly, only require 2 screws for the motor and maybe hot glue, hand twist some wires - Inexpensive - ultrasonic sensor to auto feed/scare your pets - limit the feeds per day (time and amount) - esphome so easy integrate to Home Assistant - Remote feeding - Pick the speed and total rotation time of the servo (can reduce the noise) - Schedule time to dispose kibble (testing)
short comings - some kibble will get stuck in there, require tilting and run the servo a few time empty it. - small kibble might not work that well, it can get stuck under the blade of the auger, hence the back and forward motion
BOM - ESP board (I used the ESP32) - 608zz bearing - SG90 micro servo motor - HC-SR04 ultrasonic distance measuring sensor - some tape - 4 wires - a usb cable - a 5v 2A power brick
Instruction - Electronic (note: It is recommended to split the power cable to feed power to the esp and servo separately, but I don't like cutting a perfectly good usb cable) - cut the power and GND around the middle for the servo, solder a wire with the cut power wire together and another wire with the GND wire so you have 2 wires branch off. - connect the 2 branch off wire to the power and GND of the ultrasonic. - connect the initiate end of servo power and GND wire to the VIN and a GND pin of the ESP, the signal pin plug into GPIO13 - Plug the ultrasonic sensor's trigger pin to GPIO23 and echo pin to GPIO22 - flash the esphome firmware found here: https://github.com/feletoch/pet-feeder
- Full assembly- take the hopper, loops some tape around the center pole until the bearing fit snagging without wobble - push the auger on to the bearing - mount the long I shape arm to the servo and push it into the center hole of servo plate, secure it with the 2 screws - put the plate on to the above assembly, the arm need to fit in the hole of the auger - Start from the bottom, there are groves that matches each layers, place the assembly above into the grove. - it is recommended to hotglue the servo and ESP down - route the usb cable from the back of the top piece plug into the ESP - Push the ultrasonic sensor to the designated hole of the top piece and push the top piece down to complete the assembly
20260411: remove the config here and updated the config to disable motion feeding and add schedule feeding
Descripción original del autor, publicada en Thingiverse.