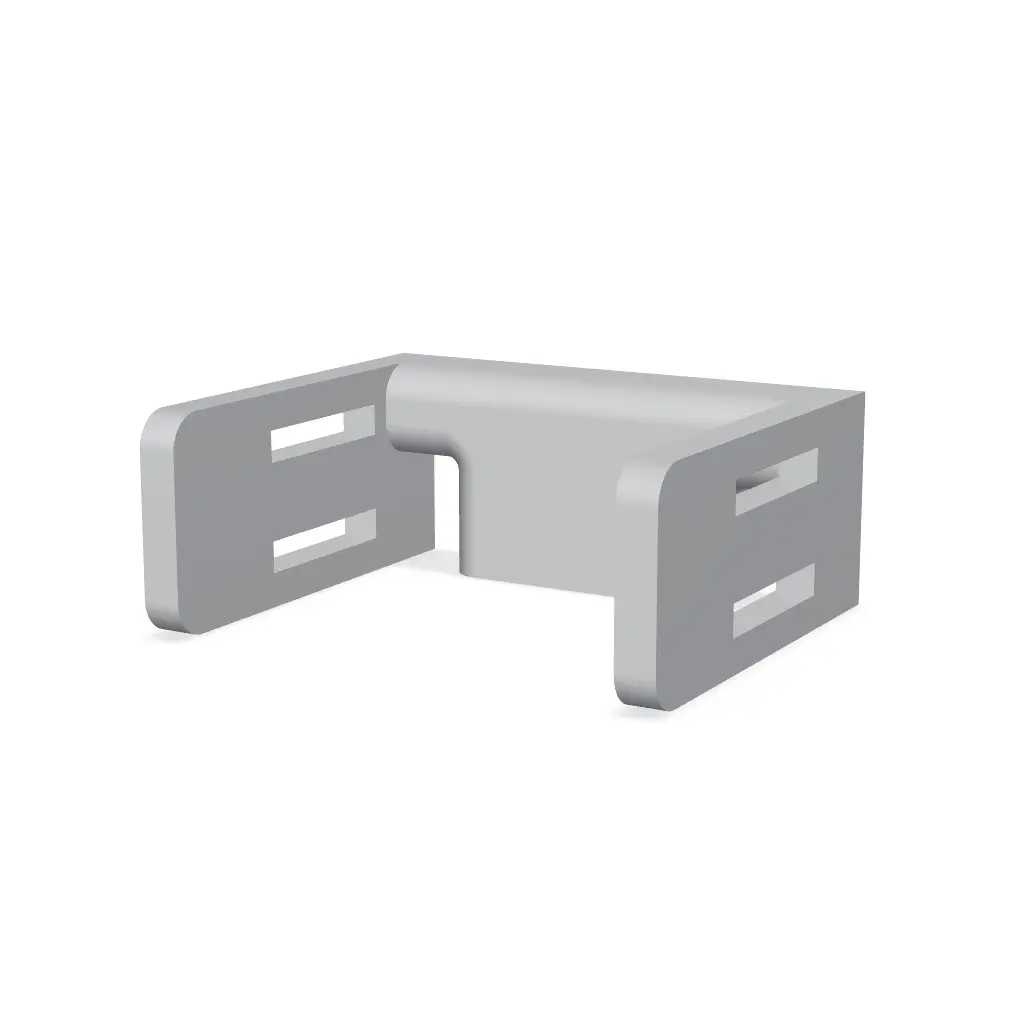
Parametric TPU Spring Tool Mount - Multiboard
Hold any tool that has a handle, using a rigid mount and flexible gripping springs tailored to that handle. I have used it for a PVC pipe cutter and adjustable wrenches of various sizes. It is not limited to round handles: size the opening for the section you want to grip, and check retention with t
Thangs entrega los archivos a usuarios con cuenta gratuita
Licencia
Revisa las condicionesMultiBuild-Snap-Source-License
El autor usa su propia licencia. Revisa sus condiciones en la página original antes de compartir, modificar o vender.
Al descargar aceptas respetar la licencia y dar crédito a Colin M.
Archivos (12)
- SpringMount_D24p2_Arm30_Spring25_Body_PETG.stl STL · 83 KB
- SpringMount_D24p2_Arm30_Spring15_Body_PETG.stl STL · 83 KB
- SpringMount_D18_Arm30_Spring15_Body_PETG.stl STL · 358 KB
- SpringMount_D18_Arm30_Spring25_Body_PETG.stl STL · 358 KB
- SpringMount_D35_Arm30_Spring15_Body_PETG.stl STL · 100 KB
- SpringMount_D35_Arm30_Spring25_Body_PETG.stl STL · 100 KB
- SpringMount_D48p5_Arm30_Spring15_Body_PETG.stl STL · 100 KB
- SpringMount_D48p5_Arm30_Spring25_Body_PETG.stl STL · 100 KB
- Spring_Width15_A_TPU.stl STL · 136 KB
- Spring_Width15_B_TPU.stl STL · 136 KB
- Spring_Width25_A_TPU.stl STL · 136 KB
- Spring_Width25_B_TPU.stl STL · 136 KB
- Categoría
- Herramientas
- Formatos
- STL
- Descargas
- 0
- Publicado
Sobre este modelo
Hold any tool that has a handle, using a rigid mount and flexible gripping springs tailored to that handle. I have used it for a PVC pipe cutter and adjustable wrenches of various sizes. It is not limited to round handles: size the opening for the section you want to grip, and check retention with the actual tool.
Fix Point mounting with a locator
Mounting photo: see gallery image 6.
Use a Fix Point with a horizontal groove in its head, such as the MultiBuild Small Thread - Fix Point (Folded) (https://thangs.com/designer/MultiBuild/3d-model/Small%20Thread%20-%20Fix%20Point%20%28Folded%29-1123334). Orient that groove horizontally. The rounded locator ridge inside this holder's mounting slot engages the groove as the holder seats, locking the holder and its tool position into place. Keep the channel-lock option enabled for this feature. Check full engagement and fit on your print; the locator is not a rated safety latch.
Locking cutout and locator bump: see gallery image 7.
The Fix Point count expands automatically from one to two when the overall body width exceeds 60 mm. Body width is tool diameter + 27 mm, so a tool-diameter setting above 33 mm generates two mounting slots, on 25 mm centers.
Fix Point connectors are separate parts and are not included in these downloads. Follow MultiBuild's instructions for the connectors.
Convenience STL sizes
All linear dimensions are millimeters. Each filename records its main dimensions; "p" means a decimal point (for example, 24p2 = 24.2 mm). All supplied variants have the channel lock enabled. - 18 mm tool diameter / nominal gripping gap: 30 mm arm length; 15 or 25 mm spring width; 45 mm body width; 1 Fix Point. - 24.2 mm tool diameter / nominal gripping gap: 30 mm arm length; 15 or 25 mm spring width; 51.2 mm body width; 1 Fix Point. - 35 mm tool diameter / nominal gripping gap: 30 mm arm length; 15 or 25 mm spring width; 62 mm body width; 2 Fix Points at 25 mm pitch. - 48.5 mm tool diameter / nominal gripping gap: 30 mm arm length; 15 or 25 mm spring width; 75.5 mm body width; 2 Fix Points at 25 mm pitch.
Customize it for your own tool - the best way to use this model
These STL exports are just for convenience. The best way to use this model is to make a parametric version tailored to your specific tool.
1. Open my editable Onshape model (https://cad.onshape.com/documents/ebbbb56a0010002ef533e281/w/85a3f651341bf742ffadd0cc/e/8a497aaae418da213c1248da) and sign in to your Onshape account. 2. Open the document menu beside the Onshape logo and choose Copy workspace... to create your own editable document. Work in your copy, not the original. 3. Choose the Tool Mount Part Studio tab, then double-click Tool Mount in the left-hand feature list. The parameter screenshot in this listing shows the settings dialog. 4. The supplied source link initially opens the Feature Studio. Switch to the Tool Mount tab to adjust dimensions; there is no need to edit the FeatureScript code. 5. Measure your tool, edit the values below, and confirm with the green check. Let the complete feature tree regenerate and check for errors or unintended geometry. 6. Right-click the finished part in the Parts list and choose Export.... Choose STL, Binary, Millimeter, Fine and download. For the spring mount, export the body and both springs as separate files (or export the Part Studio with Export unique parts as individual files enabled). 7. Slice at 100% scale, check the orientation and preview, and print a fit test before relying on the holder.
Parameters
Onshape parameter settings: see gallery image 5.
Note: I made the springs a tight fit on my Bambu P1S as I didn't want them to slip out. If you're using a different printer, you may need to experiment with the latch width in particular. - Tool diameter: Nominal free distance between the opposing spring noses, used to size the handle grip. For a non-round handle, measure across the section being gripped. - Arm length: How far the structural arms project beyond the backplate. - Base thickness: Thickness of the rigid mounting base. - Spring width: Width of the flexible spring band along the arm direction; the matching sockets follow this width. - Spring distance from back plate: Where the spring band begins, measured outward from the front of the base. Keep the band within the arm length. - Spring clearance: Space between the spring region and outer structural rails; changes rail/socket placement and flex clearance. - Latch width: Size of the retaining catch on the spring tongues. - Fix Point channel lock: Enables the mounting-slot locator ridge. - Label inset: Adds an optional shallow label recess to the central backplate.
Printing and fit
Print the BODY in PETG and the SPRINGS in TPU for a good grip on the tool. Choose one of the eight Body_PETG STLs: four handle openings, each available with sockets for 15 mm or 25 mm-wide springs. Then print one A and one B TPU spring of the SAME width. For example, a body named SpringMount_D35_Arm30_Spring15_Body_PETG pairs with Spring_Width15_A_TPU and Spring_Width15_B_TPU. Do not mix 15 mm and 25 mm parts. Spring width is measured along the arm, not across the tool opening. Each spring pair works across all four handle diameters when matched to the correct socket width. Seat the spring tongues in the body sockets and check both latches. The original model uses a 24.2 mm tool setting with 25 mm-wide springs. All presets use an 8 mm base, 2 mm spring distance from the back plate, 1.2 mm spring clearance, 2 mm latch width, channel lock enabled and label inset disabled. TPU hardness, spring width, extrusion and handle shape affect the grip, so test and tune your own fit.
The exported meshes have been checked digitally for closed edges and expected dimensions. The size variants have not all been physically test-printed. Fit, retention and strength depend on your tool, material and printer. Build photos will be added separately.
Credits
Parametric holder, TPU springs and custom horizontal locator ridge designed by Colin MacLeod. The mounting slots use the official Multiboard Fix Point negative/cutout geometry from MultiBuild / MultiBoard LTD (https://multibuild.io/) (formerly Keep Making). Credit to MultiBuild for the underlying mounting interface; see the official Fix Point Slots STEP remixing files (https://thangs.com/designer/MultiBuild/3d-model/Fix%20Point%20Slots%20-%20STEP%20Remixing%20Files-1145162).
I am sharing this design for free as a hobby project. I am not selling it or profiting from it.
The reused MultiBuild geometry remains subject to the MultiBuild license (https://multibuild.io/license), including its terms for commercial use. This is a community-made holder, not an official MultiBuild product, and no endorsement is implied.
License on Thangs
This remix is shared under the attached MultiBuild source license, preserving the conditions for the reused mounting geometry. See the MultiBuild license (https://multibuild.io/license) for its terms, including commercial use.
Descripción original del autor, publicada en Thangs.