NOMAD Deck — Pelican 1510 Portable Workstation
por CrosstalkSolutions en Thangs
Everything printed for the Project NOMAD - NOMAD Deck: a self-contained, battery-powered computer and screen that lives in a Pelican 1510.
Thangs entrega los archivos a usuarios con cuenta gratuita
Licencia
Uso comercial permitidoPuedes imprimirlo, modificarlo y venderlo dando crédito al autor.
Al descargar aceptas respetar la licencia y dar crédito a CrosstalkSolutions.
Archivos (10)
- lid_topmount.stl STL · 285 KB
- lid_bottom_L.stl STL · 120 KB
- lid_bottom_R.stl STL · 113 KB
- lid_router.stl STL · 159 KB
- lid_topbar_R.stl STL · 143 KB
- lid_topbar_L.stl STL · 143 KB
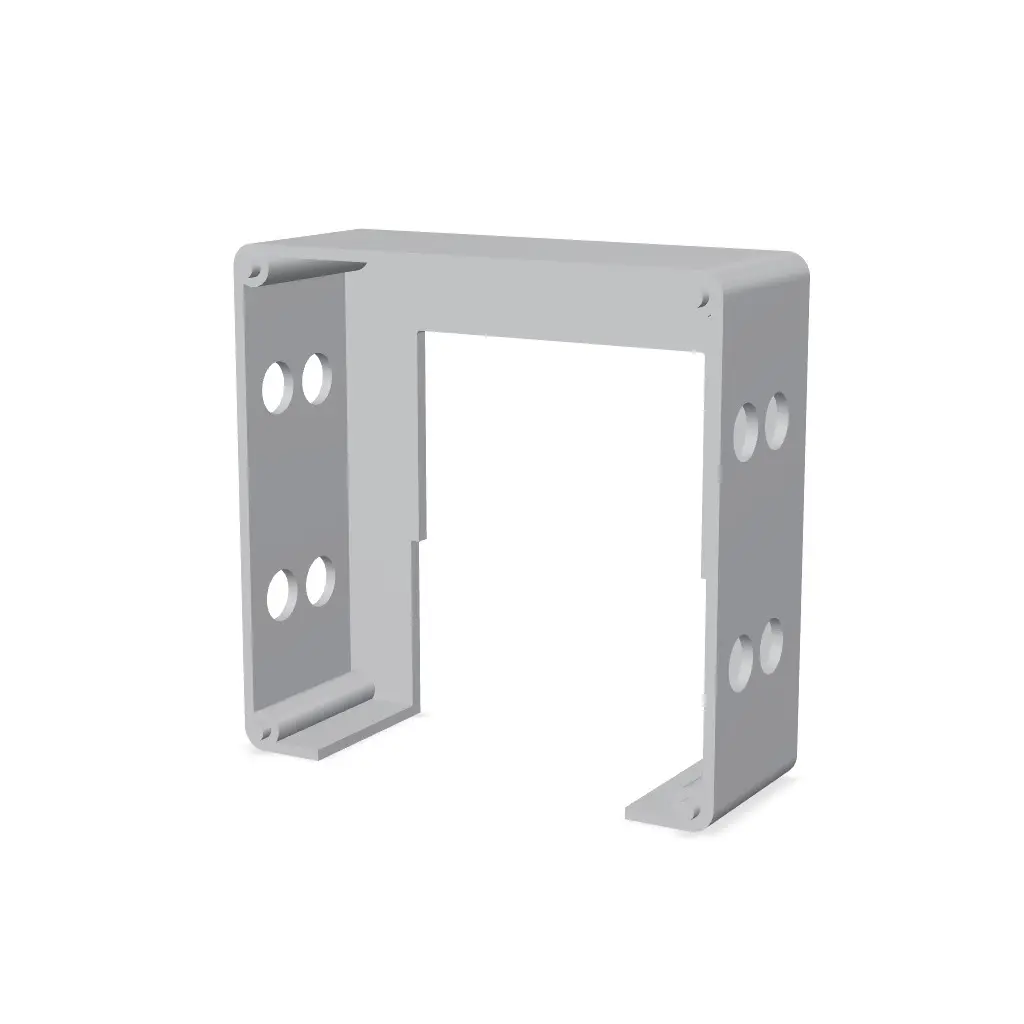
- ecoflow_bracket_print.stl STL · 5 KB
- lid_right_support.stl STL · 6 KB
- um890_pedestal_v1.stl STL · 781 KB
- um890_deck_v1.stl STL · 559 KB
- Categoría
- Miniaturas
- Formatos
- STL
- Descargas
- 63
- Publicado
Sobre este modelo
Everything printed for the Project NOMAD - NOMAD Deck: a self-contained, battery-powered computer and screen that lives in a Pelican 1510.
Full NOMAD Deck build here: https://www.projectnomad.us/deck
It was built to run Project NOMAD, an open-source offline knowledge and education server (projectnomad.us), but nothing here is NOMAD-specific.
WHAT IT HOLDS - Case: Pelican 1510 - Mini PC: Minisforum UM890 Pro - Monitor: ARZOPA Z3FC 16.1 in portable monitor, mounted in the lid - Router: GL.iNet Beryl 7 (GL-MT3600BE) - Power: EcoFlow RIVER 2
These parts are dimensioned to that exact combination. The lid mounts in particular key off the Pelican 1510 lid's own molded bosses and off the ARZOPA's 9 in height, so a different case or a different monitor will need the source file, not just the STL.
Regarding the monitor, nothing is glued, taped, or stuck to the screen. The monitor hinges down into a deep bottom channel, a removable top bar clamps over it, with an optional right-edge support. It goes in and comes out without a mark, and it sits recessed about 19 mm below the lid rim, so the screen is protected when the case is closed.
PARTS LIST - um890_deck.stl - print 1 - tray the mini PC sits in - um890_pedestal.stl - print 1 - lift, with a cavity underneath for the power brick - lid_bottom_L.stl - print 1 - bottom monitor channel, left half - lid_bottom_R.stl - print 1 - bottom monitor channel, right half - lid_topmount.stl - PRINT 2 - one file, both top mounts are identical - lid_topbar_L.stl - print 1 - removable top clamp bar, left half - lid_topbar_R.stl - print 1 - removable top clamp bar, right half - lid_router.stl - print 1 - Beryl 7 cradle - ecoflow_bracket_print.stl - print 1 - anti-slide bracket for the RIVER 2 - lid_right_support.stl - print 1 - OPTIONAL, right-edge monitor support
PRINT SETTINGS - PETG recommended. This lives in a closed case that can sit in a hot vehicle. - About 0.2 mm layers, 3 perimeters, 20 to 30 percent gyroid infill. - All parts fit a 250 x 210 mm bed. - One 1 kg spool covers the entire set.
ASSEMBLY - um890_deck and um890_pedestal join with 4 corner press-fit pegs. Add CA glue or M3 screws to make it permanent. - lid_bottom_L and lid_bottom_R join with a full-height tongue and groove, tongue on the R half. GLUE THIS SEAM WITH CA. The two halves need to act as one beam across both bosses. Each half's boss sits near one end, so unglued they will flex. - lid_topbar_L and lid_topbar_R just butt together. That seam is cosmetic, glue optional. - The top bar is held by two screws per top mount, driven into the printed posts. Pilot holes are 2.5 mm for a self-tapping M3 or #4.
HARDWARE YOU WILL NEED - Screws for the Pelican lid bosses. The holes are 3.4 mm clearance. - Two self-tapping M3 or #4 screws per top mount, four total. - 3M Dual Lock or industrial Velcro for the pedestal flange, the router cradle, the right-edge support, and the EcoFlow bracket. - A strap across the mini PC's top, and a lengthwise strap over the router. - CA glue for the two joins above.
Descripción original del autor, publicada en Thangs.