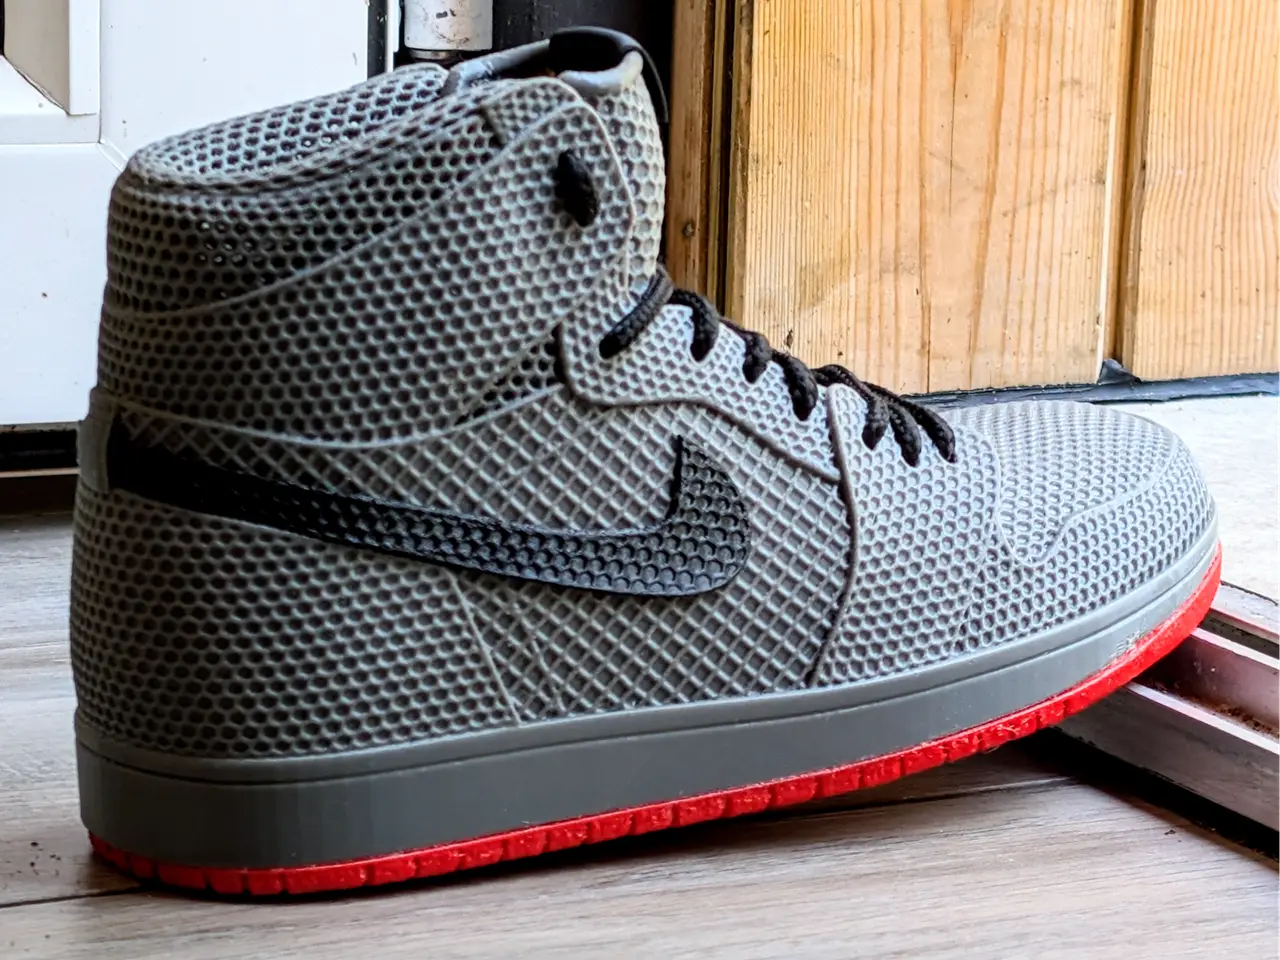
Nike Air Jordan 1 Inspired 3d printable shoes
por MOSS 3D en MakerWorld
Hello everyone,. I'm pleased to share a project that was a true passion of mine: a 3D-printable, wearable version of the legendary Air Jordan 1.
MakerWorld entrega los archivos a usuarios con cuenta gratuita
Licencia
Solo uso personalStandard Digital File License
Licencia estándar de archivos digitales: solo uso personal. No se permite compartir, revender ni subir el archivo a otros sitios, ni vender las impresiones.
Al descargar aceptas respetar la licencia y dar crédito a MOSS 3D.
- Categoría
- Moda y joyería
- Descargas
- 11,528
- Publicado
Sobre este modelo
Hello everyone, I'm pleased to share a project that was a true passion of mine: a 3D-printable, wearable version of the legendary Air Jordan 1.
The Challenge: Classic Design, Modern Tech My goal was to challenge the idea that 3D-printed wearables have to look futuristic. I wanted to take one of the most iconic, beloved sneaker designs and faithfully translate it to the world of 3D printing. While the design process was one part of the challenge, making it truly wearable was another. I'm classifying this as a "wearable novelty item" it's a fantastic display piece that can be worn, but it does requires a little effort to get the fit right.
How to Scale for Your Size The base model fits a Men's UK 4 / US 5 / EU 37. To create a custom size, you'll need your foot measurement in millimetres.
When Initial scale is 54.6% use this formula: 0.237 * (Your Foot Length in mm) = New Scale % Enter the final "New Scale %" number into the scaling tool in Bambu Studio to get your custom size.
When Initial scale is 100% use this formula: 0.434 * (Your Foot Length in mm) = New Scale % Enter the final "New Scale %"
Double check size using the Measure Tool
Printing:
- Use TPU: I've only been using TPU 95A but 90A is recommended for a good balance of flexibility and strength. Please ensure it's been dried before printing.
- Avoid Stiff TPUs: Materials like "TPU for AMS" are not recommended as they are too rigid and will be almost impossible to fit.
- Patience is Key: This is quite a large file. Your slicer will take a few minutes to process and transfer to your printer will be a few minutes.
- Supports: I have placed custom supports inside the shoe (under the tongue) to ensure stability. Please remove them carefully after printing.
Fitting Your 3D Printed Shoe Once you've removed the supports, your shoe is ready to try on. The shoes should be wearable right off the printer. However, 3D printing bigger sizes means the walls will be thicker making the TPU stiffer, and depending on your foot shape, the fit might be a bit snug. Tip: If the fit is a little tight, you can adjust it:
- Gently Heat to Soften: To make the TPU more pliable, you can warm it up. Placing it in the heated chamber of an enclosed printer for a few minutes is a great, safe way to do this.
- Stretch to Fit: Once the shoe is warm and flexible, use a standard wooden shoe stretcher to widen it. This will help the material relax and permanently form to the contours you need for a comfortable fit.
Multi-part Profiles To capture that classic style, in some of the print profiles the model is split into parts to allow printing in different colours
- Main mesh
- Sole
- Swoosh
- Logo
I had a lot of fun with this project, and I'm thrilled it been so well received by the community. I love seeing your prints, so please keep them coming.
Happy printing!
Descripción original del autor, publicada en MakerWorld.