MK4 Nextruder Nozzle Change Heater Block Clamp
por IBNobody en Printables
Make changing your Nextruder Nozzle a breeze with this snap-on tool that keeps the heater block from spinning / falling.
Licencia
Uso comercial permitidoPuedes imprimirlo, modificarlo y venderlo dando crédito al autor.
Al descargar aceptas respetar la licencia y dar crédito a IBNobody.
Archivos (12)
- Nextruder Clamp - With Sock.stl STL · 43 KB
- Nextruder Clamp - No Sock.stl STL · 46 KB
- Nextruder Clamp - With Sock.stp STP · 127 KB
- Nextruder Clamp - No Sock.stp STP · 139 KB
- Nextruder Clamp - No Sock.stl STL · 36 KB
- Nextruder Clamp - With Sock.stl STL · 32 KB
- Nextruder Clamp - No Sock.stp STP · 117 KB
- Nextruder Clamp - With Sock.stp STP · 104 KB
- Nextruder Clamp - No Sock.stl STL · 179 KB
- Nextruder Clamp - With Sock.stl STL · 159 KB
- Nextruder Clamp - With Sock.step STEP · 90 KB
- Nextruder Clamp - No Sock.step STEP · 102 KB
- Categoría
- Para tu impresora
- Formatos
- STL, STP, STEP
- Descargas
- 4,225
- Publicado
Sobre este modelo
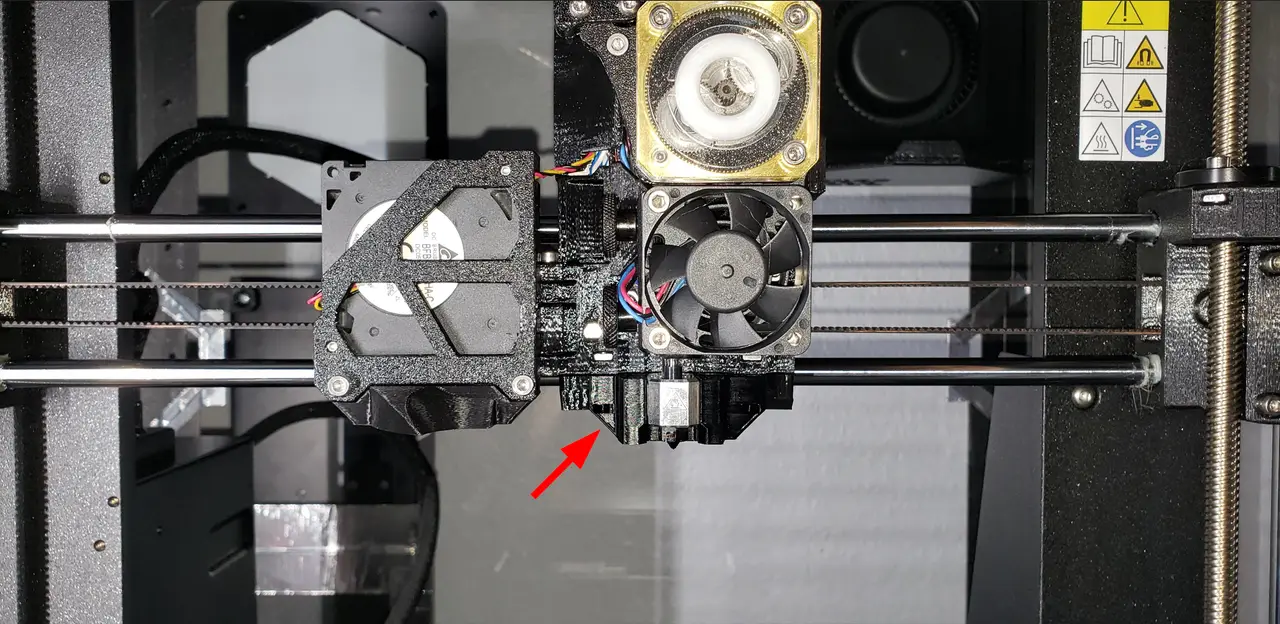
Background As many of you have found, it is easier to swap MK4 Nextruder nozzles in-place rather than to disconnect and swap out the entire heater block. Problem In-Place Nozzle Swaps pose some amount of risk in that you have to hold onto the heater block while you unscrew the nozzle. This can put stress on the Nextruder nozzle still in the heat break and cause the nozzle tube to bend. Solution This tool snaps onto the MK4's X-Axis Carriage Clip and holds the Nextruder's heater block in place. This prevents any stress being placed on the nozzle as it is being unscrewed. Two variants are provided: - Naked Heater Block Clamp / Clamp w/o the Silicone Sock - Heater Block Clamp with Prusa MK4 Silicone Sock
Nozzle Change Procedure - Unload any filament from the MK4 Nextruder. - Wait for the MK4 Nextruder hot end to cool. - Open the part cooling fan door. - Snap on Nextruder Nozzle Change Heater Block Clamp. - Loosen the two thumbscrews holding the Nextruder Nozzle in place. - Unscrew and remove the Nextruder Nozzle. (The Nextruder Nozzle Wrench works well.) - Screw in the replacement Nextruder Nozzle. - Tighten the two thumbscrews holding the Nextruder Nozzle in place. - Remove the Nextruder Nozzle Change Heater Block Clamp. - Close the part cooling fan door.
Print Settings Print with a lighter filament so that you can have a visual reminder that you have the item installed. This model prints fine with the MK4 Input Shaping - 0.2mm Speed Profile. Filament Type doesn't matter, but I printed in PLA. Other filaments may have shrinkage and make the part difficult to fit. Note for the V6 Adapter This will not work for the V6 adapter. Unlike Nextruder nozzles, V6 nozzles must be tightened while hot in order to prevent leaks. Change Log V3: Reduced the base thickness by 3mm. Added a tab in the back to help pry the clamp off. V2: Increased front friction-fit spacing by 0.1 mm. Added chamfers. Changed Licenses to be more open. V1: Initial Release
Descripción original del autor, publicada en Printables.