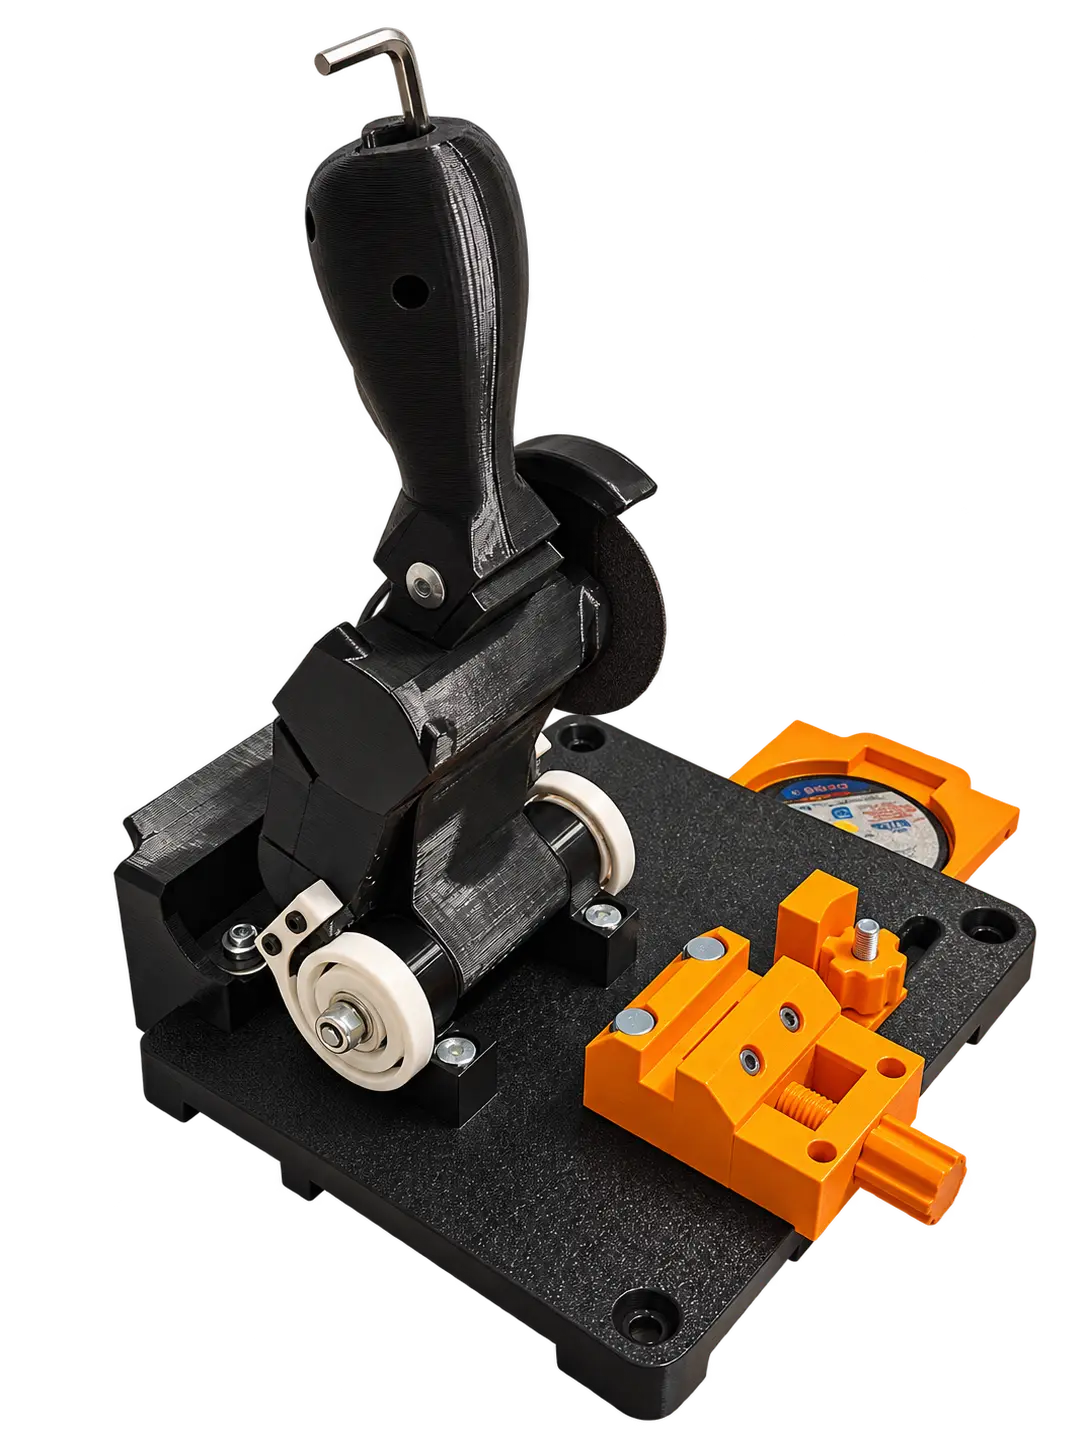
Mini 3in Brushless Chop Saw
por msbtoolworks en Thingiverse
3D Printed Mini Chop Saw – V1 (3 Inch Cut-Off Discs) It in action and a little 360 action: https://www.youtube.com/shorts/uJnDjB239q0 This is my first version of a fully custom 3D printed mini chop saw designed to use 3-inch cut-off discs. I wanted a mini chop saw for small wires and rods to...
Licencia
Uso comercial permitidoCC BY-SA 4.0 — Atribución, compartir igual
Puedes usarlo y modificarlo dando crédito; las versiones modificadas deben compartirse con la misma licencia.
Al descargar aceptas respetar la licencia y dar crédito a msbtoolworks.
Archivos (29)
- Mini_Brushless_Chop_Saw.3mf 3MF · 993 KB
- Base.stl STL · 164 KB
- BatteryHolder.stl STL · 58 KB
- Drawer.stl STL · 26 KB
- HandleLeft.stl STL · 266 KB
- HandleRight.stl STL · 282 KB
- Knob_1.stl STL · 104 KB
- Knob.stl STL · 104 KB
- MainBody.stl STL · 335 KB
- MakitaBatteryMount.stl STL · 173 KB
- Mini_Brushless_Chop_Saw.stl STL · 3,7 MB
- Moving_Jaw_1.stl STL · 128 KB
- Moving_Jaw.stl STL · 24 KB
- PillowBlockLeft.stl STL · 30 KB
- PillowBlockRight.stl STL · 30 KB
- Screw.stl STL · 858 KB
- SpringLeft.stl STL · 213 KB
- SpringRIght.stl STL · 199 KB
- StationaryJaw.stl STL · 14 KB
- StopBlock.stl STL · 15 KB
- Switch.stl STL · 37 KB
- Thrust_Bearing1.stl STL · 63 KB
- Thrust_Bearing2.stl STL · 63 KB
- Thrust_Bearing3.stl STL · 63 KB
- Thrust_Bearing.stl STL · 63 KB
- TopBase.stl STL · 48 KB
- TopCover_1.stl STL · 71 KB
- TopCover.stl STL · 335 KB
- ViseBase.stl STL · 42 KB
- Categoría
- Herramientas
- Formatos
- 3MF, STL
- Descargas
- 2
- Publicado
Sobre este modelo
3D Printed Mini Chop Saw – V1 (3 Inch Cut-Off Discs) It in action and a little 360 action: https://www.youtube.com/shorts/uJnDjB239q0 This is my first version of a fully custom 3D printed mini chop saw designed to use 3-inch cut-off discs. I wanted a mini chop saw for small wires and rods to precise lengths. The commercial ones are really low torque and have a cable. I wanted mine to be battery operated and also to use a brushless motor. It uses Makita batteries but other version for all kinds of batteries can easily be made. For the motor and controller, I used a cheap Hilda 3-inch cut-off tool and relocated the switch to the handle for easier operation. Features Compatible with 3-inch (76 mm) cut-off discs 3D printed vise and adjustable stop block Built-in drawer for storing spare cutting discs Hex key storage slot inside the handle ABS printed springs Custom 3D printed thrust bearings using steel balls recovered from three old 6001 bearings Four 608 bearings and an 8 mm shaft Various M8 bolts, nuts, and washers Things to Improve This is only V1, and I've already found plenty of things I'd like to change. Wire management definitely needs improvement, and I'm considering moving the vise to the opposite side and redesigning it to make it stronger. Another major concern is sparks and dust. Since the machine is mostly plastic, hot sparks could damage or melt some of the printed parts. I'll probably need to add some sheet metal shielding and work on better dust collection. I'll be making a full assembly video in the next day or two, showing how everything goes together and will link it here. There are some things I'm kinda proud of and lot of things I would and will change. Overall, this was a fun little engineering and 3D printing exercise. It's far from perfect, but that's the point of V1! I already have plenty of ideas for the next version. This is also my official submission to Makers Tools Challenge MakersToolsChallenge MakersToolsChallenge
Descripción original del autor, publicada en Thingiverse.