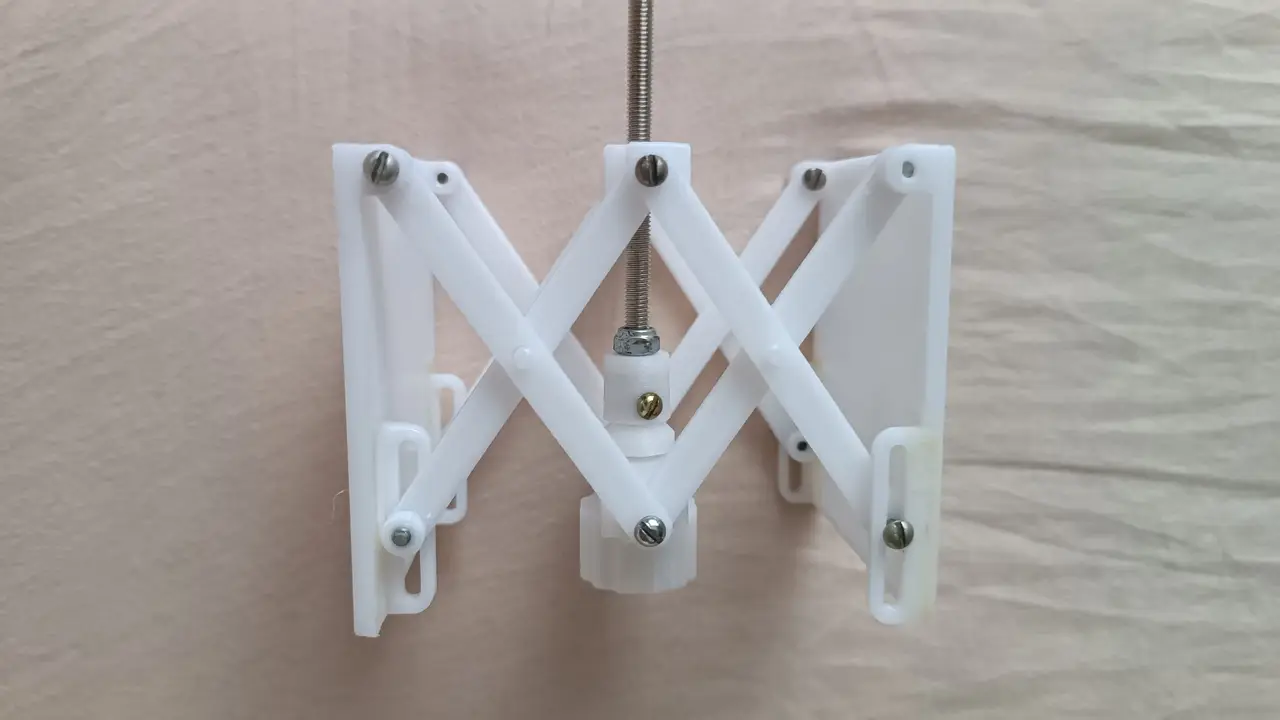
Microlift for precise height adjustment of the laser level installation
por MadProfi en Thingiverse
It was necessary to make this kind of elevator for a laser level. The following version was taken as a basis: https://www.thingiverse.com/thing:5429165 from user Mike0365. But it seemed not quite finished. I.e., the mounting of the central screw left much to be desired. As a result, the main part...
Licencia
Uso comercial permitidoCC BY-SA 4.0 — Atribución, compartir igual
Puedes usarlo y modificarlo dando crédito; las versiones modificadas deben compartirse con la misma licencia.
Al descargar aceptas respetar la licencia y dar crédito a MadProfi.
Archivos (12)
- lifting_table12.stl STL · 29 KB
- lifting_table11.stl STL · 203 KB
- lifting_table10.stl STL · 164 KB
- lifting_table09.stl STL · 462 KB
- lifting_table08.stl STL · 35 KB
- lifting_table07.stl STL · 1,7 MB
- lifting_table06_x2.stl STL · 36 KB
- lifting_table05_x2.stl STL · 32 KB
- lifting_table04_x4.stl STL · 33 KB
- lifting_table03_x4.stl STL · 12 KB
- lifting_table02.stl STL · 25 KB
- lifting_table01.stl STL · 24 KB
- Categoría
- Herramientas
- Formatos
- STL
- Descargas
- 347
- Publicado
Sobre este modelo
It was necessary to make this kind of elevator for a laser level. The following version was taken as a basis: https://www.thingiverse.com/thing:5429165 from user Mike0365. But it seemed not quite finished. I.e., the mounting of the central screw left much to be desired. As a result, the main part remained unchanged from his design. However, the rear plate for the embedded nut and the screw mounting to the front plate were completely redesigned. Now it works as it should. You can check the assembly instructions provided by the original source. The parts that were changed are assembled according to the photo. An M5 nut is recessed into the back plate. For ease of assembly, I first assembled the entire structure without the top cover. Then, an M5 screw (I used a long one from the siphon) is inserted through the cup and secured with a lock nut on the back side. After that, it is screwed into the back plate from the inside so that there is room left for installing the front rotating part. Then, an M3 nut was fused into the transition part (there are such nuts designed to be fused into the material). Then this part is inserted through the front plate from the inside, and the handle is inserted and secured with an M3 bolt. Then, maintaining coaxiality, the cup is recessed into the intermediate part by screwing it in, and finally secured with an M3 screw. And finally, you attach the top cover.
Descripción original del autor, publicada en Thingiverse.