
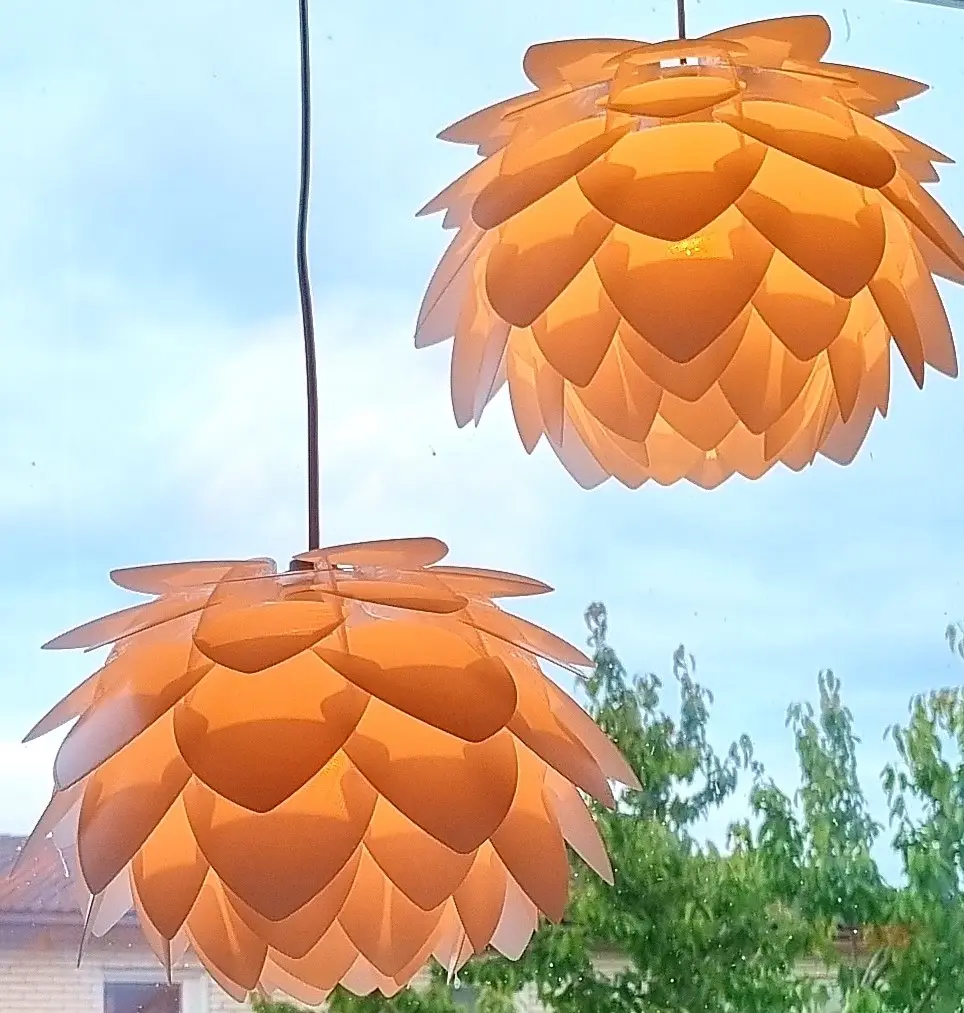
Lotus Lamp
por Cheesus en Printables
This was originally designed with they intention of looking like a pine cone (why i went for brown petals :D) but on…
Licencia
Solo uso personalCC BY-NC 4.0 — Atribución, no comercial
Puedes imprimirlo y modificarlo para uso personal dando crédito. No se permite vender las impresiones.
Al descargar aceptas respetar la licencia y dar crédito a Cheesus.
Archivos (4)
- Categoría
- Hogar
- Formatos
- 3MF
- Descargas
- 3,280
- Publicado
Sobre este modelo
This was originally designed with they intention of looking like a pine cone (why i went for brown petals :D) but on assembly looks more like a lotus flower so here is my Lotus Lamp.
This is designed to fit over a standard light fitting. The "petals" are printed thin enough that they are illuminated by the light bulb inside (use a low wattage led to minimise heat).
I'm sure this would look awesome with heaps of different petal colours or I might even reprint them all in glow-in-the-dark filament!
Print instructions Inspect the lamp inserts. Depending on how well dialled in your printer is you might need to flex the insert a bit in case any of the slits in the inserts are fused together. This is much more easily done before assemly.
All files print facedown. No supports required.
Assembly
Insert the lamps insert in to the two lamp collars by pushing together firmly at the horizontal notch in the top and bottom of the insert. No adhesive should be required.
Continue this process with the remaining 9 inserts (for 10 total) until you have a frame consisting of the 2 collars and 10 inserts in which to insert the petals.
The petals are inserted in to the slits in the lamp inserts by simply pushing them in (no adhesive required). Each petal should be inserted in to 2 of the insert slits to make a row of 5 petals
The petals should be inserted in a staggered pattern with each row filling the space left from the row before (see pics)
the petals should be inserted as such:
Row 1-4 small petals
Row 5-8 large petals
Row 9-12 small petals
(the petals are 0.4mm thick so layer height should be set to 0.2mm [or a multiple of 0.4])
Note
The lamp can either be assembled on your choice of lamp or attached after assembly.
If attaching after assembly you will need to remove some of the petals on one side to allow room to insert the globe from the side after being placed over the light socket
Quantities Required
Lamp Collar x 2
Lamp Inserts x 10
Lamp Petals (Large) x 20
Lamp Petals (Small) x 40
Descripción original del autor, publicada en Printables.



