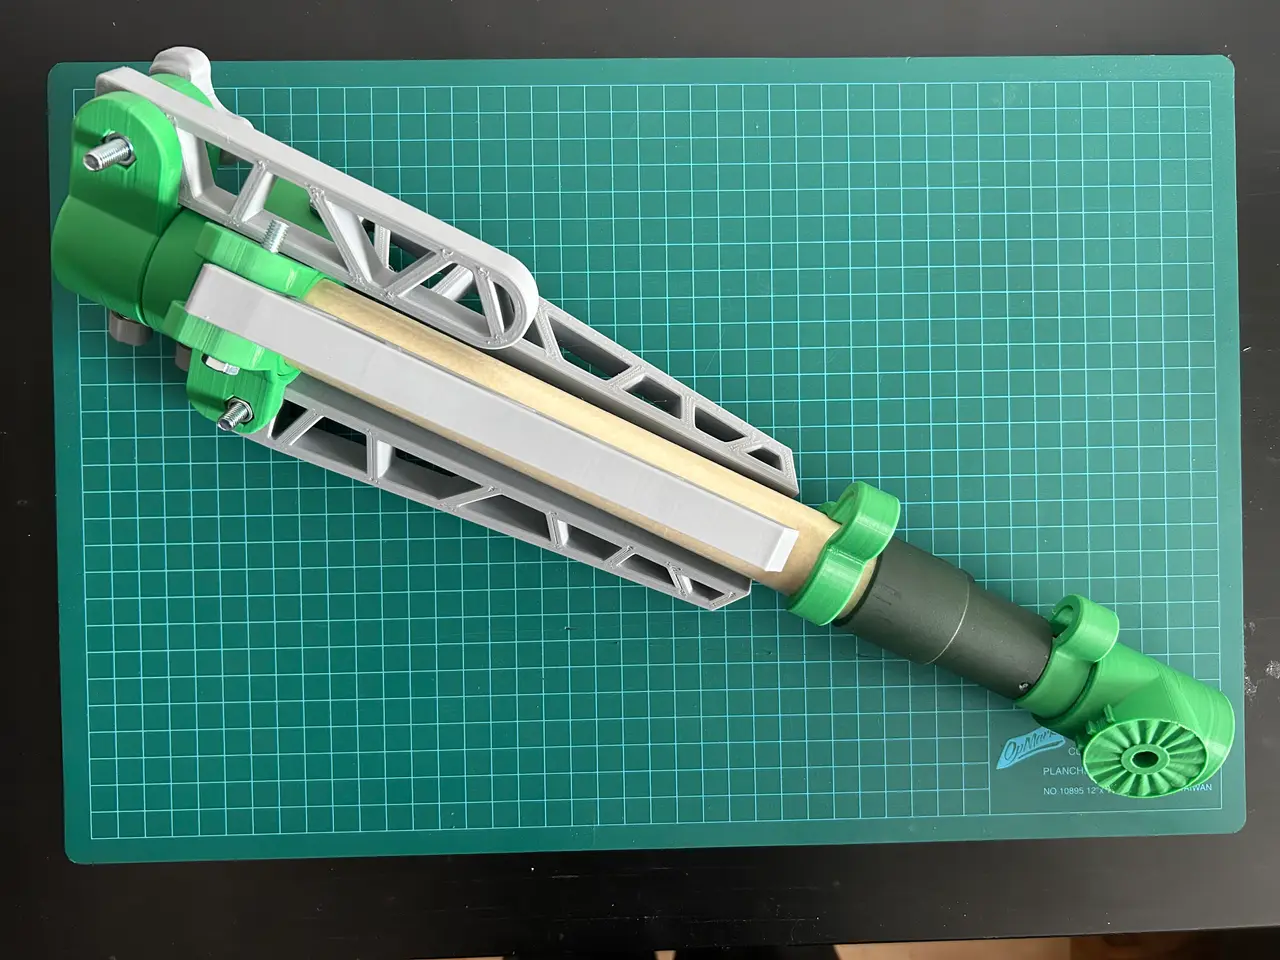
Live Sonar Ice Fishing Tripod (32mm or 1¼")
por Tuesfutu en Printables
Used for keeping live sonar equipment in the the water with the freedom to swivel.
Licencia
Solo uso personalCC BY-NC-SA 4.0 — Atribución, no comercial, compartir igual
Uso personal dando crédito; sin fines comerciales y las modificaciones con la misma licencia.
Al descargar aceptas respetar la licencia y dar crédito a Tuesfutu.
Archivos (11)
- Tripod_Collar_32mm.stl STL · 757 KB
- Tripod_Leg_32mm.stl STL · 120 KB
- Directional_Collar_32mm.stl STL · 147 KB
- Directional_Arm_32mm.stl STL · 211 KB
- LVS34_Hex_Mount_with_Perspective.stl STL · 259 KB
- Transducer_Mount_Hex_Attachment_with_Perspective.stl STL · 342 KB
- Cord_Clip.stl STL · 822 KB
- Hex_Clip.stl STL · 350 KB
- Large_Screw_Knob.stl STL · 3,4 MB
- Screw_Knob.stl STL · 540 KB
- Hex_Cover.stl STL · 1,1 MB
- Categoría
- Jardín
- Formatos
- STL
- Descargas
- 625
- Publicado
Sobre este modelo
Printing Speed: 120mm/s Bed Temperature: 60º C Extruder Temperature: 200º C Wall Thickness: 3-4 wall lines Designed for a 32mm (1 1/4") pole. Tripod_Collar_32mm.stl Tripod_Leg_32mm.stl Directional_Collar_32mm.stl Directional_Arm_32mm.stl Cord_Clip.stl Designed specifically for the hex extension of a Wooster Extension Pole (any length) LVS34_Hex_Mount_with_Perspective.stl Part has designed support that snaps off after printing. Must be printed at no greater than 60mm/s. Ensure that seam alignment is not on the face of the LVS34 connector; it will work fine if the seams are there, but it’s much more presentable if they’re not there. Requires two M8 nuts for the mounting holes. Transducer_Mount_Hex_Attachment_with_Perspective.stl Part is made for the Garmin 0°/8° Pole Mount. If you already purchased the Garmin mount and prefer the look, use this part to attach it to the hex extension. Requires one M8 nut for the perspective mounting hole. Hex_Clip.stl Part used to attach cable to shaft Accessory Parts Large_Screw_Knob.stl Part used for directional collar 45mm M6 machine screw to attach directional arm. Flip this part 180 degrees in your preferred slicer prior to slicing. Screw_Knob.stl Part used for 12mm M6 machine screws that attach to the back of the directional collar, and the top portion of the tripod collar. Flip this part 180 degrees in your preferred slicer prior to slicing. Hex_Cover.stl Part used for bottom of hex extension to cover hole in case the screw fits loosely for the perspective option. This will sandwich the 8mm screw between the cover and the LVS34 mount.
The tripod collar is a two part print in place unit. The outside swivels around the base. Has a generous offset for untuned printers. For the tripod collar, use three (3) M6 45mm screws for the legs; these screws offer a blank shank for the legs to swivel on. The locking mechanism uses one (1) M6 12mm screw, fix the screw cap on the hex head of the screw (no glue needed, friction fit). For the nut, use three (3) M6 locking nuts. Optionally, cut the protruding excess of screw with a Dremel or similar tool. For the directional arm, use one (1) M6 45mm screw and a standard M6 nut. Fix the large screw knob on the hex head of the screw (no glue needed, friction fit). The cord clips are sufficient for 10mm cable. Post processing I suggest using a 6mm (15/64") drill bit to bore the holes on the collars where the legs/arm go, as well as the arm/legs, it helps with inserting the bolt. For the mounts, use an 8mm (5/16") bit. I suggest using an M6x1.00 thread tap on the upper (stationary) part of the tripod collar and on the back hole of the directional collar for the pole mechanism.
Descripción original del autor, publicada en Printables.