LINK // Modular Case & Mounting System for Coralboard
por LayerShift en Printables
A soft white case for the Synaptics Coralboard SL.
Licencia
Solo uso personalCC BY-NC-SA 4.0 — Atribución, no comercial, compartir igual
Uso personal dando crédito; sin fines comerciales y las modificaciones con la misma licencia.
Al descargar aceptas respetar la licencia y dar crédito a LayerShift.
Archivos (14)
- lock_key.step STEP · 124 KB
- screw_cap.step STEP · 25 KB
- camera.step STEP · 228 KB
- clip_hook.step STEP · 136 KB
- port_bay.step STEP · 89 KB
- clip_plate.step STEP · 135 KB
- tslot.step STEP · 158 KB
- vesa_adapter.step STEP · 242 KB
- lid.step STEP · 1,5 MB
- base.step STEP · 526 KB
- decal_inlay_top.step STEP · 660 KB
- decal_inlay_sides.step STEP · 1,4 MB
- lock_key_v2.step STEP · 327 KB
- lid_v2.step STEP · 3,6 MB
- Categoría
- Tecnología
- Formatos
- STEP
- Descargas
- 0
- Publicado
Sobre este modelo
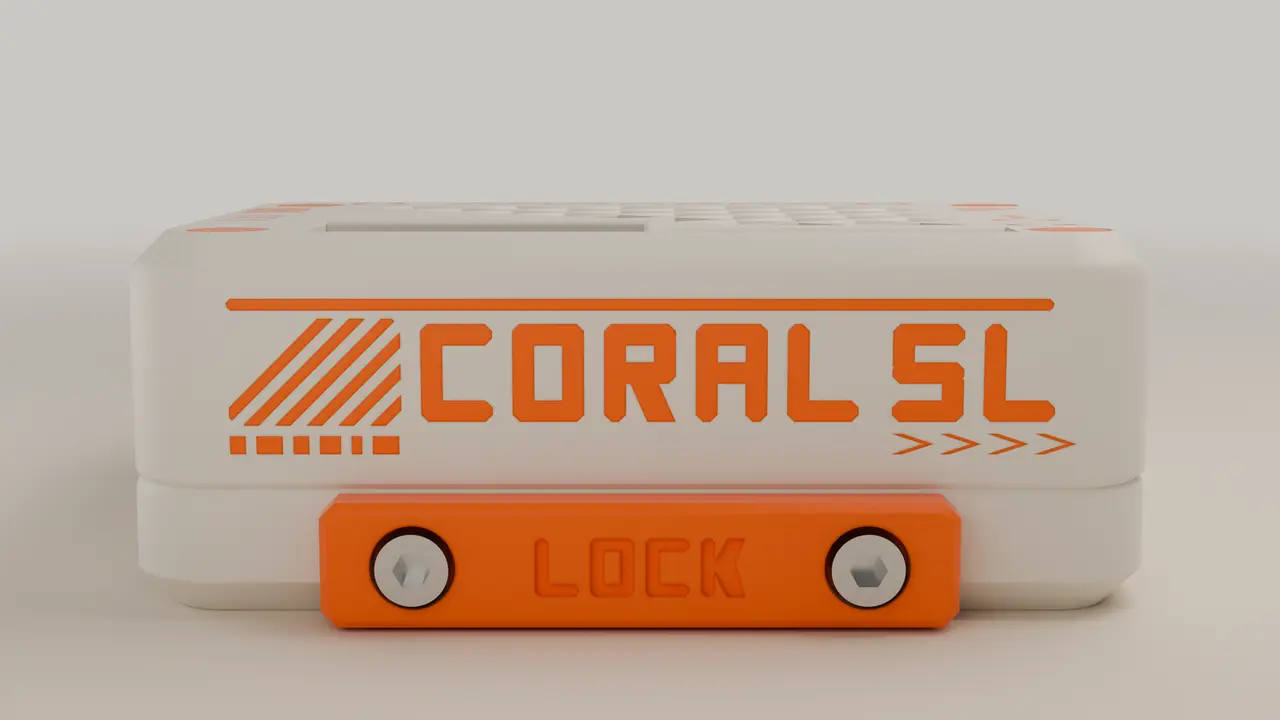
LINK // Modular Case & Mounting System for Coralboard The Coralboard is built to run AI right at the edge—so your case should let you mount it wherever that AI needs to be. Whether that’s behind a display, attached to a camera arm, clipped to a laptop lid, or mounted on a 3D printer frame, LINK makes it mobile. LINK is a modular mounting ecosystem built around a single custom case with an integrated sliding dovetail rail and four interchangeable adapters. You can swap the board between different setups effortlessly, needing no tools beyond a basic screwdriver for the lock key. 🛠 Why I Designed This I’ve been designing and entering a couple of contests lately and i'm designing this case both as a hands-on learning project to push my CAD and Blender rendering skills further and as my entry into the design contest! My goal is to hopefully win a Core One 3D printer—it’s completely out of my budget right now, but it would be amazing to feature and show off on my YouTube channel. PS. I will upload the step files for easy editing so feel free to improve upon it and bring more adapters and features. 📦 What You Get The design is optimised for clean 3D printing (zero supports required on the main body) and features a sharp two-tone aesthetic with accent caps. 1. The Case (4 Printed Parts + 4 Caps) - White Dock Base: Floor, four board standoffs, and the sliding LINK channel underneath. Features a chamfered bottom edge to eliminate elephant's foot on print beds.
- White Lid: A single sloped roof with a smooth 45° bevel ring and rounded corners. It prints roof-down with no supports needed. Features a large diamond-lattice vent field (about 40% open area with a 45° cut edge) across the front-left half, designated windows over the headers, sockets, and camera connector, and a clean V shut-line where it meets the base.
- Black Port Bay: A thin faceplate glued onto the front to cleanly frame every port.
- Four Orange Screw Caps: Press-fit into the counterbores over the lid screws to hide fasteners and give a pop of front accent color.
- Orange Lock Key: Slides into the channel behind the rail and screws into the base to lock the case securely onto any adapter.
2. Complete Access Breakdown You don't need to strip the case to use your board—everything stays accessible: - Front: Stacked USB-A ×2, USB-C, both buttons, and the front JST port.
- Left: MicroSD card slot.
- Right: Dual JST connectors.
- Top Windows: GPIO header, both 8-pin sockets, and the camera FPC ribbon.
- (Note: The internal M.2 socket requires taking the lid off.)
⚠ Honest Status & Design Notes I want to be completely transparent about where this project currently stands before you print: - CAD & Slice Only (Unprinted): I haven't printed this yet, nor do I own a physical Coralboard. Every part was verified in CAD using official STEP files and sliced in OrcaSlicer, but it hasn't been test-fitted on physical hardware.
- Camera Module Fit: The camera wall design assumes a generic Pi-style 25 × 24 mm module (21 × 12.5 mm hole spacing, 13 mm lens window). Double-check your specific camera dimensions before printing.
- Thermals: Cooling relies purely on passive airflow through the diamond-lattice top vent.
- Material Choice: No stress tests were run on the plates, camera wall, or clamp. Because the clamp relies on a rigid hook design, please print in PETG or another tough filament instead of PLA.
- Screw Cap Tolerances: The screw caps use a 0.075 mm per side press-fit clearance. Since printer tolerances vary, a tiny drop superglue will secure them if they print loose.
- Laptop Clamp Clearance: The clamp gap is set at 10 mm. If you're mounting it to a thinner laptop lid or surface, just add a stick-on rubber pad inside the jaw for a tight fit.
If you print one or have feedback on the fit, let me know in the comments! Enjoy!! QUICK UPDATE!!! I made some modifications to make the case more interesting, i have made an inlay instead of using multi-colour printing since i don't have a tool changer to test it with and its definitely more economical to print.
Descripción original del autor, publicada en Printables.