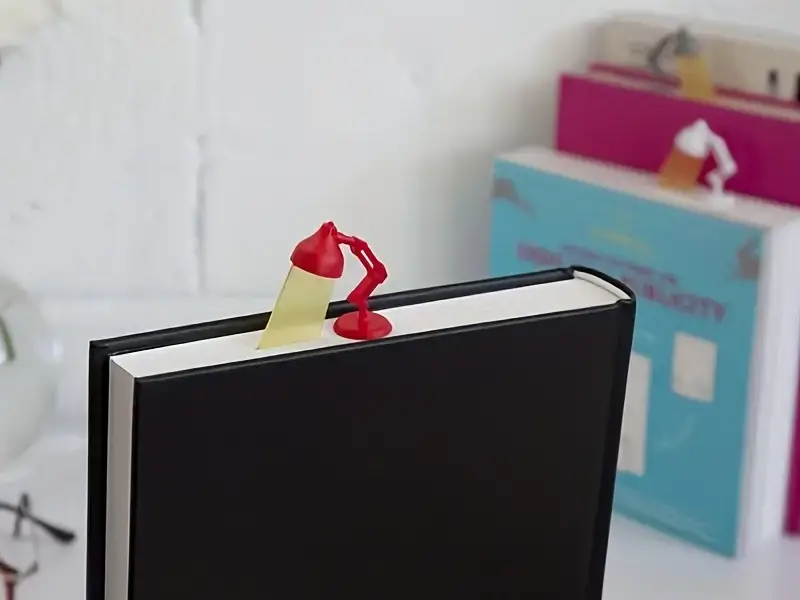
lamp Bookmark
por Arjen en MakerWorld
Materials Needed: 3D-printed lamp parts (2 parts per lamp). Strong adhesive (preferably suitable for plastic)
MakerWorld entrega los archivos a usuarios con cuenta gratuita
Licencia
Solo uso personalStandard Digital File License
Licencia estándar de archivos digitales: solo uso personal. No se permite compartir, revender ni subir el archivo a otros sitios, ni vender las impresiones.
Al descargar aceptas respetar la licencia y dar crédito a Arjen.
Archivos (2)
- lamp Bookmark with ams.3mf 3MF · 227 KB
- lamp Bookmark only without ams.3mf 3MF · 234 KB
- Categoría
- Educación
- Formatos
- 3MF
- Descargas
- 5,088
- Publicado
Sobre este modelo
Materials Needed:
- 3D-printed lamp parts (2 parts per lamp)
- Strong adhesive (preferably suitable for plastic)
- Small brush or glue applicator (optional)
- sandpaper (optional)
Assembly Steps:
- Preparation: - Ensure all 3D-printed parts are clean and dry.
- optional use fine sandpaper to smooth the surfaces where the parts will be glued for better adhesion.
-
- Apply Glue: - Apply a thin layer of glue to the surfaces where the lamp parts will connect. These are likely the areas where the lamp head attaches to the arm.
- Join the Parts: - Carefully align the lamp head with the arm as shown in the image.
- Press the parts together firmly, ensuring they are properly aligned.
- Drying Time: - Allow the glued parts to dry according to the adhesive manufacturer’s instructions, ensuring they are held in place if needed.
Once dry, your 3D-printed lamp should be securely assembled! This one is now ready for use :)
Also check out our entire collection of book marks: collection Boost MeIf you want more of this models. You can always leave a boost :)
Descripción original del autor, publicada en MakerWorld.