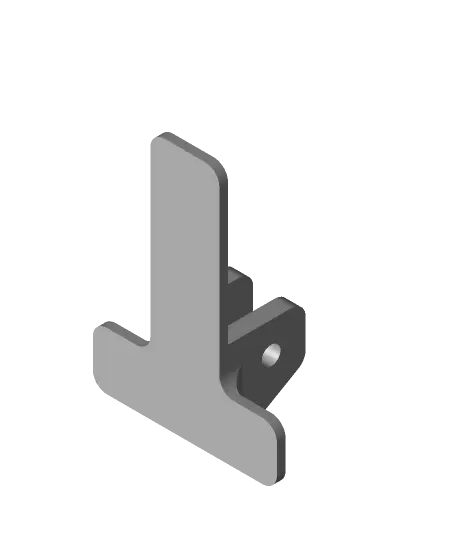
KitchenAid compatible wall mounts
This is a series of KitchenAid mixing accessory hangers for attachment to walls or cupboard doors. In my use case, I attached them to the back of a pantry door to keep the attachments accessible but out of the way. Three sizes are included for the paddle (35mm diameter), dough hook (95mm diameter) a
Thangs entrega los archivos a usuarios con cuenta gratuita
Licencia
Solo uso personalSin licencia indicada
El autor no indicó una licencia: todos los derechos le pertenecen. Úsalo solo para imprimir en casa y consulta al autor para cualquier otro uso.
Al descargar aceptas respetar la licencia y dar crédito a gtlloyd.
Archivos (8)
- Arm 2 - for diameter 95mm attachment.STL STL · 46 KB
- Arm 3 - for diameter 135mm attachment.STL STL · 46 KB
- Hanger.STL STL · 220 KB
- Arm 1 - for diameter 35mm attachment.SLDPRT SLDPRT · 141 KB
- Arm 2 - for diameter 95mm attachment.SLDPRT SLDPRT · 148 KB
- Arm 3 - for diameter 135mm attachment.SLDPRT SLDPRT · 138 KB
- Hanger.SLDPRT SLDPRT · 160 KB
- Arm 1 - for diameter 35mm attachment.STL STL · 41 KB
- Categoría
- Herramientas
- Formatos
- STL, SLDPRT
- Descargas
- 74
- Publicado
Sobre este modelo
This is a series of KitchenAid mixing accessory hangers for attachment to walls or cupboard doors. In my use case, I attached them to the back of a pantry door to keep the attachments accessible but out of the way. Three sizes are included for the paddle (35mm diameter), dough hook (95mm diameter) and whisk (135mm diameter) attachments. Using the appropriate model will reduce bending moment - but it probably doesn't matter.
For each hanger you will need:
a length of 6.35mm diameter (1/4 inch) dowel between 15 and 24mm long. It works better if it is closer to 24mm. I used aluminium rod, but you may also use wood or try printing your own. a large 3M Command strip, or you could screw using the lateral stabilisers (the 'ears' on the model).
To assemble, I had to use handtools to clean the holes through which the pin/axle sits, and also to ensure a relatively smooth (but not perfect) attachment surface on the shaft. I also used a handclamp to press-fit the pin through the parts, but you could also use glue or a small piece of molten PLA/PETG.
Descripción original del autor, publicada en Thangs.