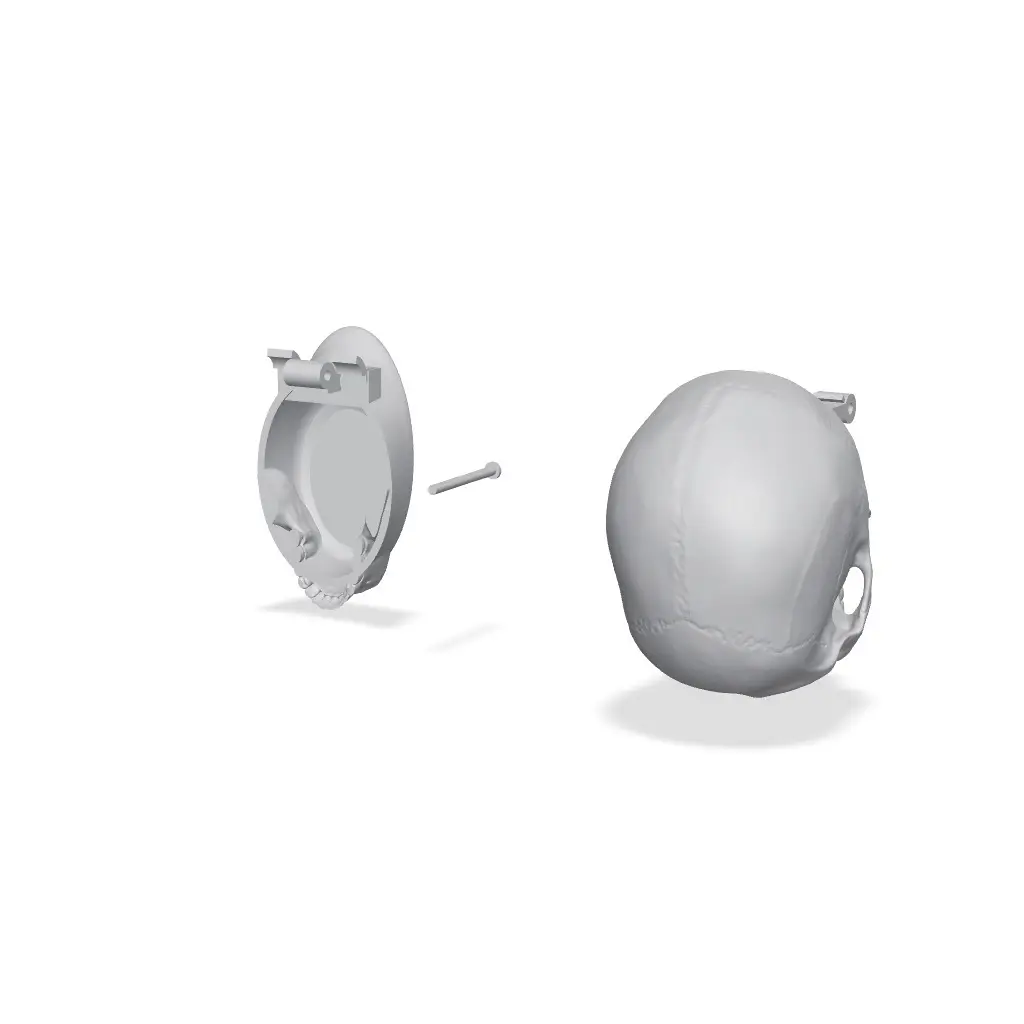
JAW DROP - Hinged Skull Candy Bowl
por decor8.studios en Thangs
Looks spooky. Hides something sweet.
Thangs entrega los archivos a usuarios con cuenta gratuita
Licencia
Revisa las condicionesLICENSE-PERSONAL-USE
El autor usa su propia licencia. Revisa sus condiciones en la página original antes de compartir, modificar o vender.
Al descargar aceptas respetar la licencia y dar crédito a decor8.studios.
Archivos (4)
- 01_Jaw_Candy_Base.stl STL · 2,9 MB
- 02_Skull_Hinged_Lid.stl STL · 6,3 MB
- 03_Hinge_Pin.stl STL · 25 KB
- JAW-DROP-All-Parts-v001.3mf 3MF · 3,2 MB
- Categoría
- Jardín
- Formatos
- STL, 3MF
- Descargas
- 7
- Publicado
Sobre este modelo
Looks spooky. Hides something sweet.
JAW DROP turns a sculpted skull into a hinged candy container. Lift the upper skull by hand to reveal the lower-jaw bowl, fill it with individually wrapped treats, and close it for a Halloween display with a secret.
THREE PRINTED PARTS The jaw and candy bowl form one piece. The upper skull and teeth form a second piece. One printed hinge pin joins them together. No springs, rubber bands or screws are needed. An integrated stop limits opening to approximately 60 degrees.
WHAT'S INCLUDED - One 3MF project with all three parts arranged on two plates. - Three individual STL files as an alternative. - Print settings and assembly instructions.
Plate 1: lower jaw/candy bowl and hinge pin. Plate 2: upper skull lid. Single-color printing; no AMS required. Shown in warm ivory PLA.
SIZE Approximately 135 x 190 x 204 mm assembled and closed. All individual parts fit a 250 x 250 x 250 mm build volume. Keep the complete set at 100% scale to retain the intended hinge clearance.
PRINTING Suggested starting settings: PLA, 0.4 mm nozzle, 0.20 mm layers, 4 walls, 15% infill. Supports are enabled for the skull lid and jaw base in the project; the organic skull and hinge overhangs are not a support-free print. Inspect support placement and clear the hinge holes after removal. The pin prints upright on its head; add a brim if needed.
Select your actual printer and filament profile before slicing.
ASSEMBLY Remove supports and burrs. Align the lid and bowl hinge holes, then slide in the pin from the side. Check smooth opening and closing before securing anything. If needed, retain the pin with a small drop of suitable adhesive at its head and outer lid hinge only; keep adhesive away from the rotating joint.
Descripción original del autor, publicada en Thangs.