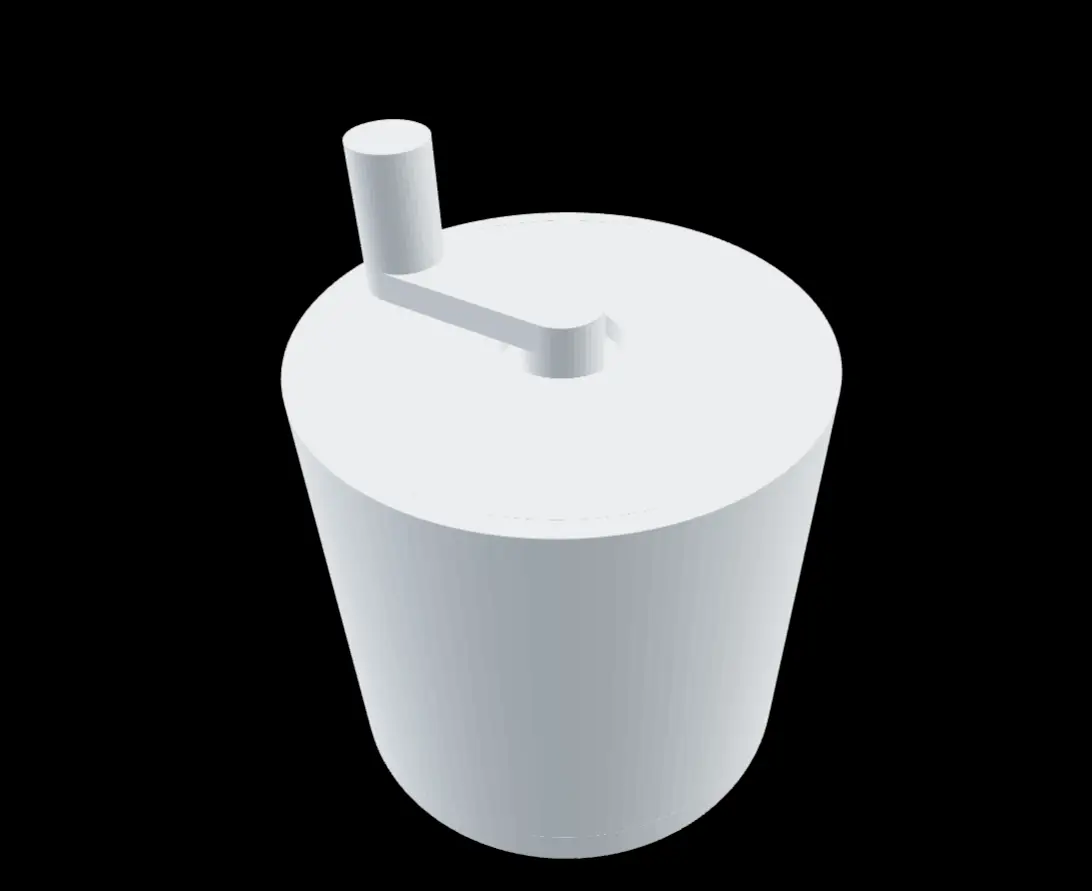
Instant Cold Soda Machine
por Kaushal Dalal en Printables
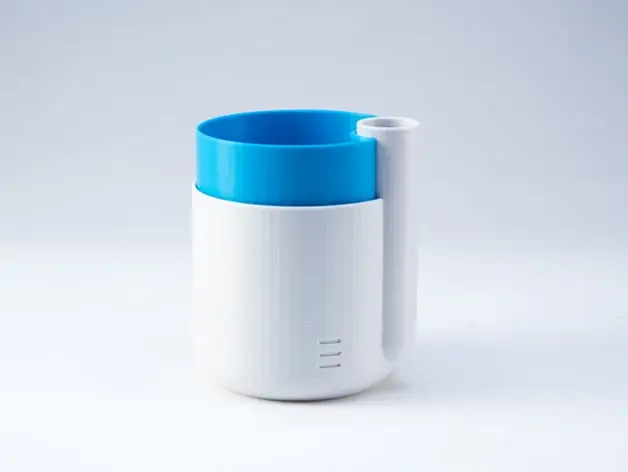
This chills your drink down in 60 to 90 seconds which delivers the same temp as if you had it in the fridge for ~2 hours
Licencia
Uso comercial permitidoPuedes imprimirlo, modificarlo y venderlo sin pedir permiso ni dar crédito.
Al descargar aceptas respetar la licencia y dar crédito a Kaushal Dalal.
Archivos (22)
- InstantColdDrinkMachine.stl STL · 4,5 MB
- InstantColdDrinkMachine.stp STP · 26,1 MB
- handle.step STEP · 611 KB
- layer3.step STEP · 608 KB
- layer1.step STEP · 631 KB
- bottompiece.step STEP · 1,7 MB
- outsidepiece.step STEP · 2,4 MB
- canholder.step STEP · 5,8 MB
- maingear2.step STEP · 5,9 MB
- maingear1.step STEP · 8,0 MB
- layer2.step STEP · 18,7 MB
- maingear3.step STEP · 5,9 MB
- canholder.stl STL · 284 KB
- bottompiece.stl STL · 85 KB
- outsidepiece.stl STL · 119 KB
- handle.stl STL · 31 KB
- layer1.stl STL · 32 KB
- layer2.stl STL · 878 KB
- layer3.stl STL · 31 KB
- maingear3.stl STL · 288 KB
- maingear1.stl STL · 383 KB
- maingear2.stl STL · 288 KB
- Categoría
- Hogar
- Formatos
- STL, STP, STEP
- Descargas
- 1
- Publicado
Sobre este modelo
This is a model that can cool your soda can in literally one minute! All you have to do is put the soda can in the designated place, then put the ice in the outside compartment, close the lid, and start spinning! I made this because it was always super annoying to forget to freeze your soda and then have to wait for 2 hours just to make it taste crisp and refreshing. This model is really easy to assemble you just need superglue that's it.
Assembly Instructions - Print all the parts separately.
- Then glue the can holder piece to MainGear1. There is a peg and a hole to help align them, but you have to glue them together to actually attach them.
- Then attach the bottom piece to the outside piece. This just clicks into place with the rods.
- Add the soda can to the can holder.
- Add ice around it.
- Add Layer 1, then Layer 2, then Layer 3.
- Then glue the handle to the gear at the bottom that should be visible.
- And start cranking!
Print Profiles I haven't actually used a 3D printer before so I don't know for sure, but I would probably use a 0.2 mm layer height, 3–4 walls, and 25–40% infill. I would also use PETG or PLA to make sure the parts are strong and can hold everything in place without breaking.
Descripción original del autor, publicada en Printables.