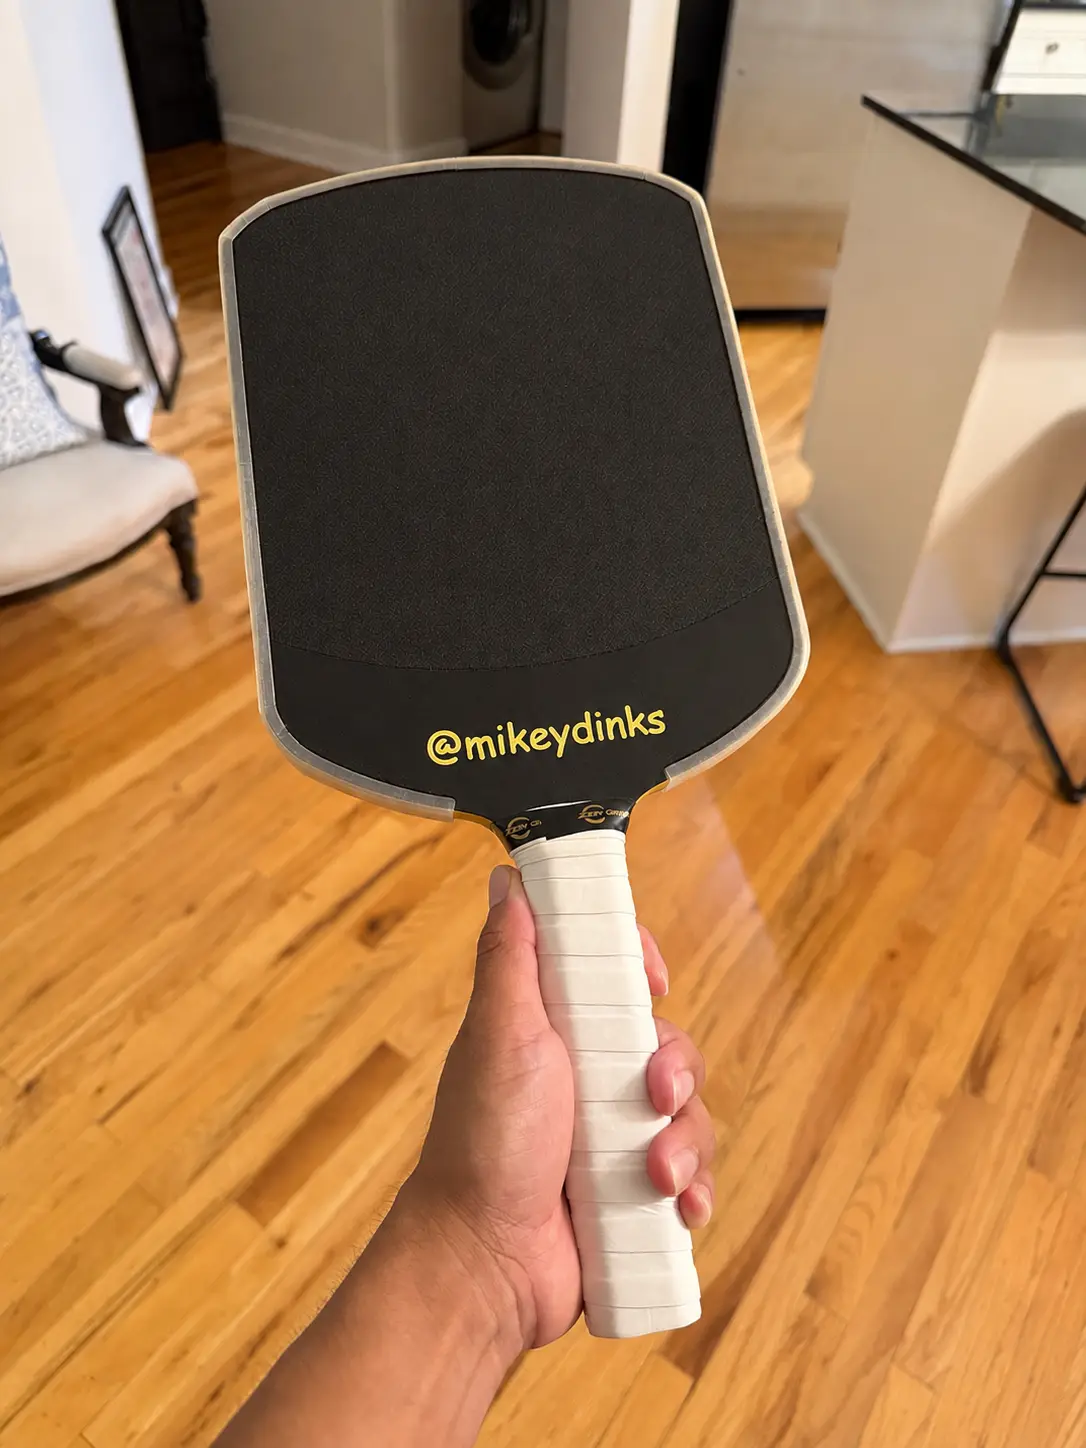
Howitzer H01 (Pickleball Paddle)
A Powerful Pickleball Paddle
Thangs entrega los archivos a usuarios con cuenta gratuita
Licencia
Solo uso personalSin licencia indicada
El autor no indicó una licencia: todos los derechos le pertenecen. Úsalo solo para imprimir en casa y consulta al autor para cualquier otro uso.
Al descargar aceptas respetar la licencia y dar crédito a Shape A.
Archivos (12)
- PickleballPaddleV2.3mf 3MF · 507 KB
- Layer2Low.stl(1).stl STL
- Layer2Low.stl.stl STL
- Layer1High.stl.stl STL
- Layer1Mid.stl.stl STL
- EdgeGuardBottom.stl.stl STL
- PaddleLow.stl.stl STL
- Layer2Mid.stl.stl STL
- handle.stl.stl STL
- EdgeGuardTop.stl.stl STL
- PaddleHigh.stl.stl STL
- PaddleMid.stl.stl STL
- Categoría
- Jardín
- Formatos
- 3MF, STL
- Descargas
- 1
- Publicado
Sobre este modelo
A Powerful Pickleball Paddle Materials You'll need the following to assemble the paddle: - Plastic epoxy (I used JB Weld Plastic Bonder).
Assembly The assembly process depends on your adhesive's open time—the amount of time you have to position parts before the adhesive begins to set.
Adhesives with less than 5 minutes of open time - Glue the two face halves together. Clamp until cured. - Glue the two core halves together. - Glue the faces to the core. Clamp until cured. - Glue the two handle pieces together. - Attach the TPU edge guard. Hold it in place with painter's tape (or masking tape) until cured.
Adhesives with around 10 minutes of open time - Glue the two core halves together. - Attach one face to the core. - Attach the second face. - Clamp the entire paddle until cured. - Glue the two handle pieces together. - Attach the TPU edge guard. Hold it in place with painter's tape until cured.
Descripción original del autor, publicada en Thangs.