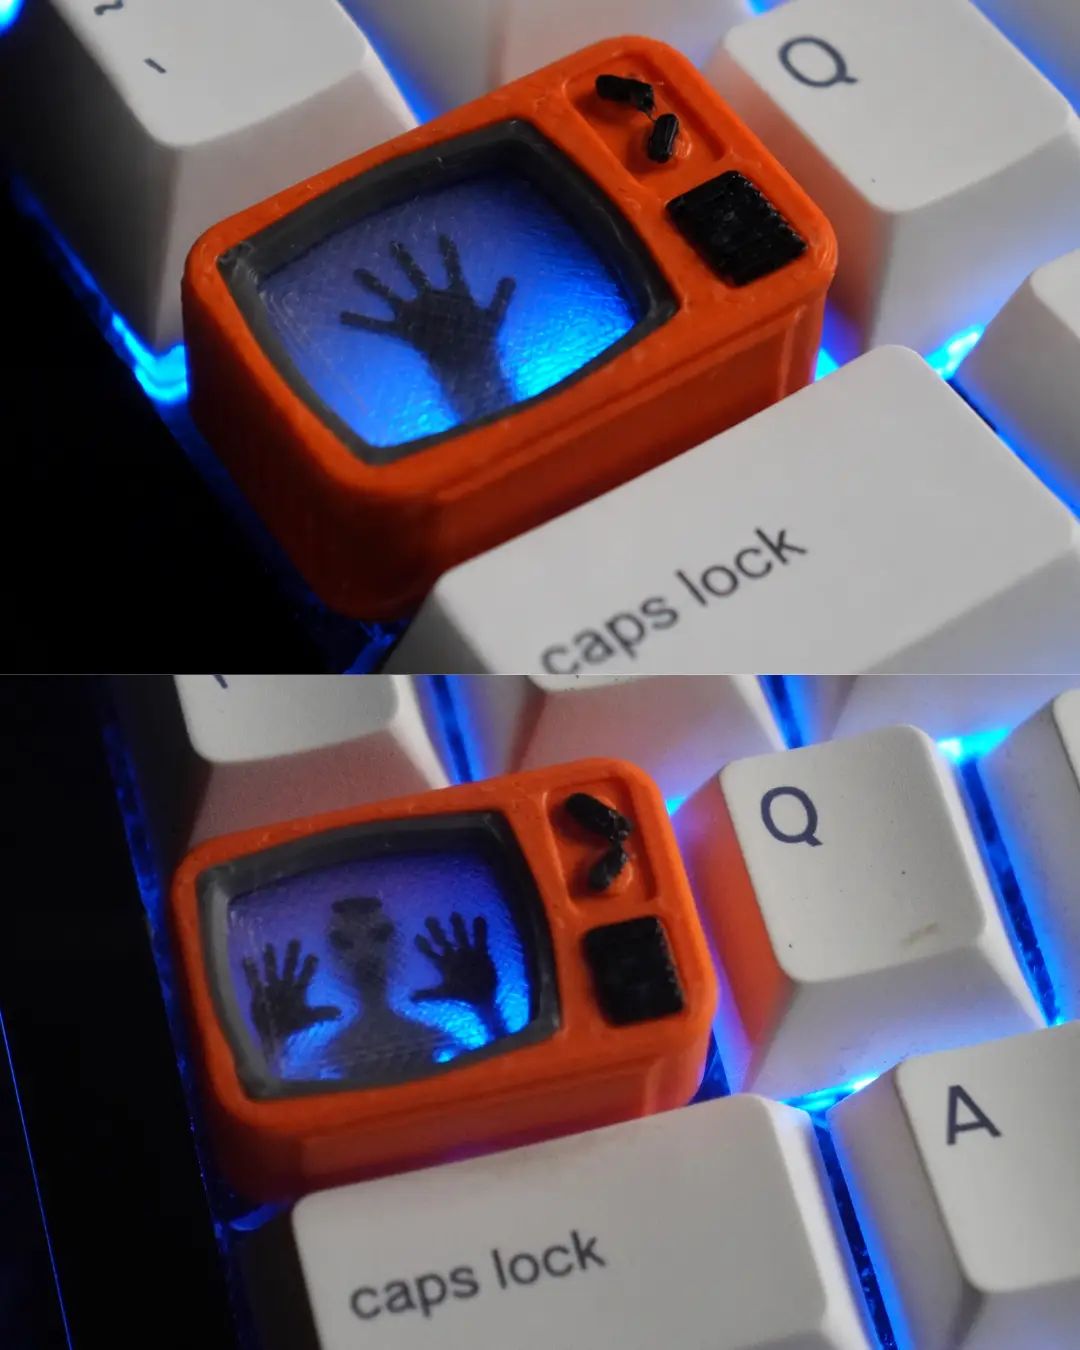
Horror TV Keycap (NO AMS, NO SUPPORT required).3mf
Try out a piece from the Retro Set! This is a FREE sample keycap from our complete Retro Tech Keycap Collection.
Thangs entrega los archivos a usuarios con cuenta gratuita
Licencia
Solo uso personalSin licencia indicada
El autor no indicó una licencia: todos los derechos le pertenecen. Úsalo solo para imprimir en casa y consulta al autor para cualquier otro uso.
Al descargar aceptas respetar la licencia y dar crédito a Tengis.
Archivos (1)
- TV.3mf 3MF · 329 KB
- Categoría
- Miniaturas
- Formatos
- 3MF
- Descargas
- 19
- Publicado
Sobre este modelo
Try out a piece from the Retro Set! This is a FREE sample keycap from our complete Retro Tech Keycap Collection. Included:📺 Retro TV (3 version) 1. Spooky Hand 2. Trapped Human Figure 3. Blank Canvas- Draw your own custom logos or art on the back
Like this design? Check out the full Retro Set (https://thangs.com/designer/10xspace.lab/3d-model/RETRO%20SET%20KEYCAP%20%7C%20NO%20SUPPORT%2C%20NO%20AMS%20REQUIRED-1600341).
Recommended Print Settings & Filament Choices 1. Stick to all PLA or all PETG for the entire build. Do not mix PLA and PETG, different materials will not adhere to each other properly. 2. Use a transparent/clear filament for screen lenses to allow RGB backlight to pass through clearly.
Assembly: 1. Use Glue Sparingly: Apply a tiny drop of glue using a toothpick or precision tip to bond separate parts together. 2. Protect the Screens: Do not allow glue to touch any transparent screen parts. Superglue residue or contact fogging will ruin the clarity and detail of the screen glass.
If you have an AMS: Switch the print sequence setting in your slicer to "Print by Object" (instead of "Print by Layer"). This dramatically minimizes toolhead travel and purges, saving filament and print time.
If you DO NOT have an AMS (Manual Filament Swap): Look at the Plate Names in your slicer, each plate explicitly indicates the exact layer where you need to add a pause for manual color changes.
⚠️ Important Note on Layer Heights - All plate pause instructions are set for a 0.2mm layer height. - If you slice at a different layer height (e.g., 0.12mm or 0.16mm), the exact pause layers will change! Check your slicer's layer preview before sending to the printer.
Descripción original del autor, publicada en Thangs.