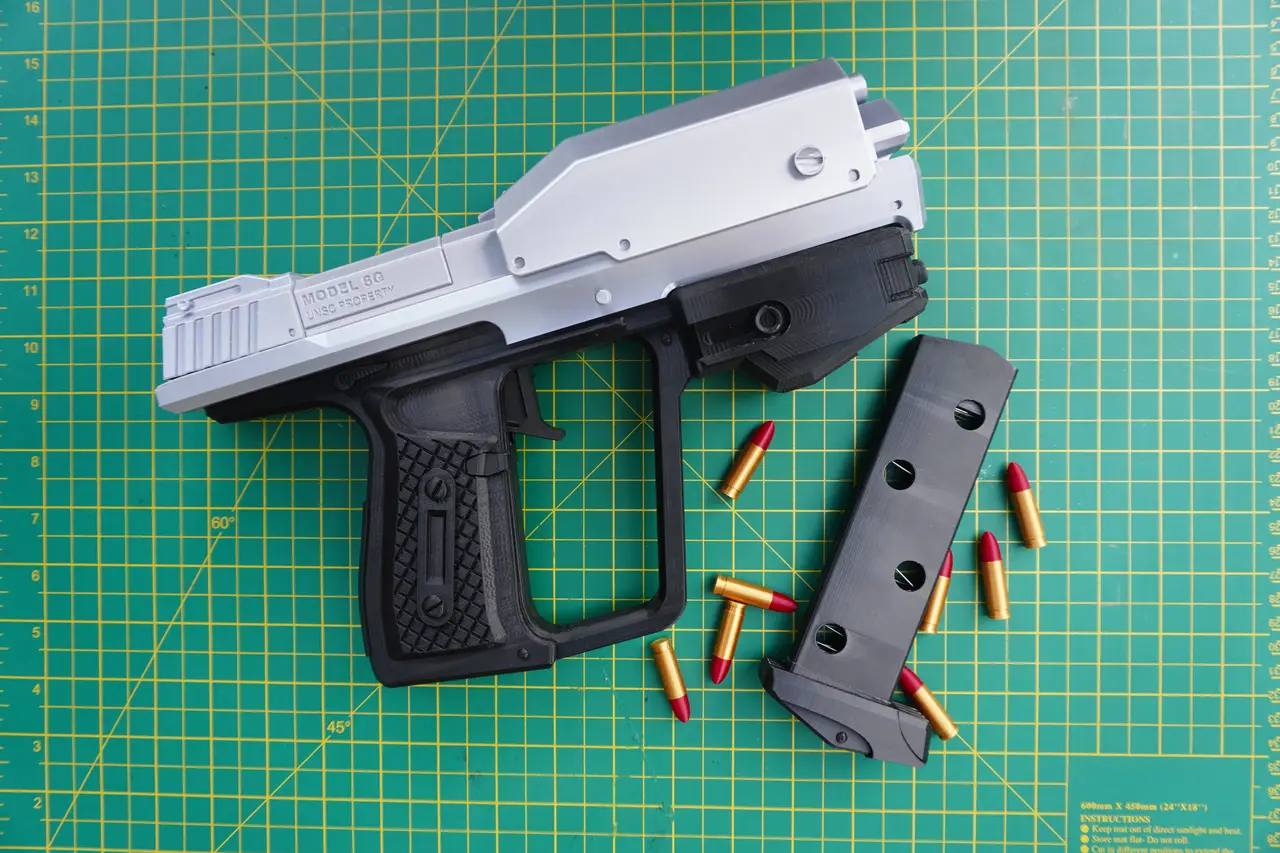
Halo Magnum Replica with moving parts
por Dan Chilvers en Thingiverse
I made a video on the making process for this here:https://youtu.be/gB1QDaxNqlY And a video on how to assemble the files here:https://www.youtube.com/watch?v=tS4uzWyjxPg These are also available to purchase fully assembled or as a DIY kit from my shop here: ht...
Licencia
Solo uso personalCC BY-NC-SA 4.0 — Atribución, no comercial, compartir igual
Uso personal dando crédito; sin fines comerciales y las modificaciones con la misma licencia.
Al descargar aceptas respetar la licencia y dar crédito a Dan Chilvers.
- Categoría
- Cosplay y props
- Formatos
- STL, ZIP
- Descargas
- 6,856
- Publicado
Sobre este modelo
I made a video on the making process for this here:https://youtu.be/gB1QDaxNqlY And a video on how to assemble the files here:https://www.youtube.com/watch?v=tS4uzWyjxPg These are also available to purchase fully assembled or as a DIY kit from my shop here: https://peerlessprops.net/collections/frontpage Lastly whilst I'm offering the full files for free, I also have them available on Etsy if you would like to support my work: https://www.etsy.com/uk/listing/4321339682/halo-magnum-3d-model-with-functional All the parts are oriented in the way I found best to print them, either for ease of printing or strength. The parts that require support are in the folder 3mf files with supports, all the other files should be to print without support although that will depend on how well calibrated your printer is. I printed this on a Bambu P1S. The magazine will require the support comb file to print upright if your printer is not very well calibrated. The parts are designed to be able to fit together by friction or glue depending on if you want to be able to break it apart again. The pins for attaching the parts together are in their own folder, there's 3 different sizes for each pin depending on how tight of a friction fit you want the parts to have. To make it function you will need a few non 3d printed parts: 1 compression spring 5.6x17.5mm for the magazine release 1 extension spring 6.5x22.2mm for the trigger 1 or 2 extension springs 7.9x28.6mm for the slide These could be acquired individually or a set like this one is likely to have all the springs needed: https://www.amazon.co.uk/dp/B000QF7JTO?ref=ppx_yo2ov_dt_b_fed_asin_title You will also need 1 small screw for the magazine release, again this can be acquired from a set like this: https://www.amazon.co.uk/dp/B0CPF54WYQ?ref=ppx_yo2ov_dt_b_fed_asin_title or an M2/2.5 x 6/8mm is the size you need specifically or a lot of electronics like keyboards or battery packs will have a small screw that can be used. I took 3 screws out of my keyboard and a few from battery packs for LED lights when making these Lastly you will need a magazine spring, unfortunately due to the size of the magazine I could not find a premade spring online so you will have to make your own. I show in the construction video how I made mine from thin music/piano wire.
Descripción original del autor, publicada en Thingiverse.