
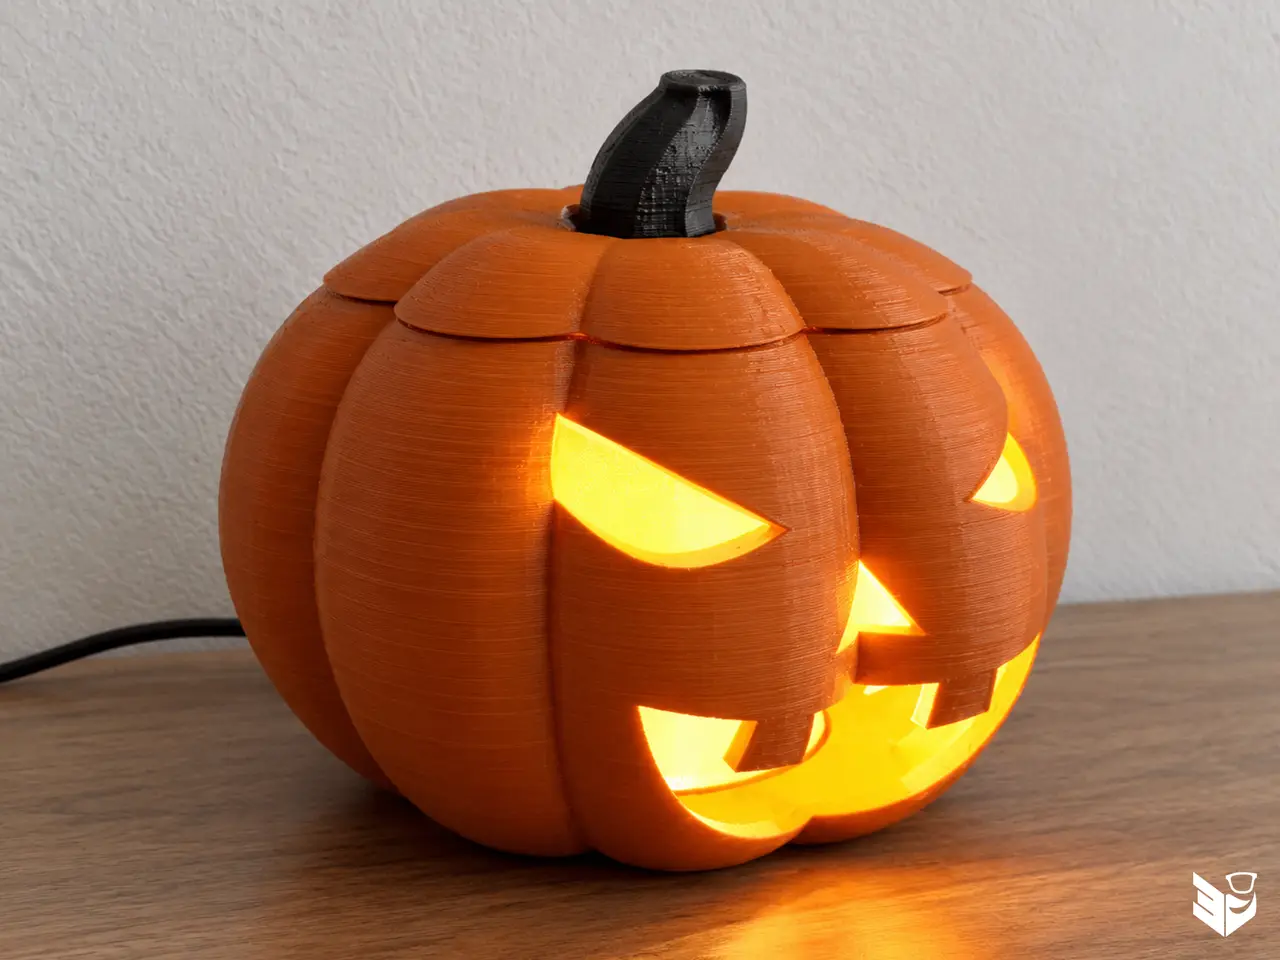
Halloween Pumpkin 3D Lamp
por Vinors 3D Lab en Thingiverse
A spooky and atmospheric Halloween pumpkin lamp, perfect for seasonal decorations, desk lights, or mood lighting! 💡 Model Overview & Hardware Requirements This model features a classic Jack-o'-lantern design crafted specifically to house a slim circular LED module. - LED Compatibility: Designed...
Licencia
Solo uso personalCC BY-NC-SA 4.0 — Atribución, no comercial, compartir igual
Uso personal dando crédito; sin fines comerciales y las modificaciones con la misma licencia.
Al descargar aceptas respetar la licencia y dar crédito a Vinors 3D Lab.
- Categoría
- Hogar
- Formatos
- 3MF
- Descargas (todas las plataformas)
- 1,331
- Publicado
También en
Sobre este modelo
A spooky and atmospheric Halloween pumpkin lamp, perfect for seasonal decorations, desk lights, or mood lighting! 💡 Model Overview & Hardware Requirements This model features a classic Jack-o'-lantern design crafted specifically to house a slim circular LED module. - LED Compatibility: Designed specifically for a circular LED puck with a 60 mm diameter and 8 mm height. - Directly compatible with: - Bambu Lab LED Lamp Kit 001 - Generic 6cm LED puck lights for 3D printing.
- Parts: Split into 2 main parts (Top/Body section and Bottom/Base section) for effortless assembly and wiring management.
🖨️ Recommended Print Settings SettingRecommended ValueNotes SupportsEnabledRequired for overhangs around the eye and mouth cutouts Infill20% – 25%Grid or Gyroid recommended Wall Loops / Perimeters3 MinimumHelps prevent light leakage through internal infill patterns Layer Height0.16 mm – 0.20 mmstandard print height for clean details Material ChoicePLA / PETGOrange or Warm Yellow (for pumpkin shell), Dark Brown/Green (for stem) 🛠️ Assembly Instructions - Print the upper pumpkin shell and lower base plate using the recommended settings. - Remove all support structures carefully from the inner cavity and facial cutouts. - Insert the 60 mm x 8 mm LED puck into the dedicated slot in the bottom base piece. - Route the power cable through the rear cable cutout. - Join the top and bottom pieces together.
Happy Printing & Happy Halloween! 👻
Descripción original del autor, publicada en Thingiverse.



