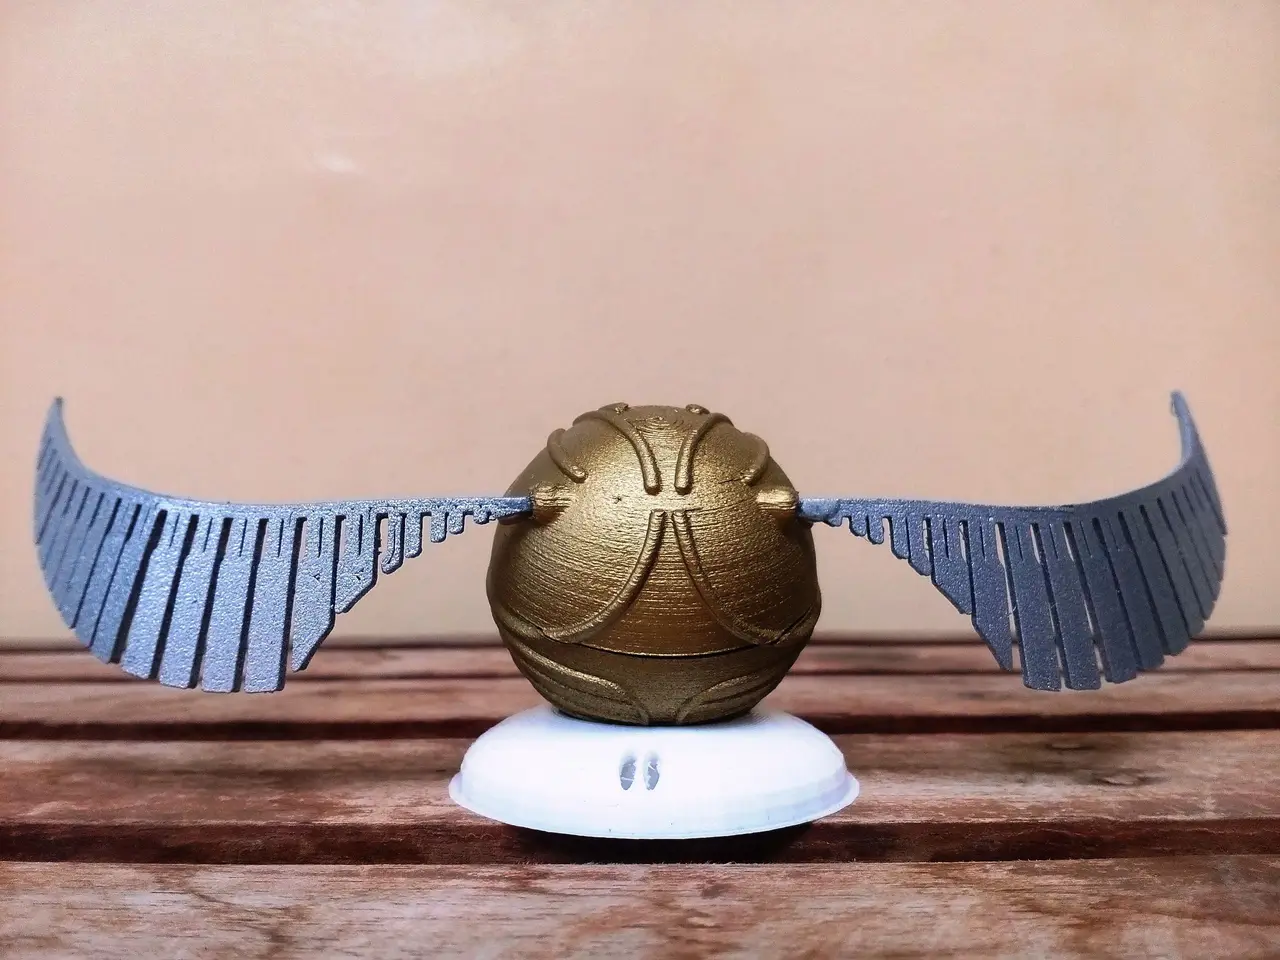
Golden Snitch Ring Box
por Ezra Salamat en Thingiverse
Long overdue upload: Remix of Porda's Golden snitch as a ring box! :) Note that this is the life-size version. The box has a 3.2 cm diameter empty space inside where you can place small items (such as a small ring). Mesh stl files were modified with Blender 3D. Wings are the same as the ones in the.
Licencia
Uso comercial permitidoCC BY-SA 4.0 — Atribución, compartir igual
Puedes usarlo y modificarlo dando crédito; las versiones modificadas deben compartirse con la misma licencia.
Al descargar aceptas respetar la licencia y dar crédito a Ezra Salamat.
Archivos (5)
- Golden_Snitch_Ring_Holder-Snitch_Lifesize__Hinge.stl STL · 31 KB
- Golden_Snitch_Ring_Holder-Snitch_Lifesize__Top.stl STL · 2,1 MB
- Golden_Snitch_Ring_Holder-Snitch_Lifesize_Bottom.stl STL · 2,5 MB
- Wing_Snitch_Lifesize_.STL STL · 368 KB
- Golden_Snitch_Ring_Holder-Snitch_Lifesize__Top_with_Hinge.stl STL · 2,1 MB
- Categoría
- Cosplay y props
- Formatos
- STL
- Descargas
- 24,212
- Publicado
Sobre este modelo
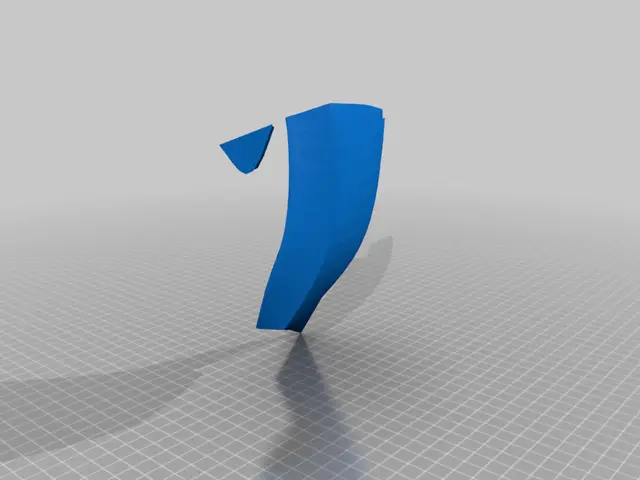
Long overdue upload: Remix of Porda's Golden snitch as a ring box! :) Note that this is the life-size version. The box has a 3.2 cm diameter empty space inside where you can place small items (such as a small ring). Mesh stl files were modified with Blender 3D. Wings are the same as the ones in the original link. PRINTING: -Top.stl and bottom.stl pieces: Pretty straightforward. Use a brim for better adhesion. -Hinge.stl : Print the hinge with a brim (for bed adhesion)(hole side down) and -0.1 to -0.15mm vertical shell offset/horizontal size compensation (IMPORTANT!), then glue the flat part to the rear center portion of the top half (where the hinge is). -Top_with_Hinge.stl: This is the top half version with the hinge. You can print this if you're having trouble joining the hinge with the top half. You may need to print it with supports (hinge side down)(don't forget the vertical shell offset!), then sand the bottom, of the hemispheres smooth. :) -Paint all parts before assembly. ASSEMBLY: Align the top and bottom halves to form the sphere. Hinge part should fit inside the gap in the bottom half. Thread a 1.75mm filament through the holes of both pieces to form a hinge. You may need to sand the filament for it to fit through (sand and fit until you are happy with the tolerance). Trim the filament ends as necessary and paint the hinge gaps gold (you can do this with a brush). Bend the wings into a curve. This is easily done when the wings are printed with PETG or similar copolymers. For PLA, use hot water or a hair dryer to soften the wings (note: bend the wings first before painting if using PLA). After that, glue the wings to the holes of the upper half. This version does not have any locking latch or magnetic mechanism, but when printed and assembled properly, the hinge should be enough to keep it in a fixed position. :)
Descripción original del autor, publicada en Thingiverse.