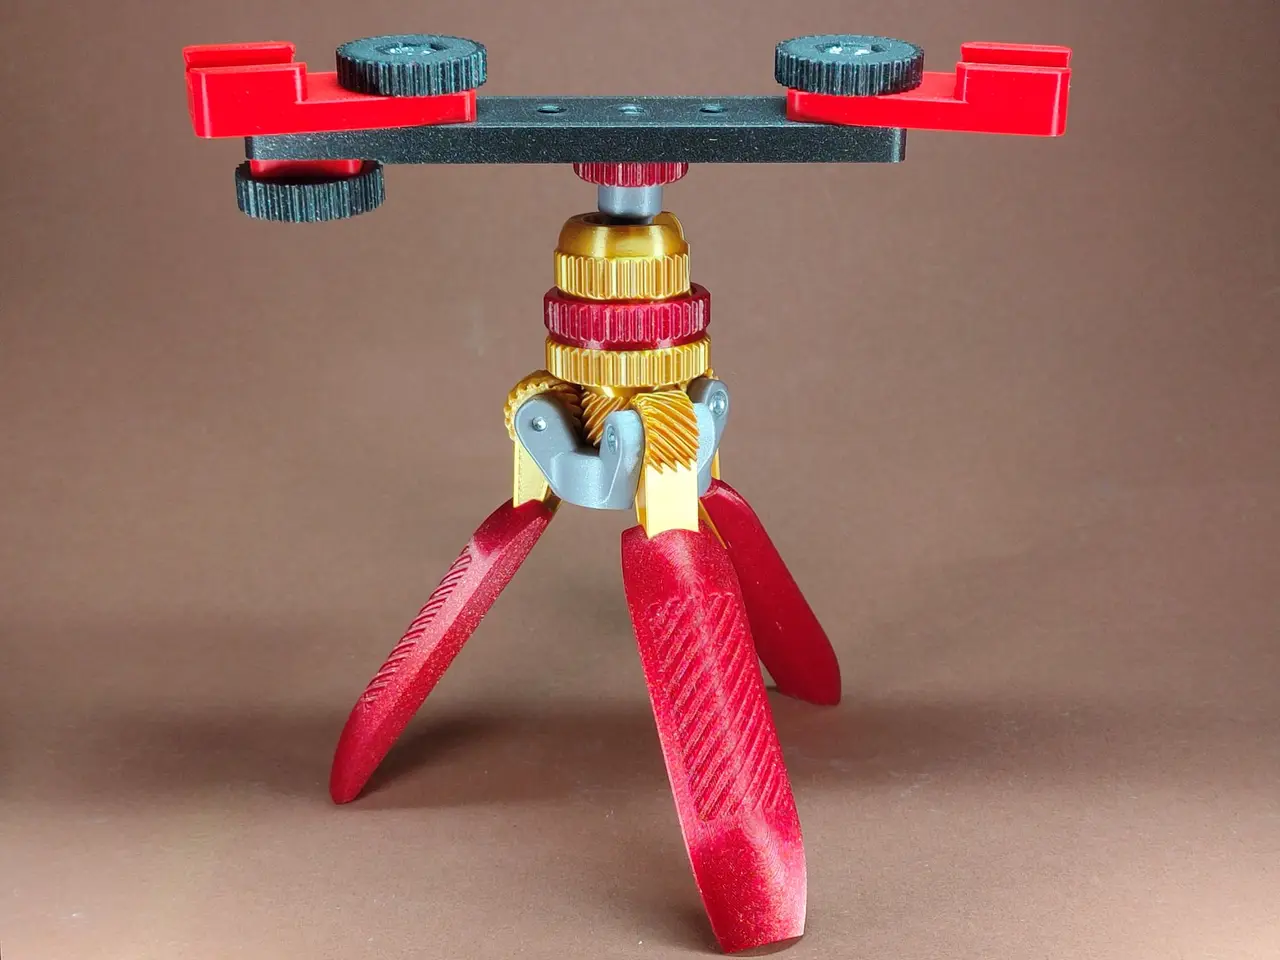
Gear Photo Tripod
por Thorin Oakenshield en Printables
Geared photo-video tripod
Licencia
Solo uso personalCC BY-NC-ND 4.0 — Atribución, no comercial, sin derivadas
Solo para uso personal, sin modificarlo y dando crédito. No se permite vender ni redistribuir cambios.
Al descargar aceptas respetar la licencia y dar crédito a Thorin Oakenshield.
Archivos (17)
- Arm holder.stl STL · 2,9 MB
- Grip 3X .stl STL · 468 KB
- Gear1.stl STL · 2,5 MB
- Gear2.stl STL · 2,6 MB
- Gear3.stl STL · 2,6 MB
- central gear.stl STL · 30,0 MB
- Joint holder 1.stl STL · 1,9 MB
- Joint holder 2.stl STL · 2,0 MB
- Joint.stl STL · 2,7 MB
- Aretattion knob.stl STL · 1,3 MB
- 1-4 thread.stl STL · 2,3 MB
- Bar.stl STL · 2,4 MB
- Light holder 50mm.stl STL · 387 KB
- Light holder 60mm.stl STL · 383 KB
- Light holder 70mm.stl STL · 383 KB
- Knob 3X.stl STL · 214 KB
- Phone holder.stl STL · 417 KB
- Categoría
- Tecnología
- Formatos
- STL
- Descargas
- 318
- Publicado
Sobre este modelo
Geared photo-video tripod
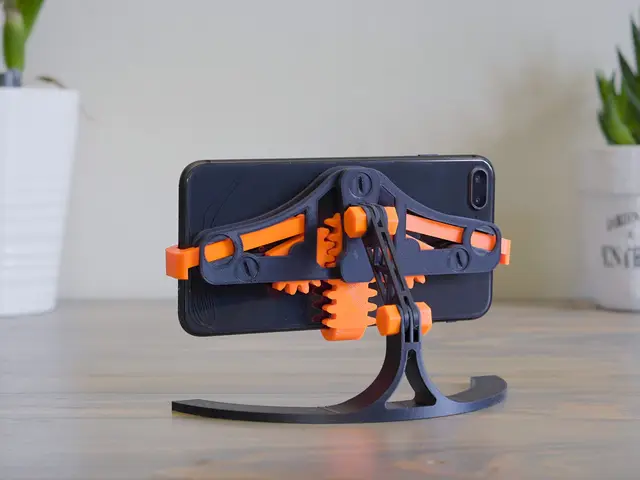
I have found that if you want to present your model well, it is very important to take good photos of it, and for that you need good lighting. I learned this in three years of uploading models to Printables competitions. The model must be good in terms of construction, but it must also have good visuals. I have already photographed over 200 models, and I will tell you that it is often more difficult for me to take photos and make a video of the model than to model it. That is why I want to help those who want to take nice photos of their models. Believe me, a nicely photographed model will attract more attention! I'll add the lines for the lights below, I already have the second model and this one is great! Gear parts 1,2,3 are each different, but each fits into the central gear differently. Insert the first one, and adjust the second one Insert the Gear 1,2,3 parts into the grips - they are quite heavy, no need to glue them. Carefully tighten the Gear 1,2,3 parts with M3x16 screws into the Arm holder parts - they cannot rotate freely, the gears are used to ensure that all arms open simultaneously I am attaching a model of the Light Holder to the Tripod model, it will be in a separate file. For it you need hex screws M6x12mm-3 pieces to insert into the knobs, nuts M6 -3 pieces, which you heat and press into the holes, Photo thread 1/4 to attach the phone holder. You insert the lights into the sled and secure them with the knobs. I made the sleds in three lengths-50,60,70mm Tripod assembly instructions: Light holder:
If I forgot something or you have an idea, write to me, this recording is really exhausting! Links: Lights: https://www.aliexpress.com/item/1005007087381368.html Brass nuts: https://www.aliexpress.com/item/1005006351445007.html ¼ foto Thread: https://www.aliexpress.com/item/4000563653550.html Phone holder clamp: https://www.aliexpress.com/item/1005006143835085.html https://www.aliexpress.com/item/4000295965415.html
Descripción original del autor, publicada en Printables.