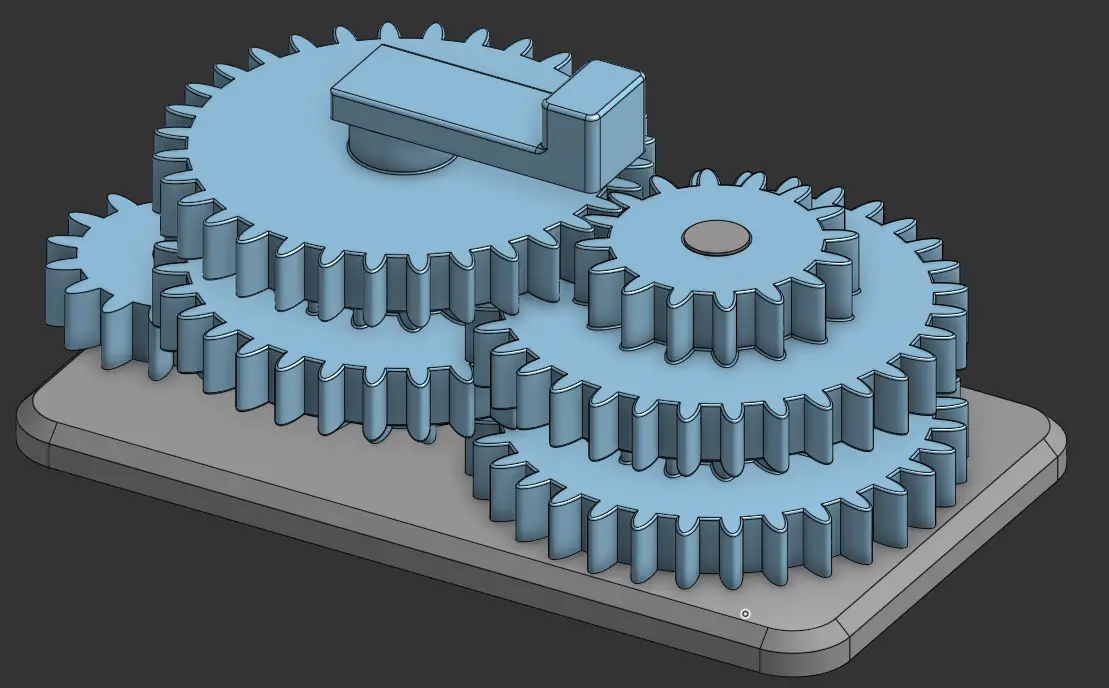
Gear Box
por Kai Encomio en Printables
I tried my hand at making a gearbox! I though it was about time for me to make some gears, so here I am.
Licencia
Uso comercial permitidoPuedes imprimirlo, modificarlo y venderlo sin pedir permiso ni dar crédito.
Al descargar aceptas respetar la licencia y dar crédito a Kai Encomio.
Archivos (5)
- Categoría
- Repuestos
- Formatos
- STEP
- Descargas
- 1
- Publicado
Sobre este modelo
Why Did I Make This? I made this because I have had some project ideas floating around in my head for a while, however, most of these ideas require some kind of gear related system. The main problem here is that I have never made gears ever, let alone make a gearbox, so I figured that with my CAD skills I should probably go out and attempt to make some gears. How Does This Work? This project works by having a gear with a crank that acts as the input. This gear then spins a smaller gear which is attached to a bigger gear which then spins another smaller gear that is also attached to a bigger gear. This causes the final gear in the assembly to spin significantly faster than the input gear, with the tradeoff being that the torque is severely reduced. How Can You Assemble It? Slicing: - Download all of the files in the "Print These!" folder below
- Import the files into your preferred slicer
- Duplicate the "Small Gear" part. (There should be 2 total "Small Gear"s)
- Copy the "Double Gear" part until there are 3 total copies
- Select auto-orient files to plate
- Ensure none of the files are colliding with each other
- Under the supports tab, select organic/tree supports
- Select slice and send the sliced file to your printer
Physical Assembly: - Find the "Gear Base" and one "Small Gear"
- Slide the "Small Gear" onto the smallest pole of the "Gear Base"
- Find another "Small Gear" and slide it onto the pole directly to the right of the previous pole used
- Find a "Double Gear"
- Slide the "Double Gear" onto the pole on the far right
- Find another "Double Gear" and slide it onto the pole directly opposite of the previous one
- Find another "Double Gear" and slide it onto the pole directly opposite of the previous one
- Find the "Gear Crank"
- Slide the "Gear Crank" onto the remaining pole on the "Gear Base"
Congratulations!!! You have now finished your personal Gearbox!!!
Descripción original del autor, publicada en Printables.