Furrion Chill RV AC Vent Air Deflector
por AnAngryGoose en Printables
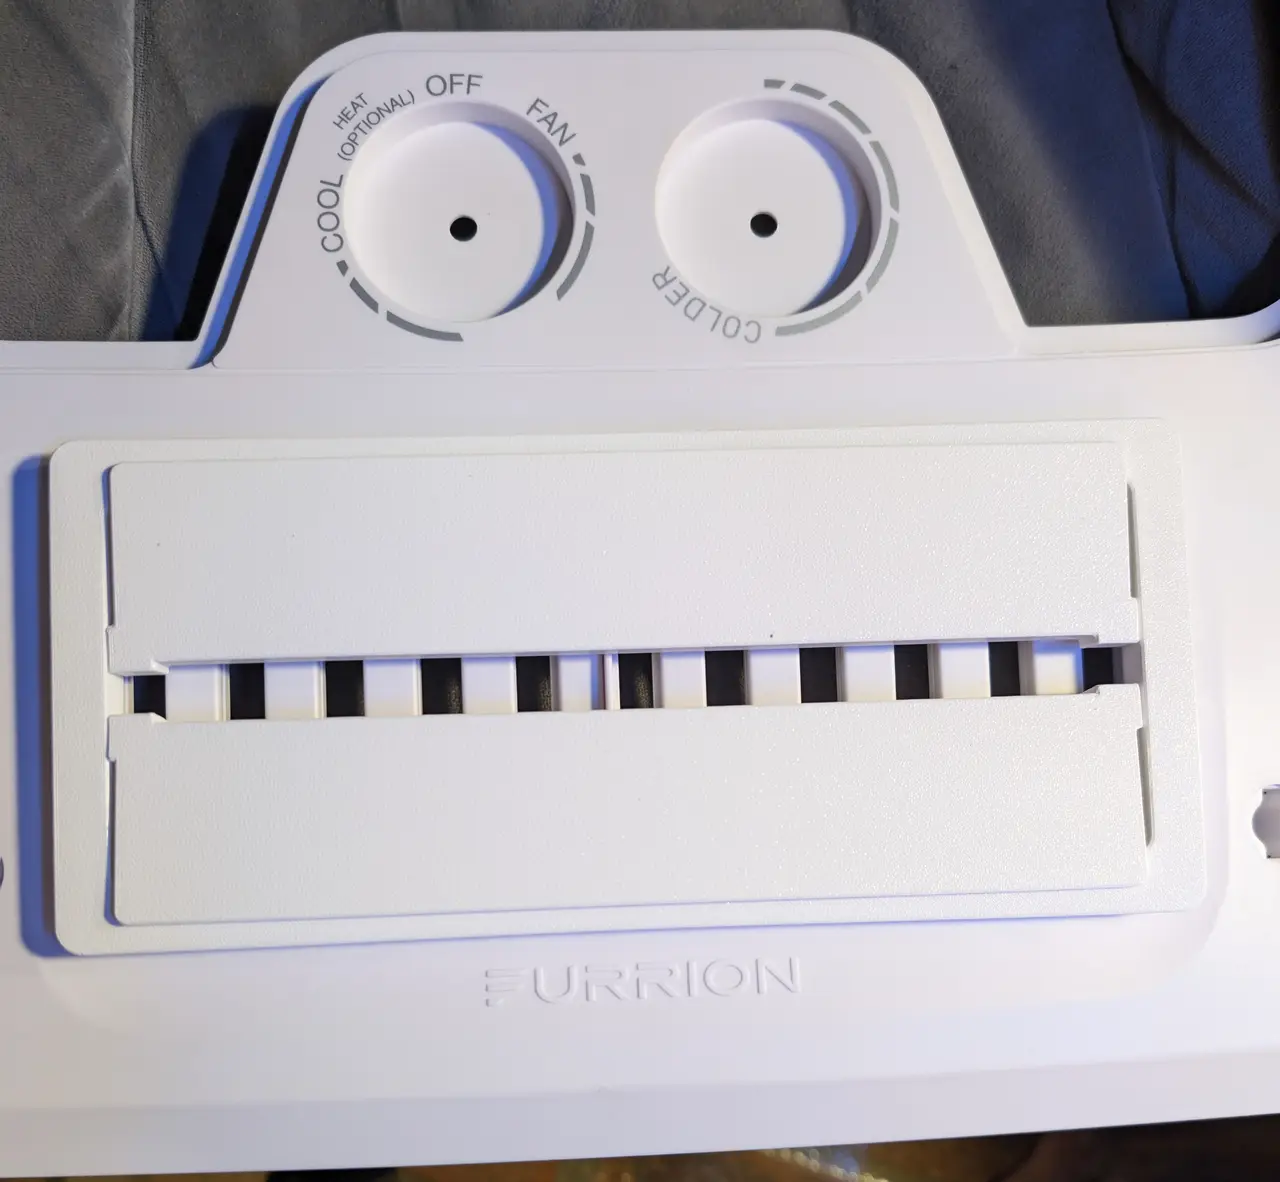
Furrion Chill RV AC vent deflector - This is to direct the airflow from my RV AC unit. Previously, the air would blow st
Licencia
Solo uso personalCC BY-NC 4.0 — Atribución, no comercial
Puedes imprimirlo y modificarlo para uso personal dando crédito. No se permite vender las impresiones.
Al descargar aceptas respetar la licencia y dar crédito a AnAngryGoose.
Archivos (4)
- Categoría
- Repuestos
- Formatos
- 3MF, STEP
- Descargas
- 0
- Publicado
Sobre este modelo
Furrion Chill RV AC vent deflector - This is to direct the airflow from my RV AC unit. Previously, the air would blow straight down and not cool each end of my camper properly.
This is fully adjustable to direct air where you need it. The middle section remains open to allow some air to come straight down and continue to fill the rest of the camper.
The body chassis will clip in between the vent hole openings. The barbs keep it in place.
Hardware - 4 × M4 heat-set inserts, 5.6 mm OD × 8.1 mm long (CNC Kitchen / Ruthex M4×8.1)
- 4 × M4 × 20 countersunk screws
Print PETG, 0.2 mm layers, 4 walls, 25% infill, no supports. Leave the parts in the orientation they import in, and add a brim on the chassis. Use PETG rather than PLA, because PLA can soften in a hot RV and the clips will snap easily.
Assembly - Use a soldering iron at about 220 °C to press one insert into each end of both blades, from the inner face. Keep each insert square and flush.
- Fit each blade between the chassis end ears. The two blades are identical.
- Drive the screws in from the outside of the ears into the inserts.
- Tighten until each blade holds its angle but still moves by hand.
Install - Line the clips up with the middle 9 slots of the grille. Leave the two outer slots empty.
- Push straight up until the deflector sits flat against the cover.
- Check that the stock louvre handle still swings freely.
Use Each blade adjusts on its own from about 5° to 90°: - Both straight down: stock airflow
- One blade angled: air goes toward that end of the RV
- Both angled: air splits toward both ends
If a blade starts to droop or is too tight, tighten/loosen its two screws slightly. It will take some playing with to find the correct tightness to allow easy movement of the vent, but still keep it in place. You can add loctite, adjust to where you want, then it'll stay there, but thats optional.
Descripción original del autor, publicada en Printables.