
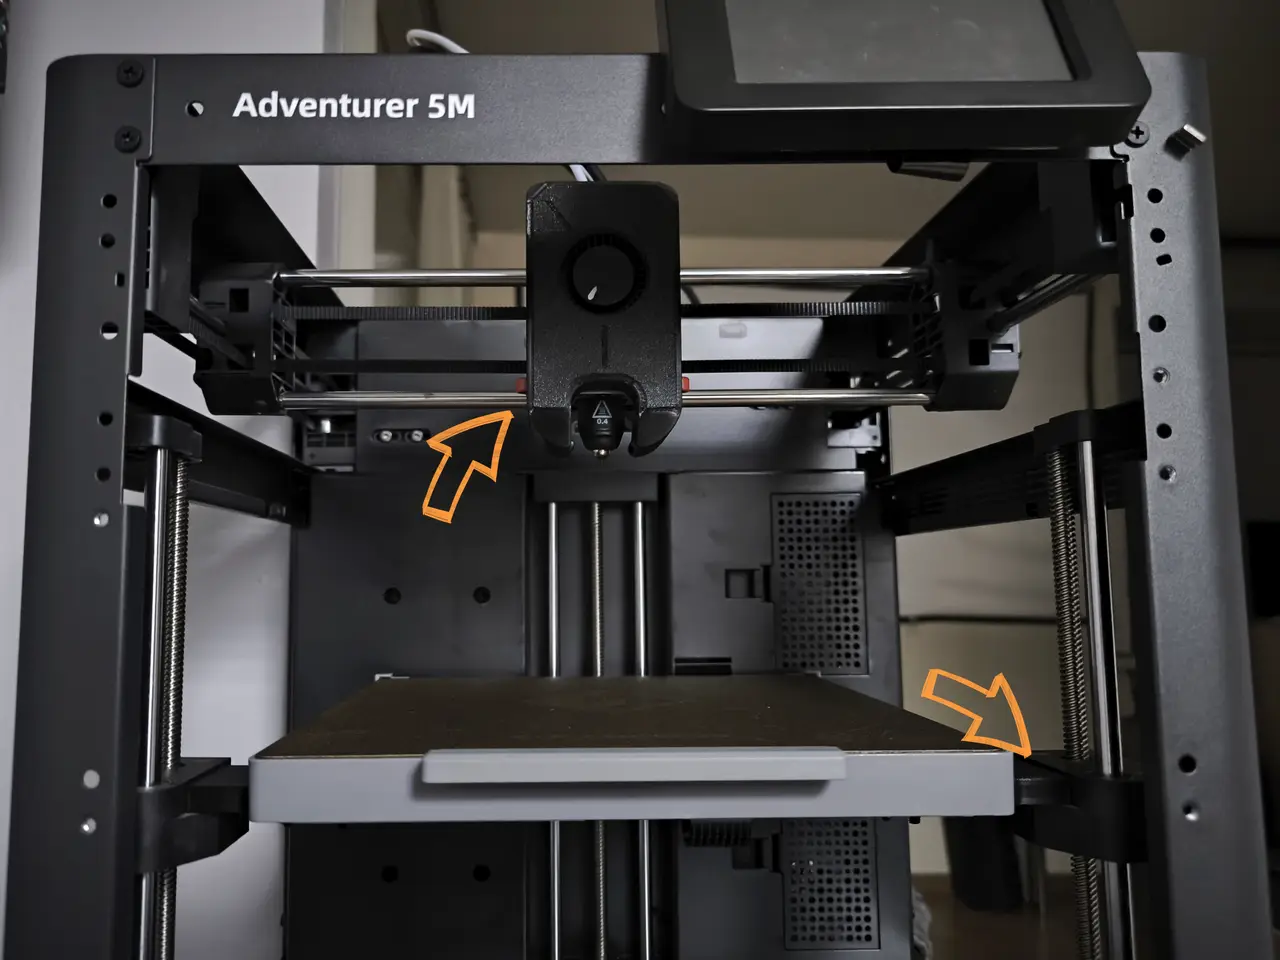
Flashforge Adventurer 5M upgrade starter mod AD5M (Will be updated)
por Brava world en Printables
A collection of models for the AD5M that I modified and used.
Licencia
Solo uso personalCC BY-NC 4.0 — Atribución, no comercial
Puedes imprimirlo y modificarlo para uso personal dando crédito. No se permite vender las impresiones.
Al descargar aceptas respetar la licencia y dar crédito a Brava world.
Archivos (25)
- Model cooling. magnets 7x2x2.5 mm.stl STL · 26,1 MB
- Model cooling. magnets original 3x5mm.stl STL · 26,3 MB
- Model cooling. magnets 7x2x2.5 mm.stp STP · 1001 KB
- Fan frame template.stl STL · 141 KB
- Fan frame 30mm.stl STL · 1,1 MB
- Fan frame 34mm.stp STP · 78 KB
- SpoolHolder T608 (all).stp STP · 1,2 MB
- SP 2.stl STL · 3,4 MB
- SpoolRoller.stl STL · 18,0 MB
- V2 SpoolHolder T608.stl STL · 58,5 MB
- SpoolHolder T608.stl STL · 46,0 MB
- Z-axis protection T2.stl STL · 1,6 MB
- Z-axis protection T1.stl STL · 4,9 MB
- Nut locker 2.stl STL · 3,7 MB
- Nut locker 1 T1.stl STL · 5,0 MB
- Nut locker 1 T2.stl STL · 5,0 MB
- Table protection T2.stl STL · 5,2 MB
- Table protection T1.stl STL · 11,7 MB
- V5 LED strip frame (no cable).stl STL · 2,1 MB
- V5 LED strip frame.stl STL · 13,3 MB
- 5x3 LED strip frame.stl STL · 35,0 MB
- 5x3 LED strip frame (no cable).stl STL · 24,2 MB
- diffuser.stl STL · 71 KB
- Button clip.stl STL · 841 KB
- Model airflow test from 90 to 10 degrees.stp STP · 13,1 MB
- Categoría
- Para tu impresora
- Formatos
- STL, STP
- Descargas
- 18
- Publicado
Sobre este modelo
Table of contents All the models have been reworked for my own personal use, as I found the originals unsatisfactory for various reasons. The original cooling setup is weak; this modification allows for printing at an angle of up to 30 degrees relative to the print bed. I tested it using a calibrated filament profile at speeds ranging from 50 to 100 mm/s. For the spool holder, you need a 608ZZ bearing (size 8x22x7 mm). You can also find printable versions of this bearing on the website. Spool holder assembly: connect SP2 to the spool roller. Position the first bearing at an angle on the end of the spool holder, and place the second bearing onto the end of the SP component. Insert the free end of the SP into the angled bearing on the spool holder, then secure the other end of the SP—fitted with its bearing—onto the spool holder. Models have been added for upgrading the hotend heatsink cooling system. Installation: - - Disassemble the 3D printer print head. Disconnect the main cable and tubing, unplug all wires from the circuit board, and remove the print head (it is secured by 4 screws at the rear). You should be left with only the plastic housing featuring the grille. The filament feed mechanism must also be removed.
- - Carefully cut out the grille using a knife.
- - Insert the template and trace the circle.
- - Remove the template and trim away any excess material along the marked diameter.
- - Insert the decorative frame and glue it into place.
AD5M Lighting - Added frame models for LED strip, designed for 10 mm wide, 200 mm long strip with a 45-degree tilt angle. Assembly requires 7 magnets (magnet dimensions are indicated on the model). (The author used a 24 V strip, XXV-AUG22.)
- To connect to the yellow connector on the board, you need an XH 2.54 connector.
- Recommended wire gauge: 0.5 mm².
- The frame has a slot for the LED strip — remove the adhesive backing from the strip (if present) before inserting it.
- The slot is closer to the edge for the diffuser; its "model" is included in the assembly.
Print settings - Layer height: 0.2 mm
- Outer layers (shells): 0.6 mm
- Solid infill: 0.6 mm
- All other lines: 0.4 mm
- Bridges with additional perimeters
- 4 perimeters for large models
- Bottom and top thickness: 2 mm
- Infill set to 100%, though 20% is also acceptable
- Print speed: 50 to 100 for the best results
Descripción original del autor, publicada en Printables.



