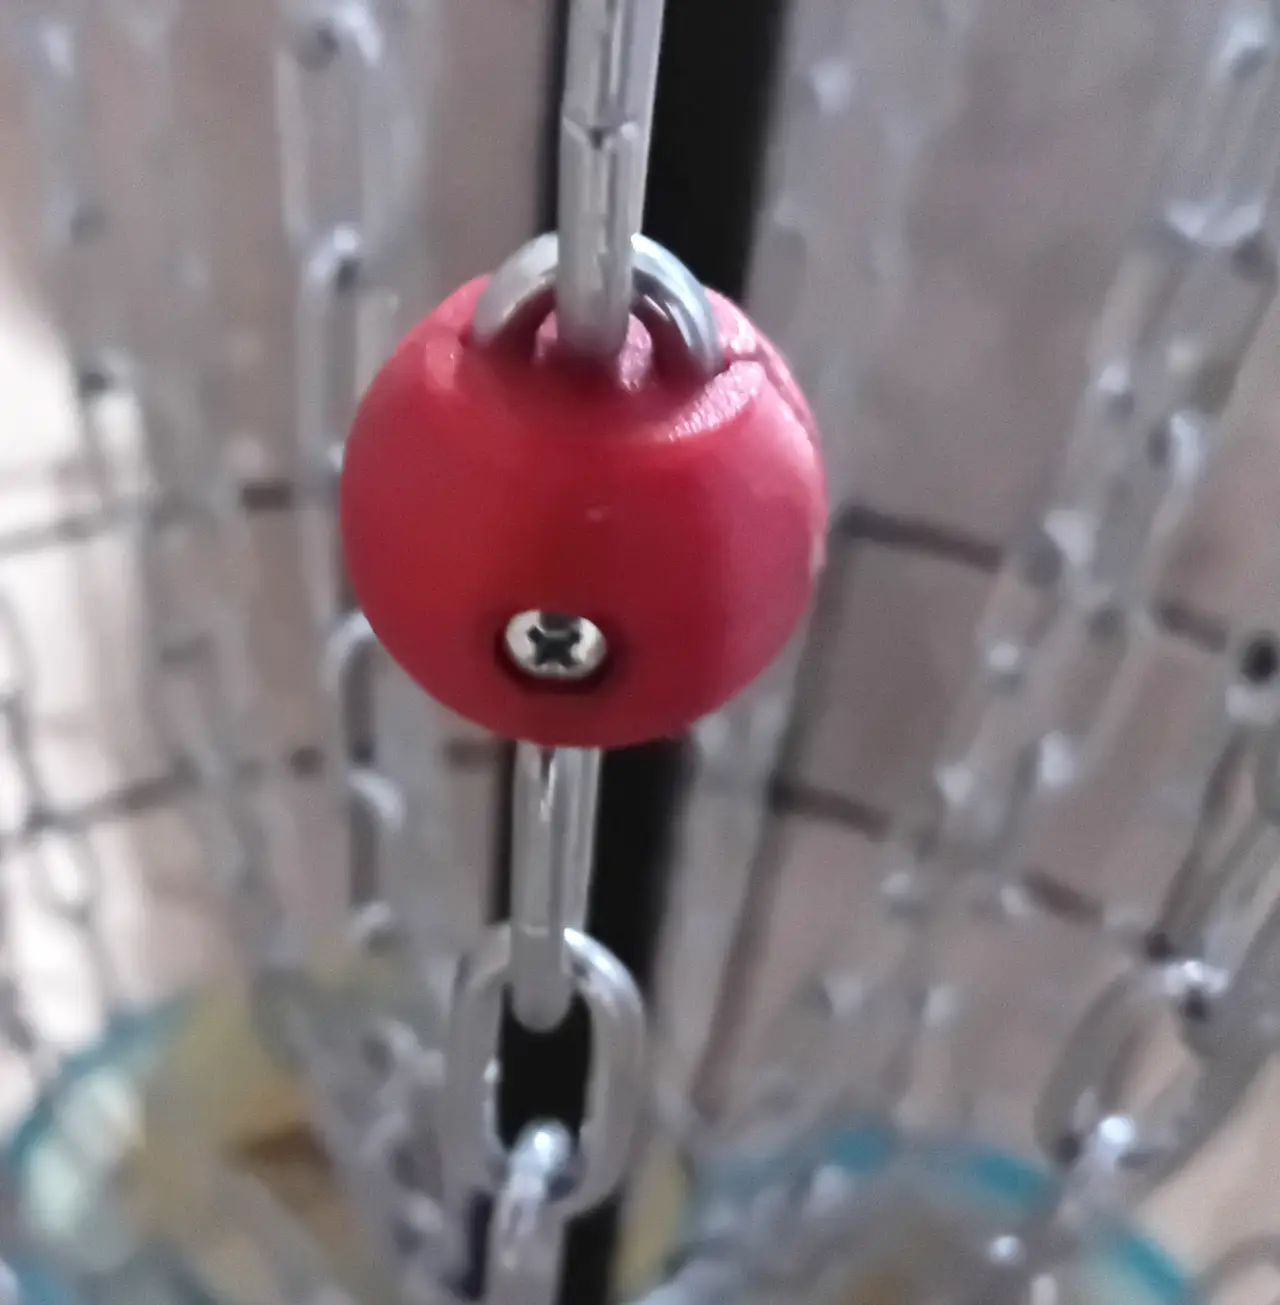
Disc Golf Putting Practice Target -- all sizes
por Zdeněk en Printables
Visual aid for you to practice putting precision
Licencia
Uso comercial permitidoPuedes imprimirlo, modificarlo y venderlo dando crédito al autor.
Al descargar aceptas respetar la licencia y dar crédito a Zdeněk.
Archivos (10)
- DG-Putting-target-viking-M5-screw-side.stl STL · 2,2 MB
- DG-Putting-target-viking-M5-nut-side.stl STL · 2,0 MB
- DG-Putting-target-viking-M4-screw-side.stl STL · 2,2 MB
- DG-Putting-target-viking-M4-nut-side.stl STL · 2,0 MB
- DG-Putting-target-dgpark-M4-screw-side.stl STL · 2,4 MB
- DG-Putting-target-dgpark-M4-nut-side.stl STL · 2,3 MB
- DG-Putting-target-dgpark-M5-nut-side.stl STL · 2,3 MB
- DG-Putting-target-dgpark-M5-screw-side.stl STL · 2,4 MB
- DG-Putting-target-screw-side_0.4n_0.1mm_PETG_MINI_2h39m.bgcode BGCODE · 1,9 MB
- DG-Putting-target-M4_0.4n_0.1mm_PETG_MINI_2h38m.bgcode BGCODE · 1,8 MB
- Categoría
- Jardín
- Formatos
- STL, BGCODE
- Descargas
- 0
- Publicado
Sobre este modelo
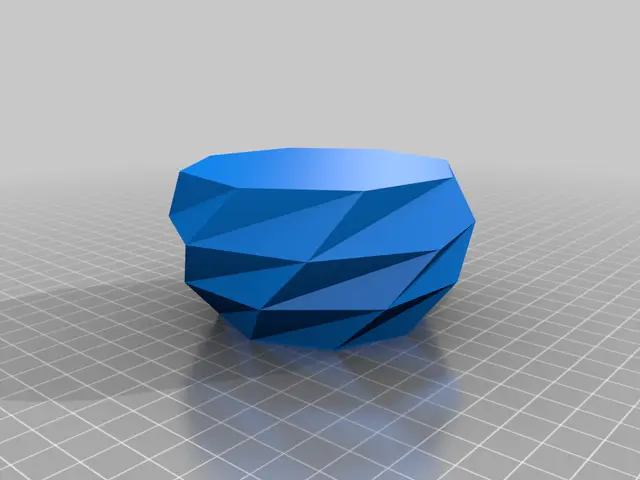
Introduction A simple ball-shaped target to serve as a visual reference for your putting practice. It clamps on a single link in the chains, and gives you a point to aim at. Will it fit? The target is designed to really fit around a single chain link, and allow free movement with respect to adjacent links in the chain. On baskets I tried, this results in target diameter of approx. 3 cm (1¼"). Different manufacturers use different-size chains. I will do my best to maintain a table here, and add missing sizes. If you want to help, send in your dimensions. They are the outside measurements of the oval-shaped chain link in your basket. Also measure the link wire diameter. For the time being, I have the following: Make Tested Models Filename prefix Link length [mm] Link width [mm] Wire ⌀ [mm]
Viking Royal basket DG-Putting-target-viking- 46 19 5
Discmania DiscGolfPark Pro DG-Putting-target-dgpark- 45 20 5
Printing The model prints in halves, that are not fully identical. One side has a hex shaft to hold your nut, the other has a round aperture for your screw head. Both halves can be printed at once, or, as I prefer, in sequence (Finish individual objects) to limit stringing. The model prints without supports, and is not sensitive to layer height, but I print at 0.1-mm layers for smoother surface finish. I print in PETG and it's almost a must if your basket lives outside. If you store it indoors, PLA will probably be fine. Be sure to use a distinctive colour. Assembly Two options are provided for each basket make: M4 and M5 screw. Choose whatever you have handy. The models will typically take screws 25 or 30 mm long. So, a full supported list is: M4×25, M4×30, M5×25, M5×30. When both halves are printed, dry-test them on a single link of chain. There are guide cones on the facing sides of the half-balls, so that they automatically align as you tighten the screw. Just put a hex nut into the hex-shaped hole, thread a screw through the other, and screw tight.
Descripción original del autor, publicada en Printables.