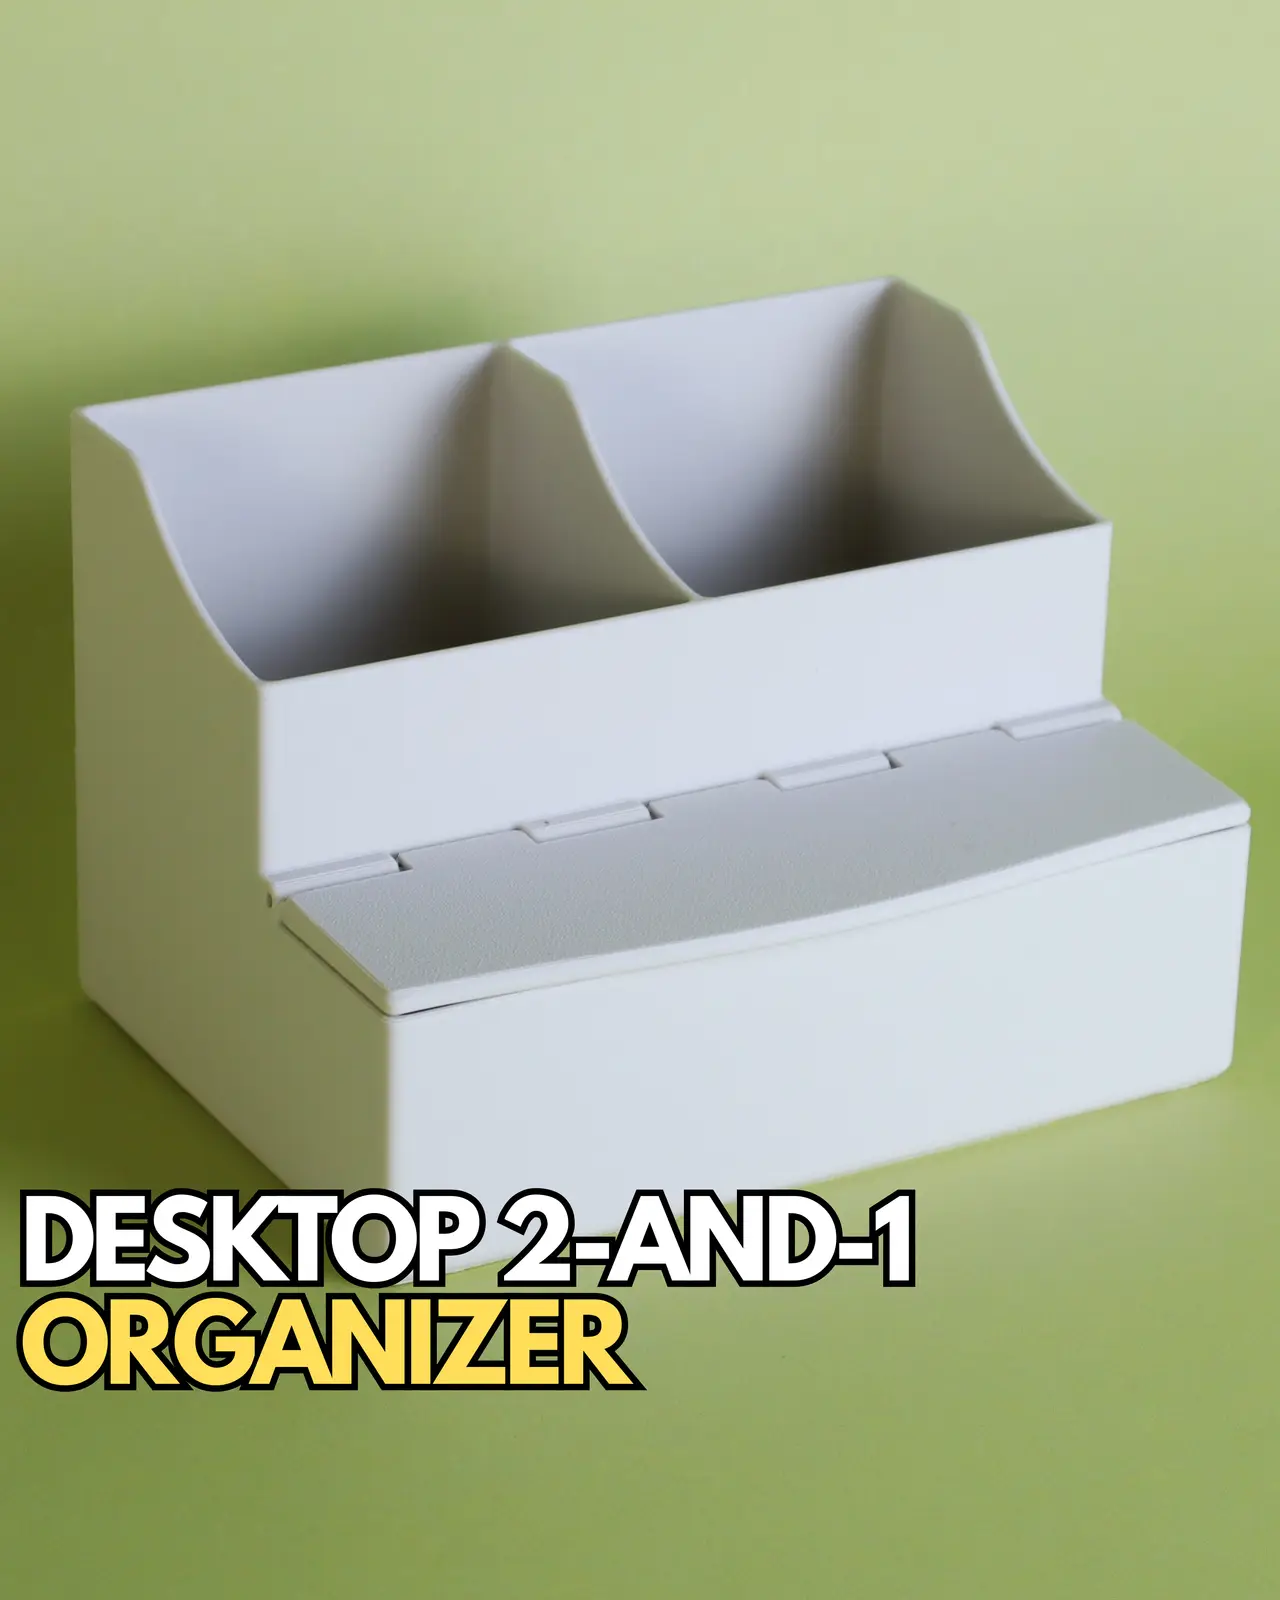
Desktop 2-and-1 Organizer
The Desktop 2-_and_-1 Organizer got its name as an echo of the two spacious, open compartments and one sleek, hinged-lid compartment. Keep pens, pencils, tools, or accessories neatly sorted up top while tucking away smaller essentials below. With its clean lines and compact footprint, it brings effo
Thangs entrega los archivos a usuarios con cuenta gratuita
Licencia
Uso comercial permitidoPuedes imprimirlo, modificarlo y venderlo dando crédito al autor.
Al descargar aceptas respetar la licencia y dar crédito a GCV3D.
Archivos (3)
- Lid_desktop organizer.stl STL · 2,7 MB
- Storage Base_desktop organizer.stl STL · 9,9 MB
- Designer's Profile_desktop 2-and-1 organizer.3mf 3MF
- Categoría
- Herramientas
- Formatos
- STL, 3MF
- Descargas
- 3
- Publicado
Sobre este modelo
The Desktop 2-_and_-1 Organizer got its name as an echo of the two spacious, open compartments and one sleek, hinged-lid compartment. Keep pens, pencils, tools, or accessories neatly sorted up top while tucking away smaller essentials below. With its clean lines and compact footprint, it brings effortless organization without adding visual clutter.
_Required Tools / Parts 🛠️_ - 8x3mm Magnet (Qty 2) - _ex. Maker's Supply CA008_ - Short Strand of 1.75mm Filament - Super Glue
Printing Tips 🖨️ Recommended Settings: - Nozzle Diameter: 0.4mm - Layer Height: 0.2mm - Consider using brim on the Storage Base for better bed adhesion - Orient the Lid with the circular opening for the magnet facing away from the print bed - this will give the top a smooth finish - Add a pause to the Storage Base print at about 44.2mm for inserting the magnet
Assembly Procedure 🔩 1. Use super glue to attach the remaining magnet to the Lid - make sure the polarity orientation aligns with the magnet previously inserted into the Storage Base. 2. Align the Lid with the Storage Base and thread a strand of 1.75mm filament through the holes to form the hinge.
Please like it if you do and leave any comments! If you're really feeling generous please consider buying me a coffee (https://buymeacoffee.com/gcv3d) so I can keep creating!
Links to my socials and Patreon (https://linktr.ee/gcv3d)!
Descripción original del autor, publicada en Thangs.