Dark Souls 3: Valorheart
por Jacob N en MyMiniFactory
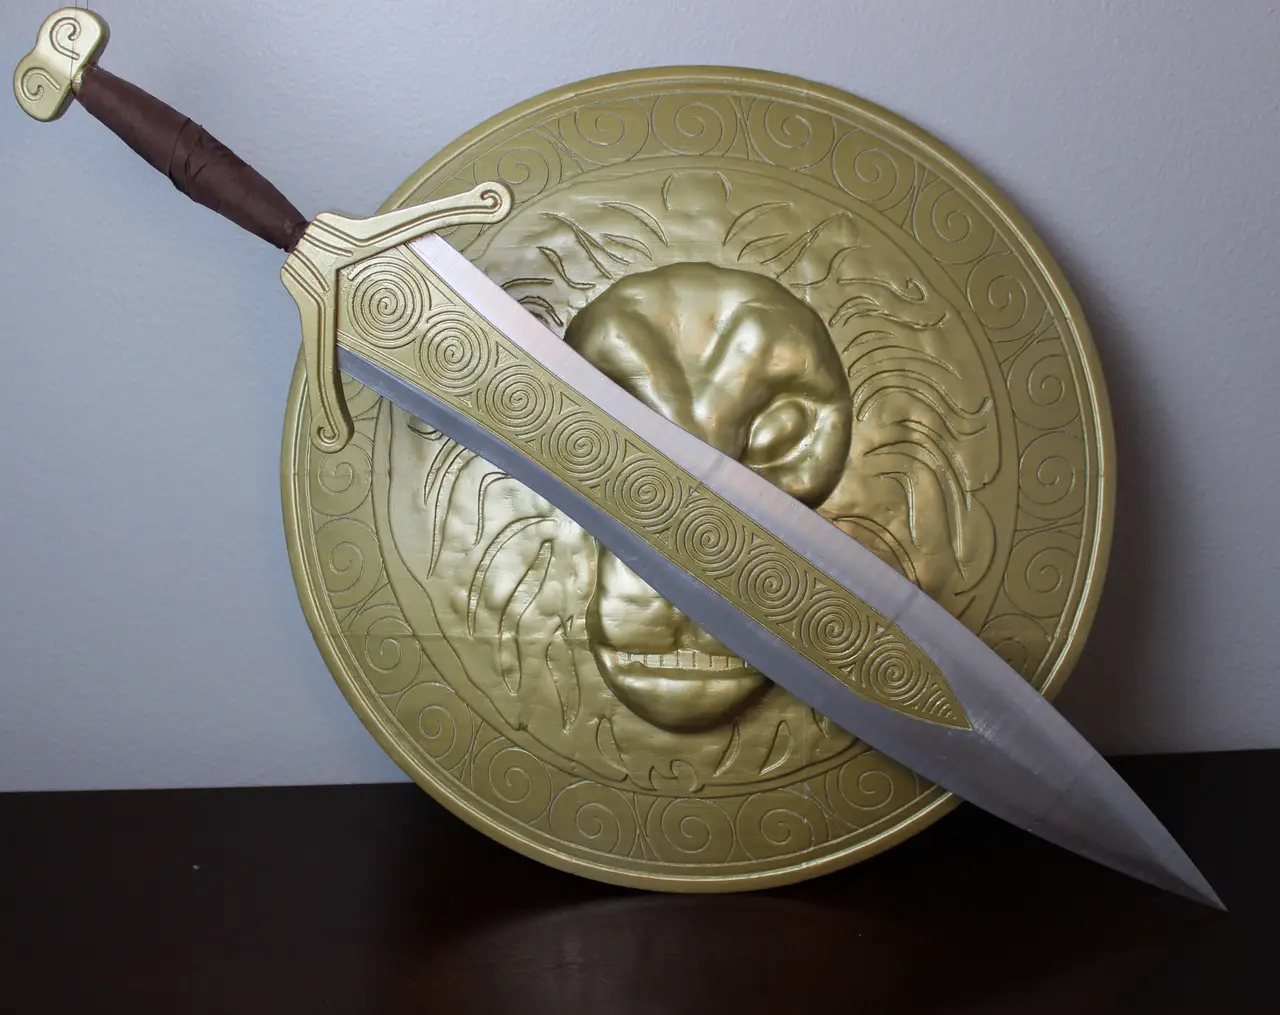
The shield and sword weapon, obtained in the new DLC for Dark Souls 3 has been my favorite weapon for a while now and I couldn't wait to bring it to life. The sword was made in Solidworks. The shield was made using Solidworks, Meshmixer, and Autodesk Netfabb.
Licencia
Solo uso personalMyMiniFactory - Credit - Remix - Noncommercial
Licencia de MyMiniFactory: puedes imprimirlo y remezclarlo dando crédito, sin fines comerciales.
Al descargar aceptas respetar la licencia y dar crédito a Jacob N.
Archivos (20)
- Blade Part 1.Stl STL
- Blade Part 2.Stl STL
- Blade Part 3.Stl STL
- Blade Part 4.Stl STL
- Blade Part 5.Stl STL
- Handle End.stl STL
- handle.STL STL
- Shield Connector.stl STL
- Shield Part 1.Stl STL
- Shield Part 10.Stl STL
- Shield Part 11.Stl STL
- Shield Part 12.Stl STL
- Shield Part 2.Stl STL
- Shield Part 3.Stl STL
- Shield Part 4.Stl STL
- Shield Part 5.Stl STL
- Shield Part 6.Stl STL
- Shield Part 7.Stl STL
- Shield Part 8.Stl STL
- Shield Part 9.Stl STL
- Categoría
- Cosplay y props
- Formatos
- STL
- Descargas
- 819
- Publicado
Sobre este modelo
The shield and sword weapon, obtained in the new DLC for Dark Souls 3 has been my favorite weapon for a while now and I couldn't wait to bring it to life. The sword was made in Solidworks. The shield was made using Solidworks, Meshmixer, and Autodesk Netfabb.
Bill of Materials:
- 25" long 1/4" metal rod
- Dark brown cloth
- Glue (super glue, hot glue, etc.)
- Post processing materials
Assembly:
*Note that all spiral details can print without support
- Sword:
- Print all pieces (preferably in PLA)
- Slide first piece onto the metal rod and glue in place
- Repeat with the rest of the pieces making sure the spiral design lines up
- Post process and paint
- Wrap the handle in the brown cloth
- Shield:
- Print all pieces and 15 connectors (preferably in PLA)
- Using the connectors to line up the pieces assemble the pieces in rows and glue into place
- Connect the rows with more connectors and glue them together
- Post process and paint
- Loosely wrap a piece of cloth around the two loops on the back of the shield
- Wrap the handle in the brown cloth
Descripción original del autor, publicada en MyMiniFactory.