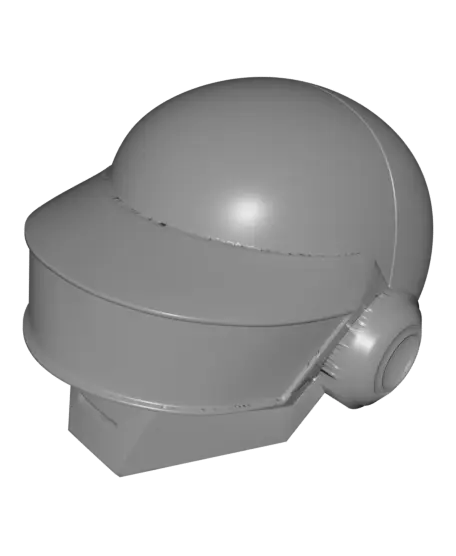
daft punk thomas helmet
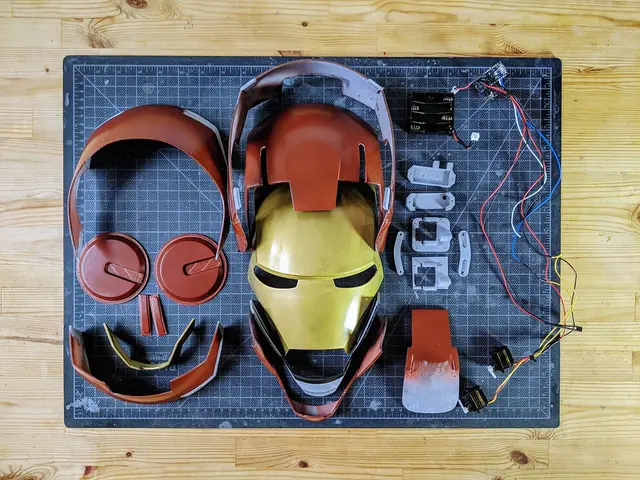
This is a full sized daft punk helmet that consists of 16 parts that can be printed on a 220x220 build plate.
Thangs entrega los archivos a usuarios con cuenta gratuita
Licencia
Solo uso personalSin licencia indicada
El autor no indicó una licencia: todos los derechos le pertenecen. Úsalo solo para imprimir en casa y consulta al autor para cualquier otro uso.
Al descargar aceptas respetar la licencia y dar crédito a jordy m.
Archivos (20)
- Assembly.stl STL · 13,5 MB
- chin.stl STL · 1,9 MB
- head_left_side_part_1.stl STL · 1023 KB
- head_left_side_part_2.stl STL · 927 KB
- head_left_side_part_3.stl STL · 952 KB
- head_right_side_part_1.stl STL · 1023 KB
- head_right_side_part_2.stl STL · 940 KB
- head_right_side_part_3.stl STL · 959 KB
- led_holder_left.stl STL · 5,5 MB
- led_holder_middle.stl STL · 3,9 MB
- led_holder_right.stl STL · 5,2 MB
- puck.stl STL · 397 KB
- thomas_helmet_full.stl STL · 11,6 MB
- visor_left_side_part_1.stl STL · 737 KB
- visor_left_side_part_2.stl STL · 105 KB
- visor_left_side_part_3.stl STL · 448 KB
- visor_right_side_part_1.stl STL · 816 KB
- visor_right_side_part_2.stl STL · 105 KB
- visor_right_side_part_3.stl STL · 448 KB
- visor_screen.stl STL · 1,5 MB
- Categoría
- Cosplay y props
- Formatos
- STL
- Descargas
- 1,107
- Publicado
Sobre este modelo
This is a full sized daft punk helmet that consists of 16 parts that can be printed on a 220x220 build plate.
This is still NOT an easy project if you want to make it look perfect, It still requires many hours of filling and sanding before painting if you want a smooth finish without visible seams.
I assembled it by first taping it together and then welding the pieces together from the inside with a soldering iron and i melted some scrap support material with it as extra reinforcement. Don't heat it too much or it will deform.
total print time for me was 102 hours with the ears and visor at 0.12mm layer height and the head at 0.2mm
Also included is an LED holder for the tron style. it fits 100 5mm led's. connect all led's in parallel and connect each section with wires. make sure they slide in and out each other easily for easy install.
Descripción original del autor, publicada en Thangs.